Unveiled

Leave a comment

Last week I was watching as the builder was putting the finishing touches to the pantry. Then there was some final sanding and painting to do.

The final step was to rearrange things. It was a big job and I took my time and there is still some more tweaking as usage patterns develop. Now it is time for the big reveal.

Since it is a long, narrow space it is impossible to photograph an overall view.

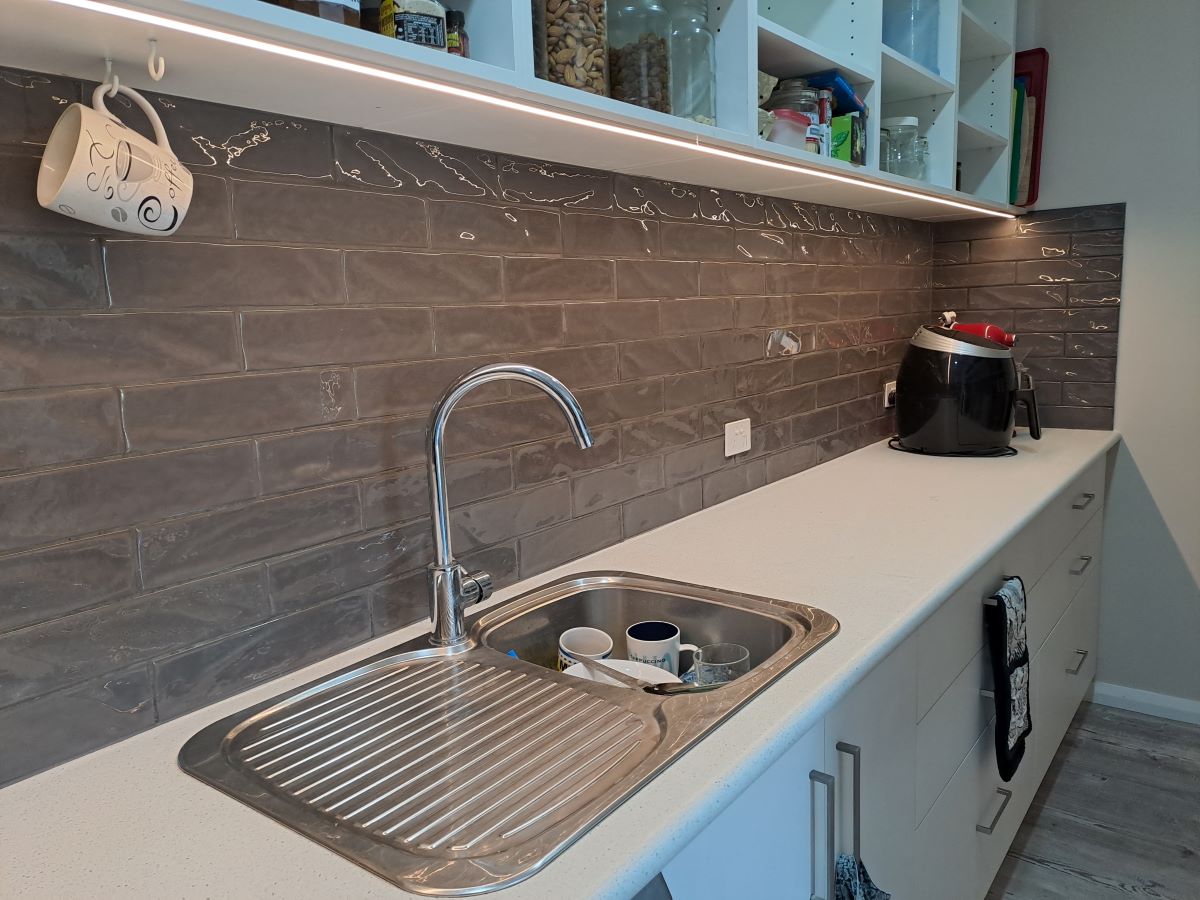
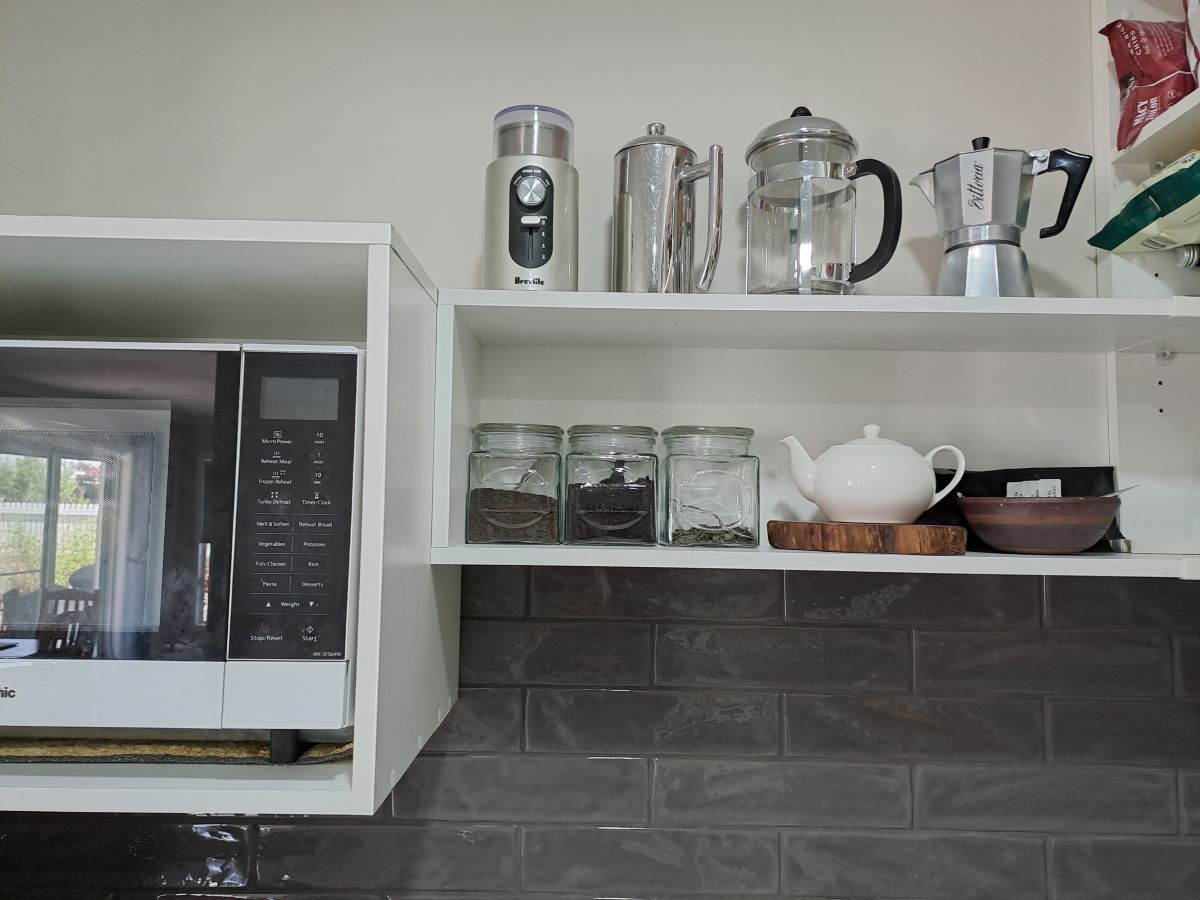
The extended benchtop, drawers and overhead shelving. Note the LED strip lighting under the open shelving.

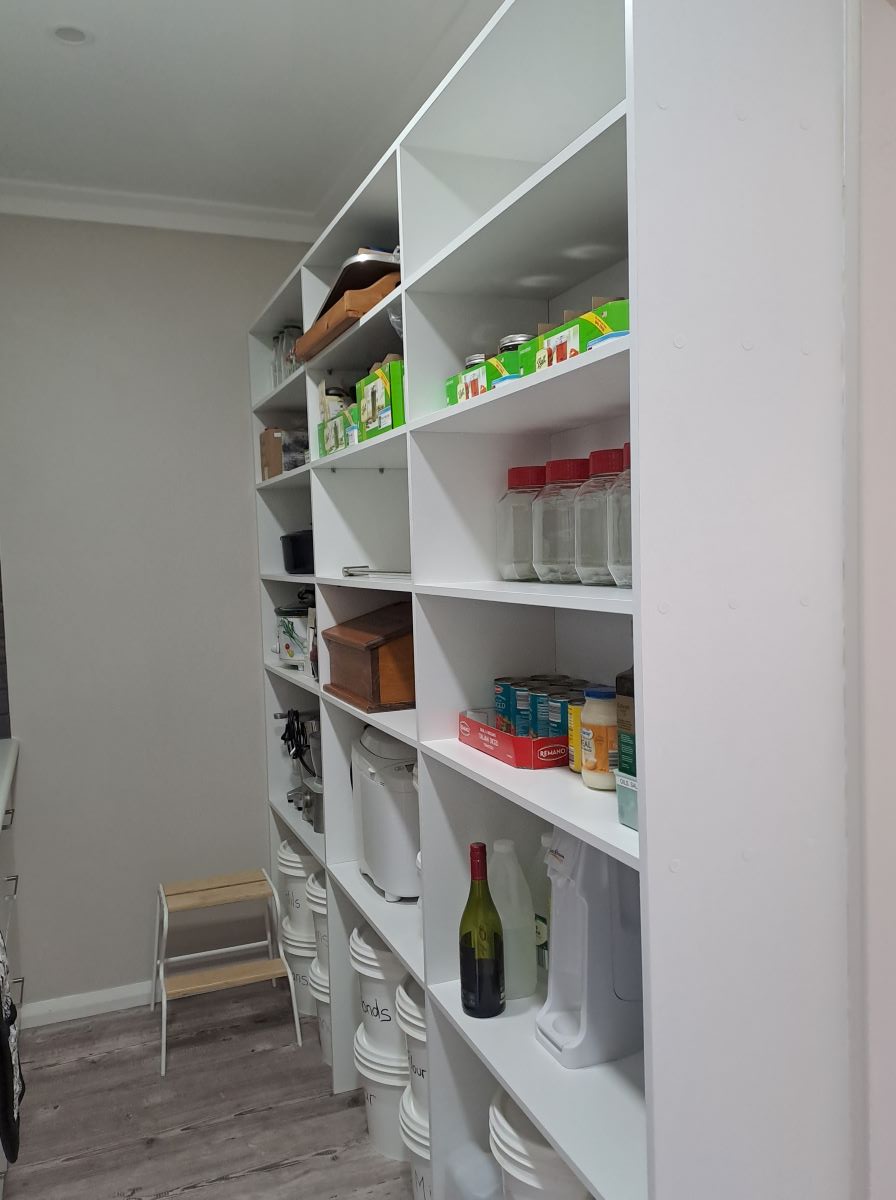
The full wall of open shelving on the other side. The height placement of the shelves was specifically determined according to the height of what I wanted to store.

Since well before the pantry renovation began I have been dreaming of how I would organise the new, improved version.

Let me show you a few closer details.

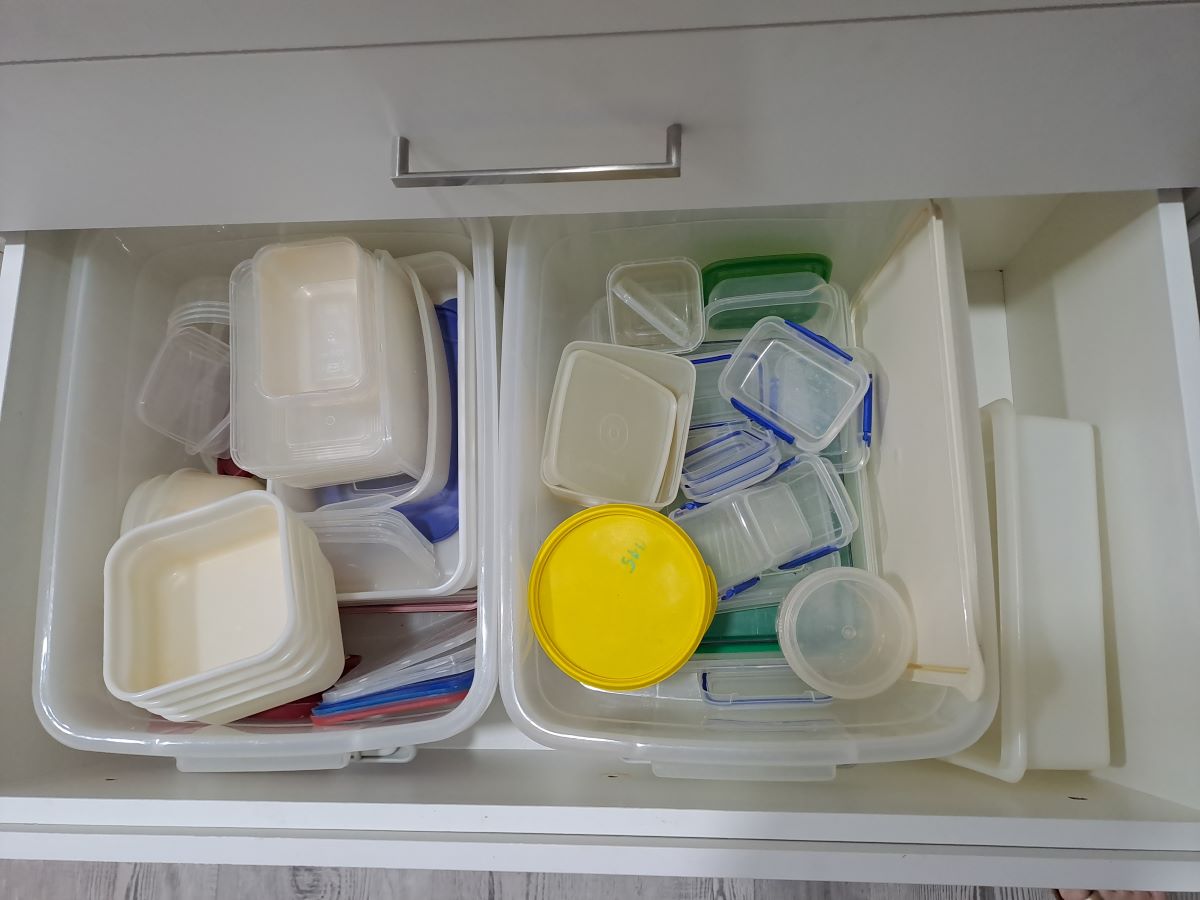
I previously had these plastic tubs full of plastic storage containers in the corner cupboard. It was a reasonable solution but having them in a deep drawer is even better.

I spotted these 3 cute glass jars in an op shop recently and immediately decided that they would be perfect for GMan’s collection of teas – black, Earl Grey and green tea. All ready for making tea and coffee. The mugs are hanging just out of sight to the right of this photo.

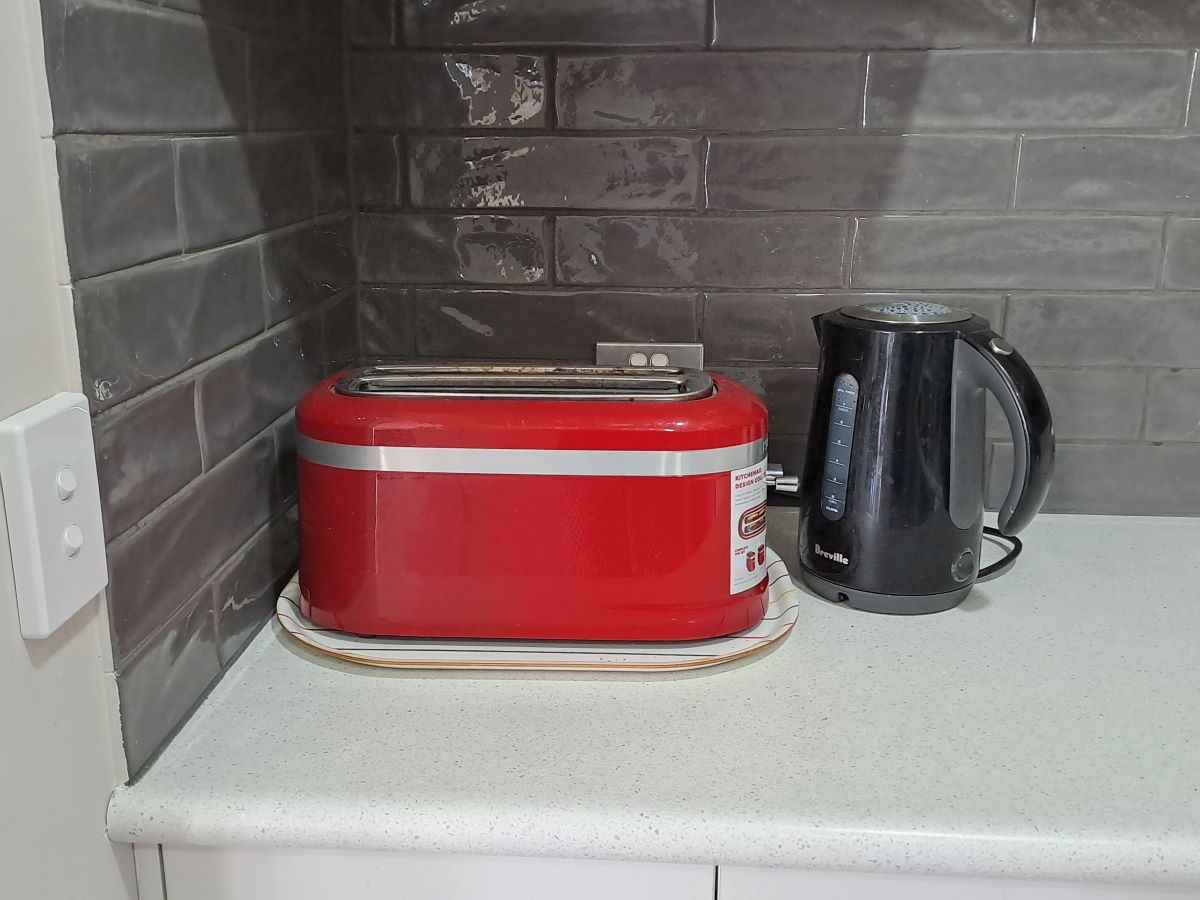
I have reinstated the ‘breakfast corner’ with the kettle and toaster together near the entrance to the pantry.

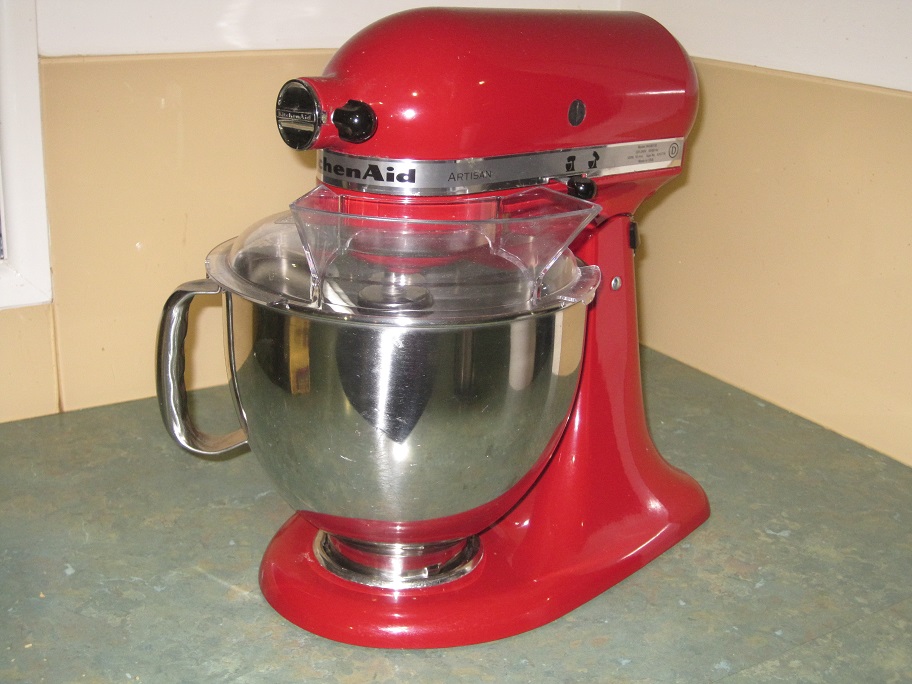
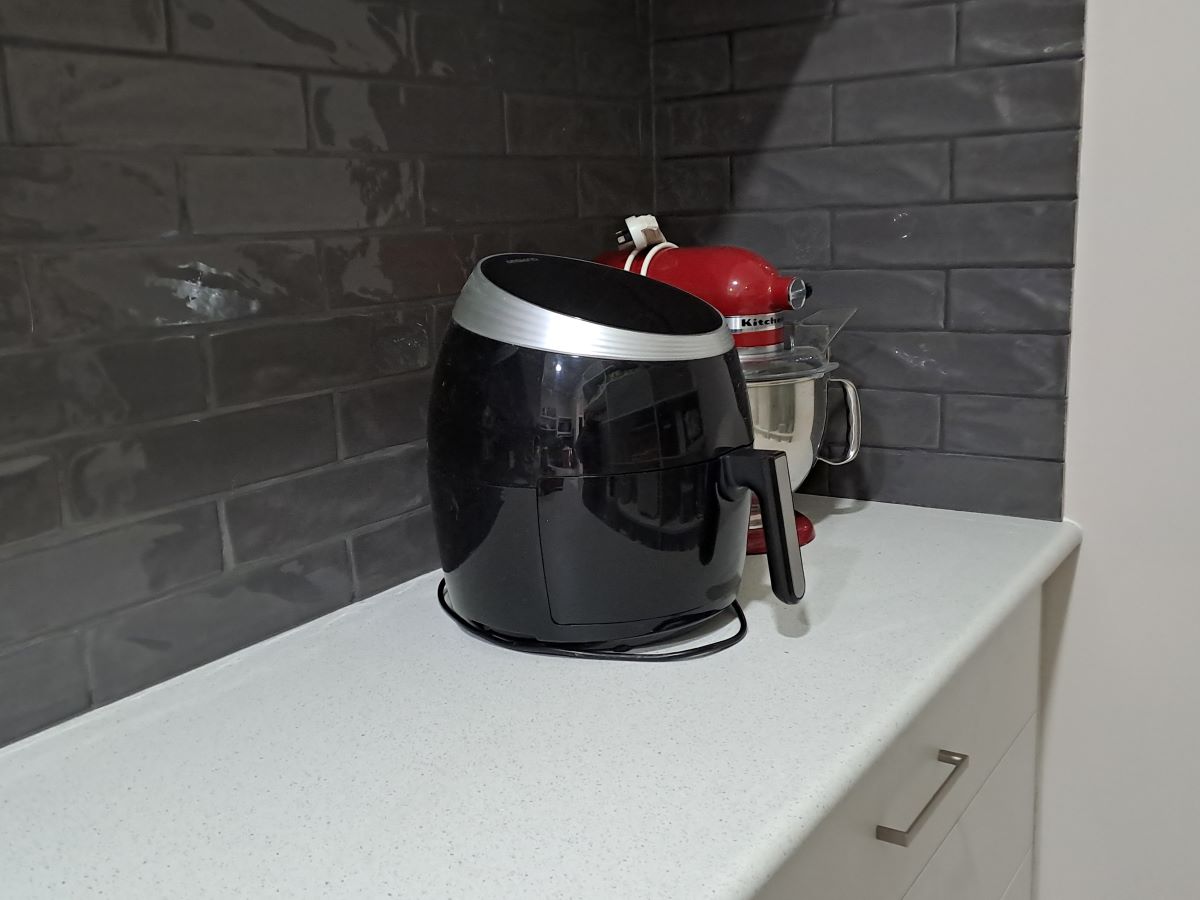
The far end of the extended bench is home to the Kitchen Aid stand mixer and airfryer, both of which are used frequently.

Other regularly used appliances are stored on the open shelves. I have placed them at a height which makes them within easy reach and simple to access.

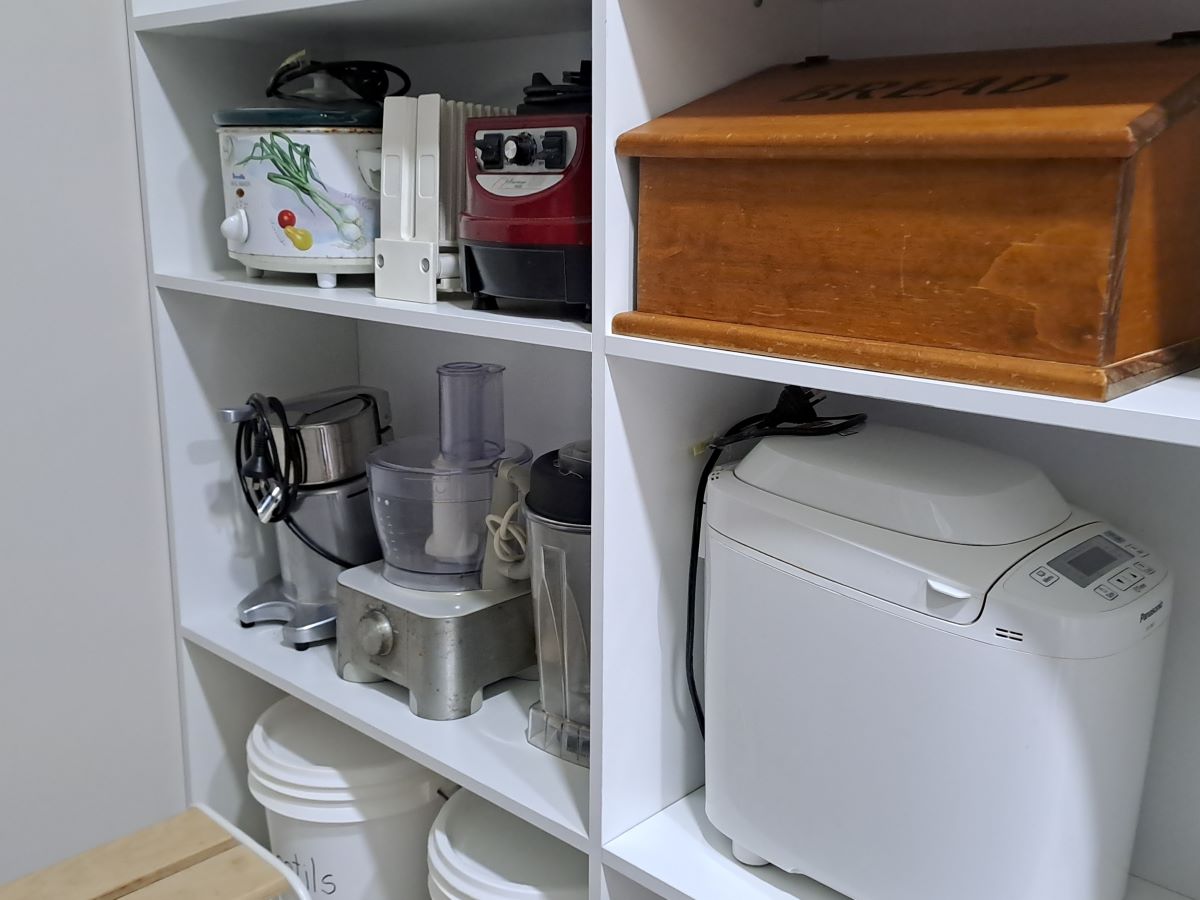
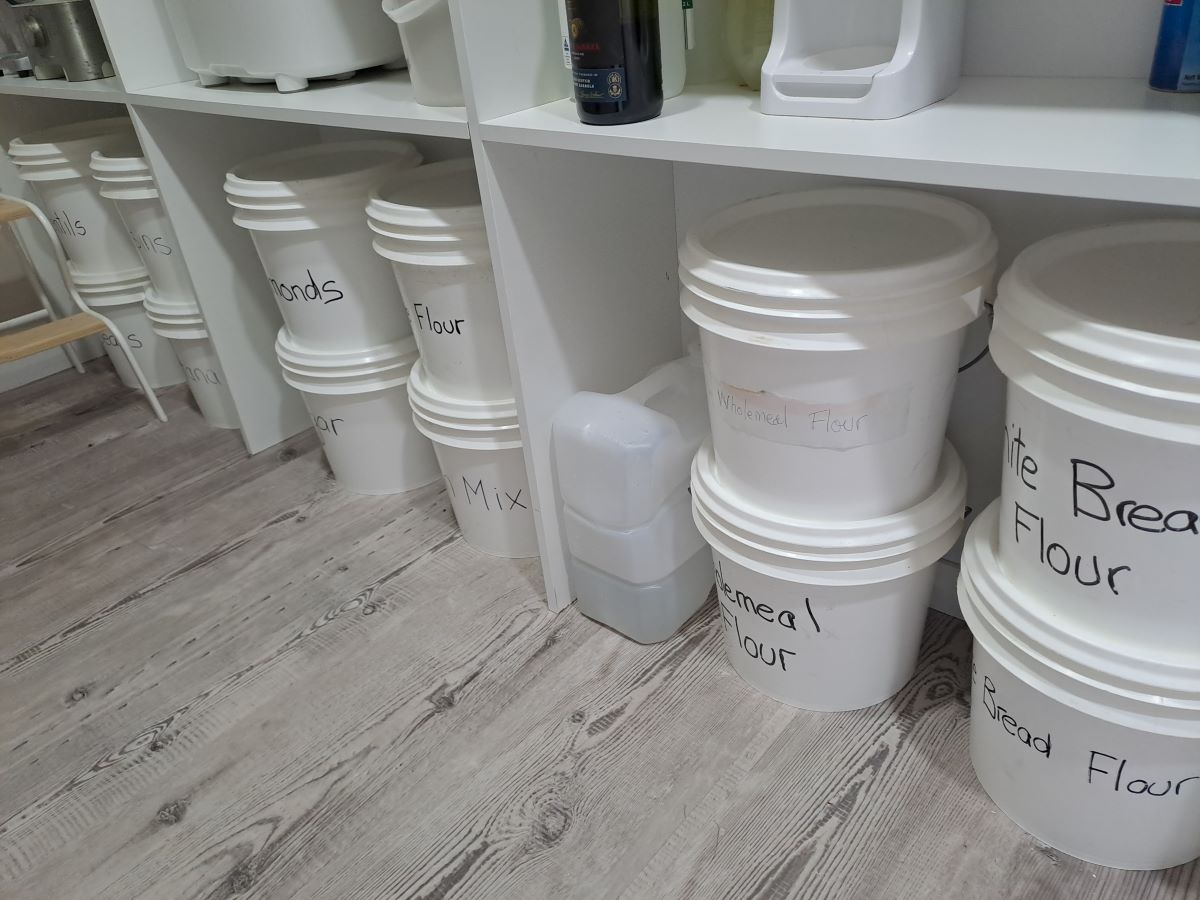
The storage buckets of bulk dry goods stand on the floor.

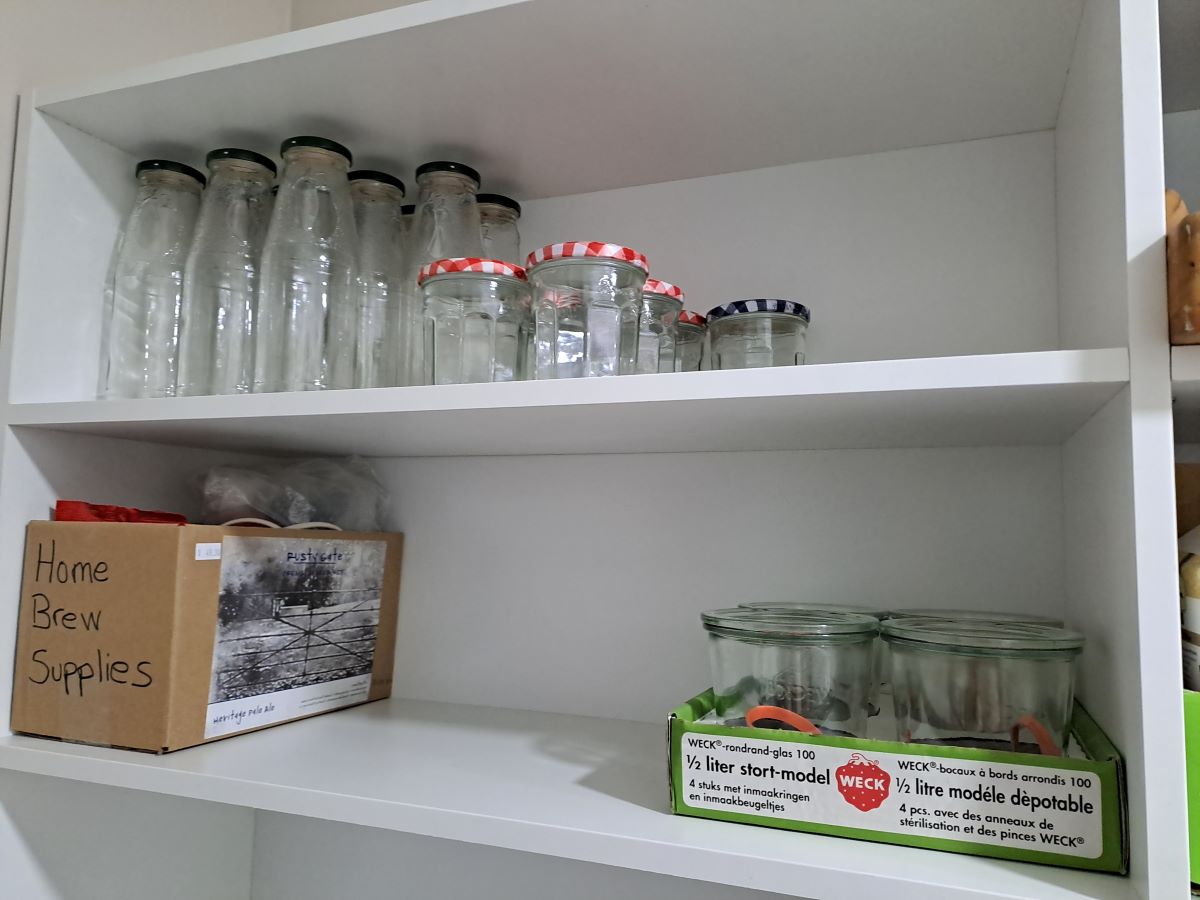
There is space to store the empty glass jars and bottles.

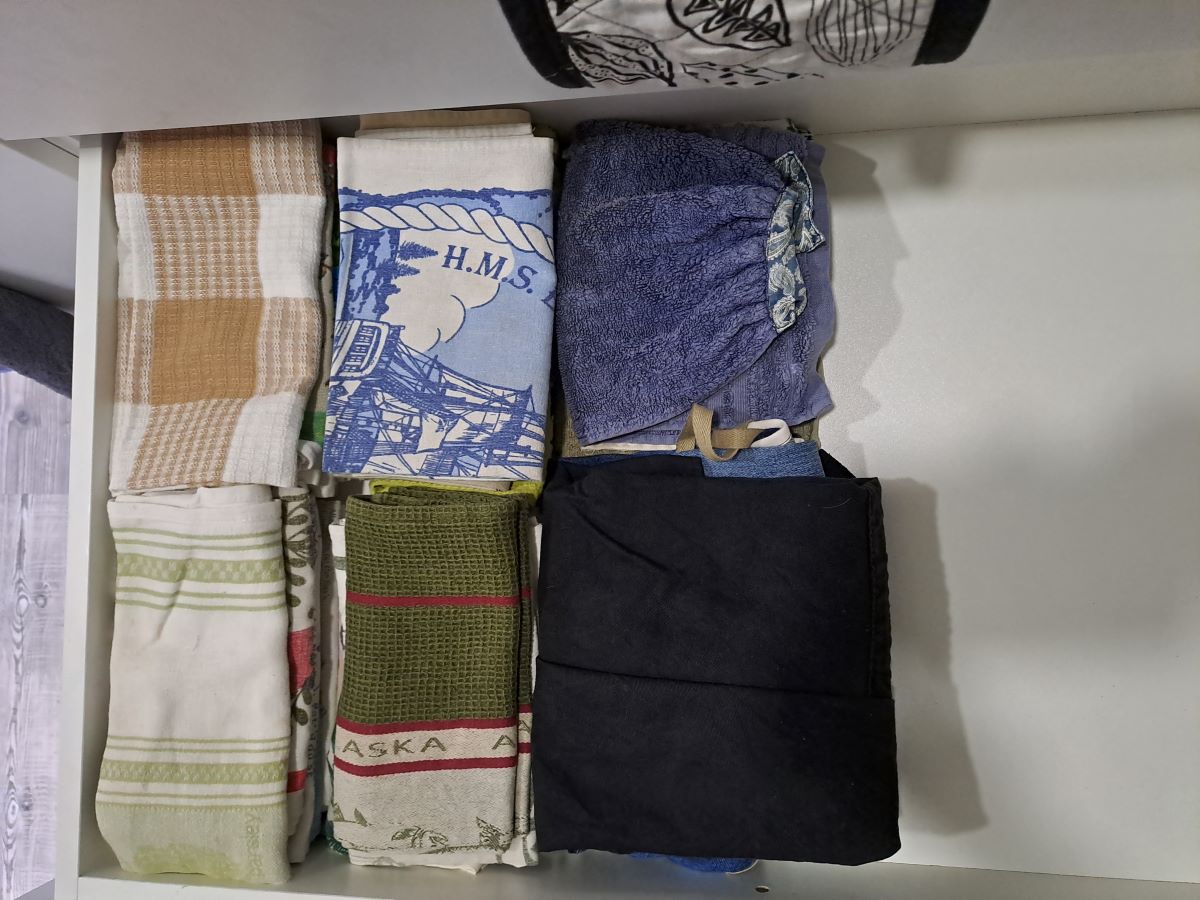
Teatowels and aprons in a drawer close to where they are used.

The addition looks completely seamless as we were able to match all of the components with the original. I am beyond ecstatic to see this all come together and I am really looking forward to the increased functionality of my kitchen and pantry.

Made from Scratch

Leave a comment

I have previously written a post about making your own pasta from scratch.  Barely 6 months after I wrote this post I made the decision to eat a gluten-free diet for the sake of my health.  The pasta making attachment has languished at the back of the pantry and I keep promising myself that I will try making my own gluten-free pasta.  Well yesterday was finally the day.

After searching the internet and using some ideas gained through making other gluten dough such as pizza bases, I decided to give it a try.

Here is my recipe:

2 cups gluten-free flour
1/2 teaspoon salt
10g psyllium husk
3 eggs
25ml water
25 ml olive oil

2012-01-31 01Combine the dry ingredients, add the eggs and then gradually add the water and oil.  The mixture will not roll into a ball as it does if using wheat flour but it should be damp enough that you can squeeze it together in your hand.  Mix thoroughly for about 3 minutes.  Cover bowl with a damp teatowel to retain the moisture and work as quickly as possible.

Take a small ball of dough and knead well in your hands, press out into a thick disc and feed through the pasta roller on thickest setting.  The dough will crumble but persevere and do it several times until the dough starts to feed through in sheets.  Continue to fold and feed through until you have a good consistency and then feed it through progressively thinner settings.

003Once you have the thickness that you want you can cut it into lasagne sheets or attempt the next step of making fettucine.004It is certainly more difficult to make than conventional pasta but I am hoping it will be worth the effort.  Both the lasagne sheets and fettucine have been frozen so the final verdict will be when they are cooked.  I am very confident that the lasagne will be successful but I will have to wait and see with the fettucine.

Based on what I have done so far, I would say that this has been a worthwhile exercise and I will tweak the recipe further if required.

Watch this space………..

Make Your Own Pasta

11 Comments

I have finally set some time aside to try out my pasta maker.  It is an attachment for my Kitchen Aid.  Here are some photos from my effort on Sunday afternoon.

2012-01-31 01The mixer with flat blade

2012-01-31 02Ingredients – flour, salt, eggs, water

2012-01-31 03Pasta roller

2012-01-31 04

Spaghetti cutter

2012-01-31 05Lasagne sheets – cut, floured and packaged for freezing.

2012-01-31 06Spaghetti – dried, coiled into a nest and ready to refrigerate or freeze.

I also made fettucine which we had for dinner that night.  I don’t think I will ever buy dried pasta again.I am very pleased with the results of my first attempt and am looking forward to experimenting with different flours and flavourings.

This is another food that I have complete control over the ingredients.  I have also eliminated more packaging from our lives.

A New Idea and a New Toy

2 Comments

It is now 6 months since I began this blog.  A couple of previous efforts had fallen by the wayside for a variety of reasons but I was determined to make this an ongoing project.  I decided that the best way to make blogging a habit was to do it every day.  I have managed to stick to my plan pretty consistently except for while we were on holidays and a couple of other glitches.  Therefore, I apologise for the lack of posts in the last couple of days.

I have decided to reassess how I go about maintaining my blog, keeping it interesting and relevant for those who read it and still find time to go to work and do the very things that provide the basis of my blog posts.

So, from now on there will not necessarily be a post every day, although sometimes there will be.  My goal is to generally have 3 – 4 posts each week with a minimum of 2 posts each week.

I know how frustrating it is to go to a blog and find that there is nothing new since last time you visited so here is my suggestion.  Go to the ‘Email Subscription’ on the right-hand side of the blog and click the button marked “Sign Me Up”.  This means that you subscribe to the blog and will receive an email each time there is a new post.  You can change the settings in the future if you wish.  Alternatively, you can be friends with me on Facebook and you will see each new post that I make from the Facebook page.

Thank you for your interest in the blog and comments.

And now, the new toy.Kitchen Aid mixer

This is my Kitchen Aid mixer which I got a couple of years ago.  One of the reasons I chose it was because I could purchase additional attachments which run directly from the driveshaft.  My main interest was the pasta maker attachment. The Duke did all of the research on the internet and found the best price of $285 which compared favourably with the initial price on the Kitchen Aid site of $349.  Whilst it seems like a lot of money I feel confident that it will be worthwhile.

Today the parcel arrived.

So it was time to unpack.

There are 3 attachments – lasagne roller, fettucine cutter and spaghetti cutter.

I have made my own pasta previously but found that the manual pasta maker was too difficult and time-consuming – not to mention that it ended up breaking.  Hopefully, these will be a great success and I will never buy dried pasta again.  The bonus is that I will not have the packets which are non-recyclable.

Watch for a post when I make the first batch – perhaps on the weekend!

Clever Cupboards

1 Comment

Well, it is not actually the cupboards that are clever but the cabinetmaker for suggesting a solution for ‘blind’ corner cupboards.  When we were redesigning our kitchen he suggested these and I immediately agreed that they were a great idea.  The rails stop things falling off as the shelves are moved.

When I was putting the clean dishes away this morning I noticed that the shelves were looking a bit grubby so I removed everything and cleaned the shelves.

The shelves are on an arm mechanism and swing in and out by pulling the rail.  They are easy to manoeuvre and give access to an otherwise useless corner.

Here it is replaced in the closed position.

These shelves hold all of my bowls, jugs and colanders as well as scales, measuring cups, funnel, juicer and the attachments for the Kitchen Aid mixer.

I also cleaned the matching set of shelves in the opposite corner of the kitchen.