Crafting in Progress

Leave a comment

Tonight I wanted to show you 2 craft projects I am working on.

First, the patchwork strap for the bag I am refashioning.

2012-04-09 01I have chosen colours that will complement the existing bag.  These fabrics are all scraps from my stash of bits of fabric.  I have fused the lining to the patchwork using double-sided iron-on interfacing.  I am going to make my own bias binding from some black fabric and bind the edges of the strap before attaching it to the bag.

Next is some knitting.  I am not the world’s best knitter but this simple dishcloth can be finished in a day or two.

2012-04-09 02I am using a pattern in the book, ‘Down to Earth’.  I plan to make several of these so that I always one on hand.

My handcraft projects are generally of a practical nature.  Craft evolved as a part of homemaking and this is the way I view it rather than some of the expensive and impractical pursuits which are currently promoted by retailers desperate to sell more materials.

Do you have a favourite craft?  What do you create with your craft skills?
Seedlings & Sewing

6 Comments

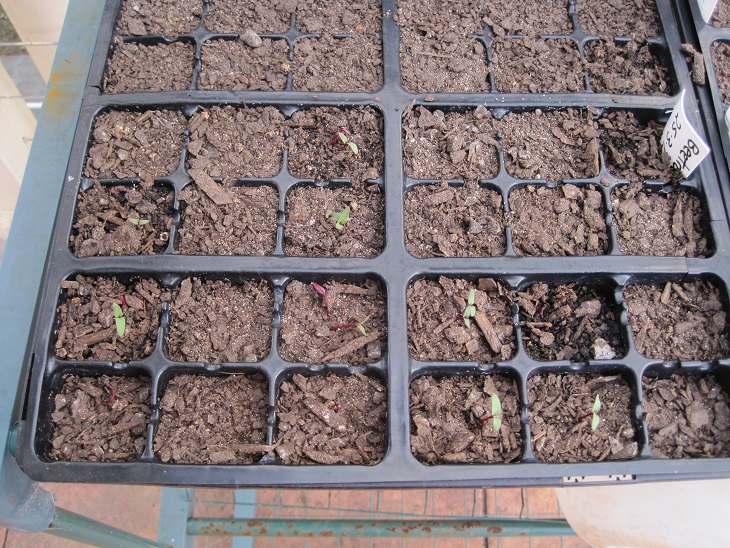
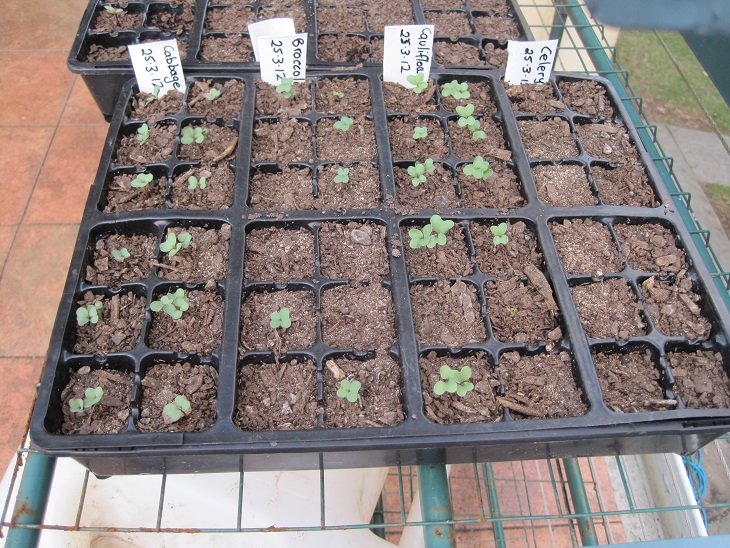
As promised, here are some photos of my vegetable seedlings.

2012-04-04 01These are (from left to right) cabbage, broccoli and cauliflower.  The celery on the extreme right have yet to put in an appearance.

2012-04-04 02These are the first few beetroot seedlings.

I am hoping for great things from these humble beginnings.  Keeping my fingers crossed.

As part of my participation in Project 333, I emptied out my wardrobe a couple of weeks ago and looked critically at everything in there.  I have said several times before that I do not have heaps of clothes and accessories but I have been forced to consider every single thing in the cupboard.

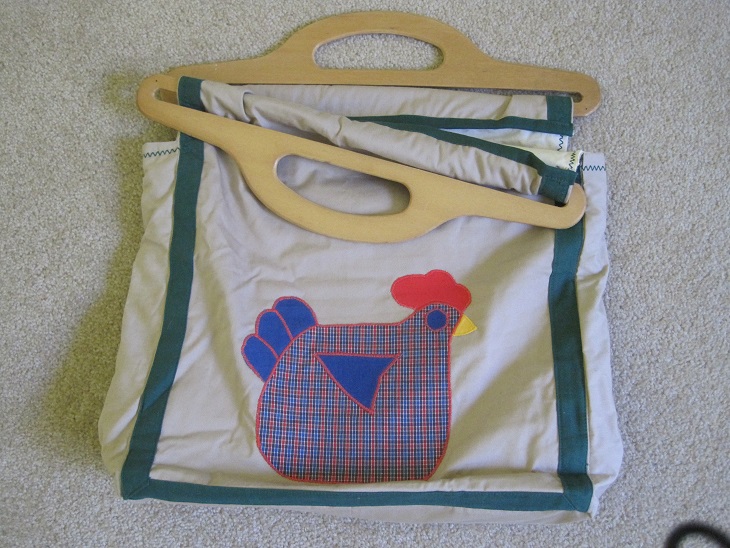
One particular item which was carefully stored on the shelf was this carry-bag.

2012-04-04 03It was a hand-made gift and is a really useful size but the handles were not really practical for me, so I had only used it once or twice.  So I took another look at it and found that the wooden handles are easily detachable so that the bag can be washed.

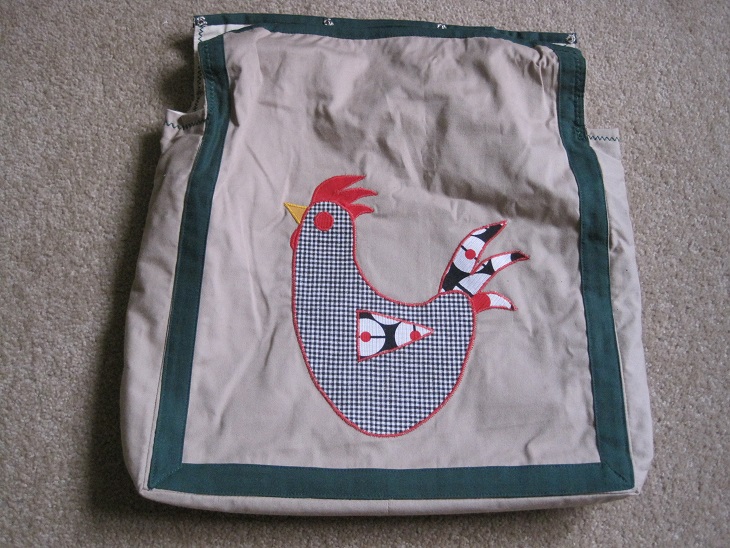
2012-04-04 04I have taken the handles off and my plan is to remove the press-studs and make a patchwork handle/shoulder strap.  Once this alteration is made, I know I will use the bag all the time.

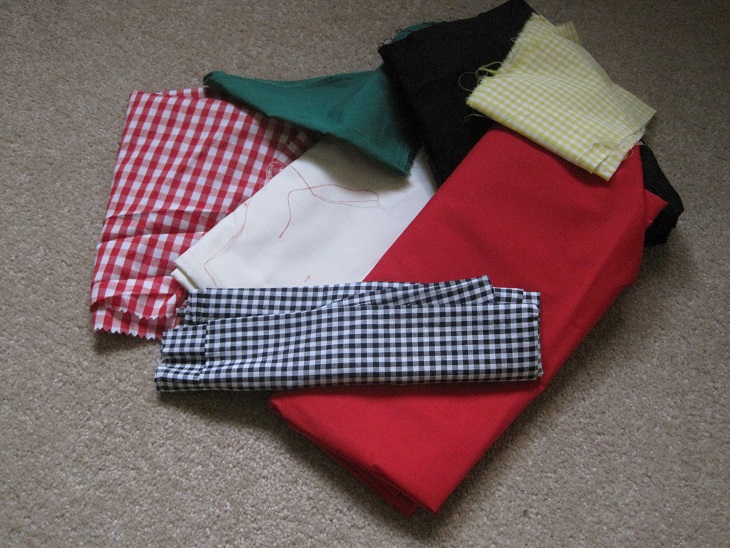
I searched through my stash of scraps and found these pieces which I think will work with the existing colours and patterns in the bag.

2012-04-04 05Project 333 Update

I have mostly been at home today so wearing an old pair of paint-spattered shorts and t-shirt.  When I went to the shops I grabbed my 3/4 black trousers, red/white 3/4 sleeve top and my trusty sandals – easy!  I can definitely see the benefits of a basic selection of clothes.  I am finding it relatively easy as most of my clothes are mix and match colours and styles.

Please let me know how you are going or your thoughts and ideas, even if you are not participating directly.

Take One Pair of Trousers

9 Comments

I have a pair of ¾ length lightweight travel pants that I bought about 8 or 9 years ago.  I have been wearing them for some time with a patch just below one knee, however, the fabric around the patch has given way, too.  I love these trousers as they are really comfortable and have several deep pockets.

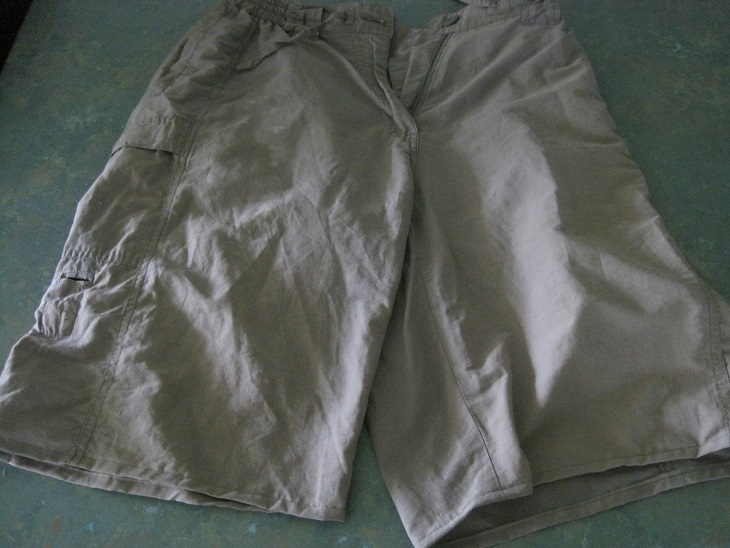
I decided to salvage what I could from them.  The latest buzzword seems to ‘upcycling’ but you could call it ‘refashioning’, ‘making do’ or just plain ‘thrift’.  I cut the lower legs off and was left with a pair of knee-length shorts which just needed hemming.  Since they are an existing garment I know that the fit and function of them will be perfect.

002The bottom of the legs had drawstrings so I removed them and they will be used for the drawstrings in two of the Christmas gift bags I am making as they match the material rather well.

003There were a couple of button tabs on the lower legs so I removed the buttons to add to my collection.

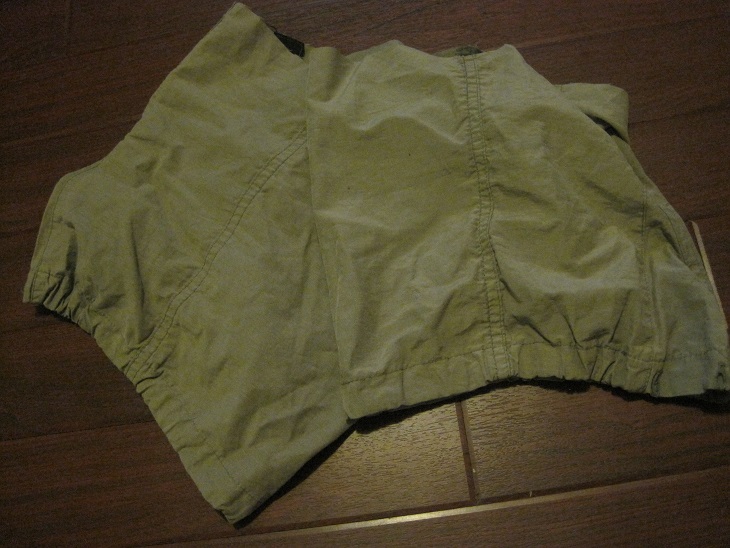
008All I had left was the lower leg pieces.

005So I cut them into strips to use for tying up plants in the garden.

006Here are my ‘new’ shorts and nothing else has been wasted.  I hope to get a few more years wear from them.

007I would love to hear your thrifty/upcycling stories.

New From Old

2 Comments

A couple of weeks ago, in this post I outlined what I was planning to do to rejuvenate an old bed.

Firstly, I covered the mattress in plastic, using one of the heavy-duty bags that was packaging from the new mattresses.

I stitched it to fit using my sewing machine.  It was a bit awkward but I was happy with the result.  Here is a close-up of the stitching.

Then I trimmed the excess plastic and set to making the fabric cover.  I made it so that it fitted neatly and at the open end I made a velcro fastening.

2012-01-29 03Here it is on the bed and you can see the straps which go underneath to secure it.  I don’t want to find the mattress at the other end of the verandah after we have a storm.

2012-01-29 04The straps are elasticated so that they easily slip over the ends of the frame and hold the mattress snugly in position.

All I need now is some nice warm days to invite me out to use my new creation.

Make Do

3 Comments

Last year we swapped the single bed in the sewing room for a new (to us) bed and trundle bed.  Miss O used to sleep in the single bed when she came to stay but once Izz was also sleeping in a bed we had to re-think the sleeping arrangements.  I was not prepared to give up what is primarily my sewing room to have 2 single beds available for occasional use so I had to think laterally.  Bunk beds were not an option due the young age of the children and the proximity to the window, so we opted for the single bed plus trundle.  We found it on Gumtree, in perfect condition and only $50.  We bought new foam mattresses and were very happy with the outcome.

The next question was what to do with the existing bed.  No-one I knew needed one and I could have advertised it on Freecycle but there was a degree of emotional attachment.  Sentimentality is the last thing a minimalist needs but this bed is one that my father made over 50 years ago and I was not keen to let it go.  However, it had to justify its existence in our lives.

We had an old day-bed which we had acquired from Freecycle about 10 years ago with the goal of restoring it for use on the long verandah – imagining lazy afternoons lying reading a book and listening to the birds in the shrubs nearby.  This was a great idea but one that was unlikely to happen due to the very poor condition of the timber.

Finally, we agreed that the day-bed could be dismantled for firewood except for the wire mesh base which The Duke has appropriated for use as a sieve.  The single bed which is quite narrow (750mm) will be a day bed.  It has been on the verandah for some months now, waiting for me to make a cover for the mattress.  Although it is undercover there can be rain blow in to that area so I had to consider how to manage this.

I decided to cover the mattress in vinyl which can be bought by the metre from Spotlight.  A few weeks ago I did some measuring and we went to Spotlight with intentions of buying the vinyl but I discovered that it would cost me about $120.  I gulped and wondered whether it was really worth spending that amount of money on something which was certainly not essential and was really a way of retaining something I did not want to part with.  So we went home and I looked for alternative ideas.

I found this heavy cotton bedspread (actually I have 2 of them) in the bottom of the linen cupboard.  I am going to use it to make a cover which can be removed for laundering.  This does not address the issue of the mattress getting wet so I found the large, heavy-duty plastic bags that were the packaging from the new mattresses we bought for the trundle beds.  I will make a cover for the mattress from one of these.  We will bring the mattress inside if bad weather is imminent but otherwise I will only have to wash the cover and the mattress will stay dry and clean thanks to the plastic cover.

This project will be completed with no extra cost.  The bed will have a new use and I don’t have to part with it just yet.  We may even put a headboard and footboard on the bed but in the meantime it will be perfectly functional.

I am looking forward to finishing this and enjoying some lazy afternoons.

Taking Time Out For Fun

1 Comment

I did not post yesterday because I was spending the time with my precious family.  Miss O and Izz were here so we pulled out the Christmas tree and decorated it.  Here they are with the creation.

2011-12-11 01We went to look at the Christmas light displays last night and the wonder and delight on their faces was priceless.

I also took Miss O to the Carols at Twilight in Maleny.  Due to a terrific thunderstorm about an hour beforehand the occasion was relocated in the hall rather than the park.  Miss O could not believe her eyes and ears at the music and colour.  She sat entranced during the entire event.

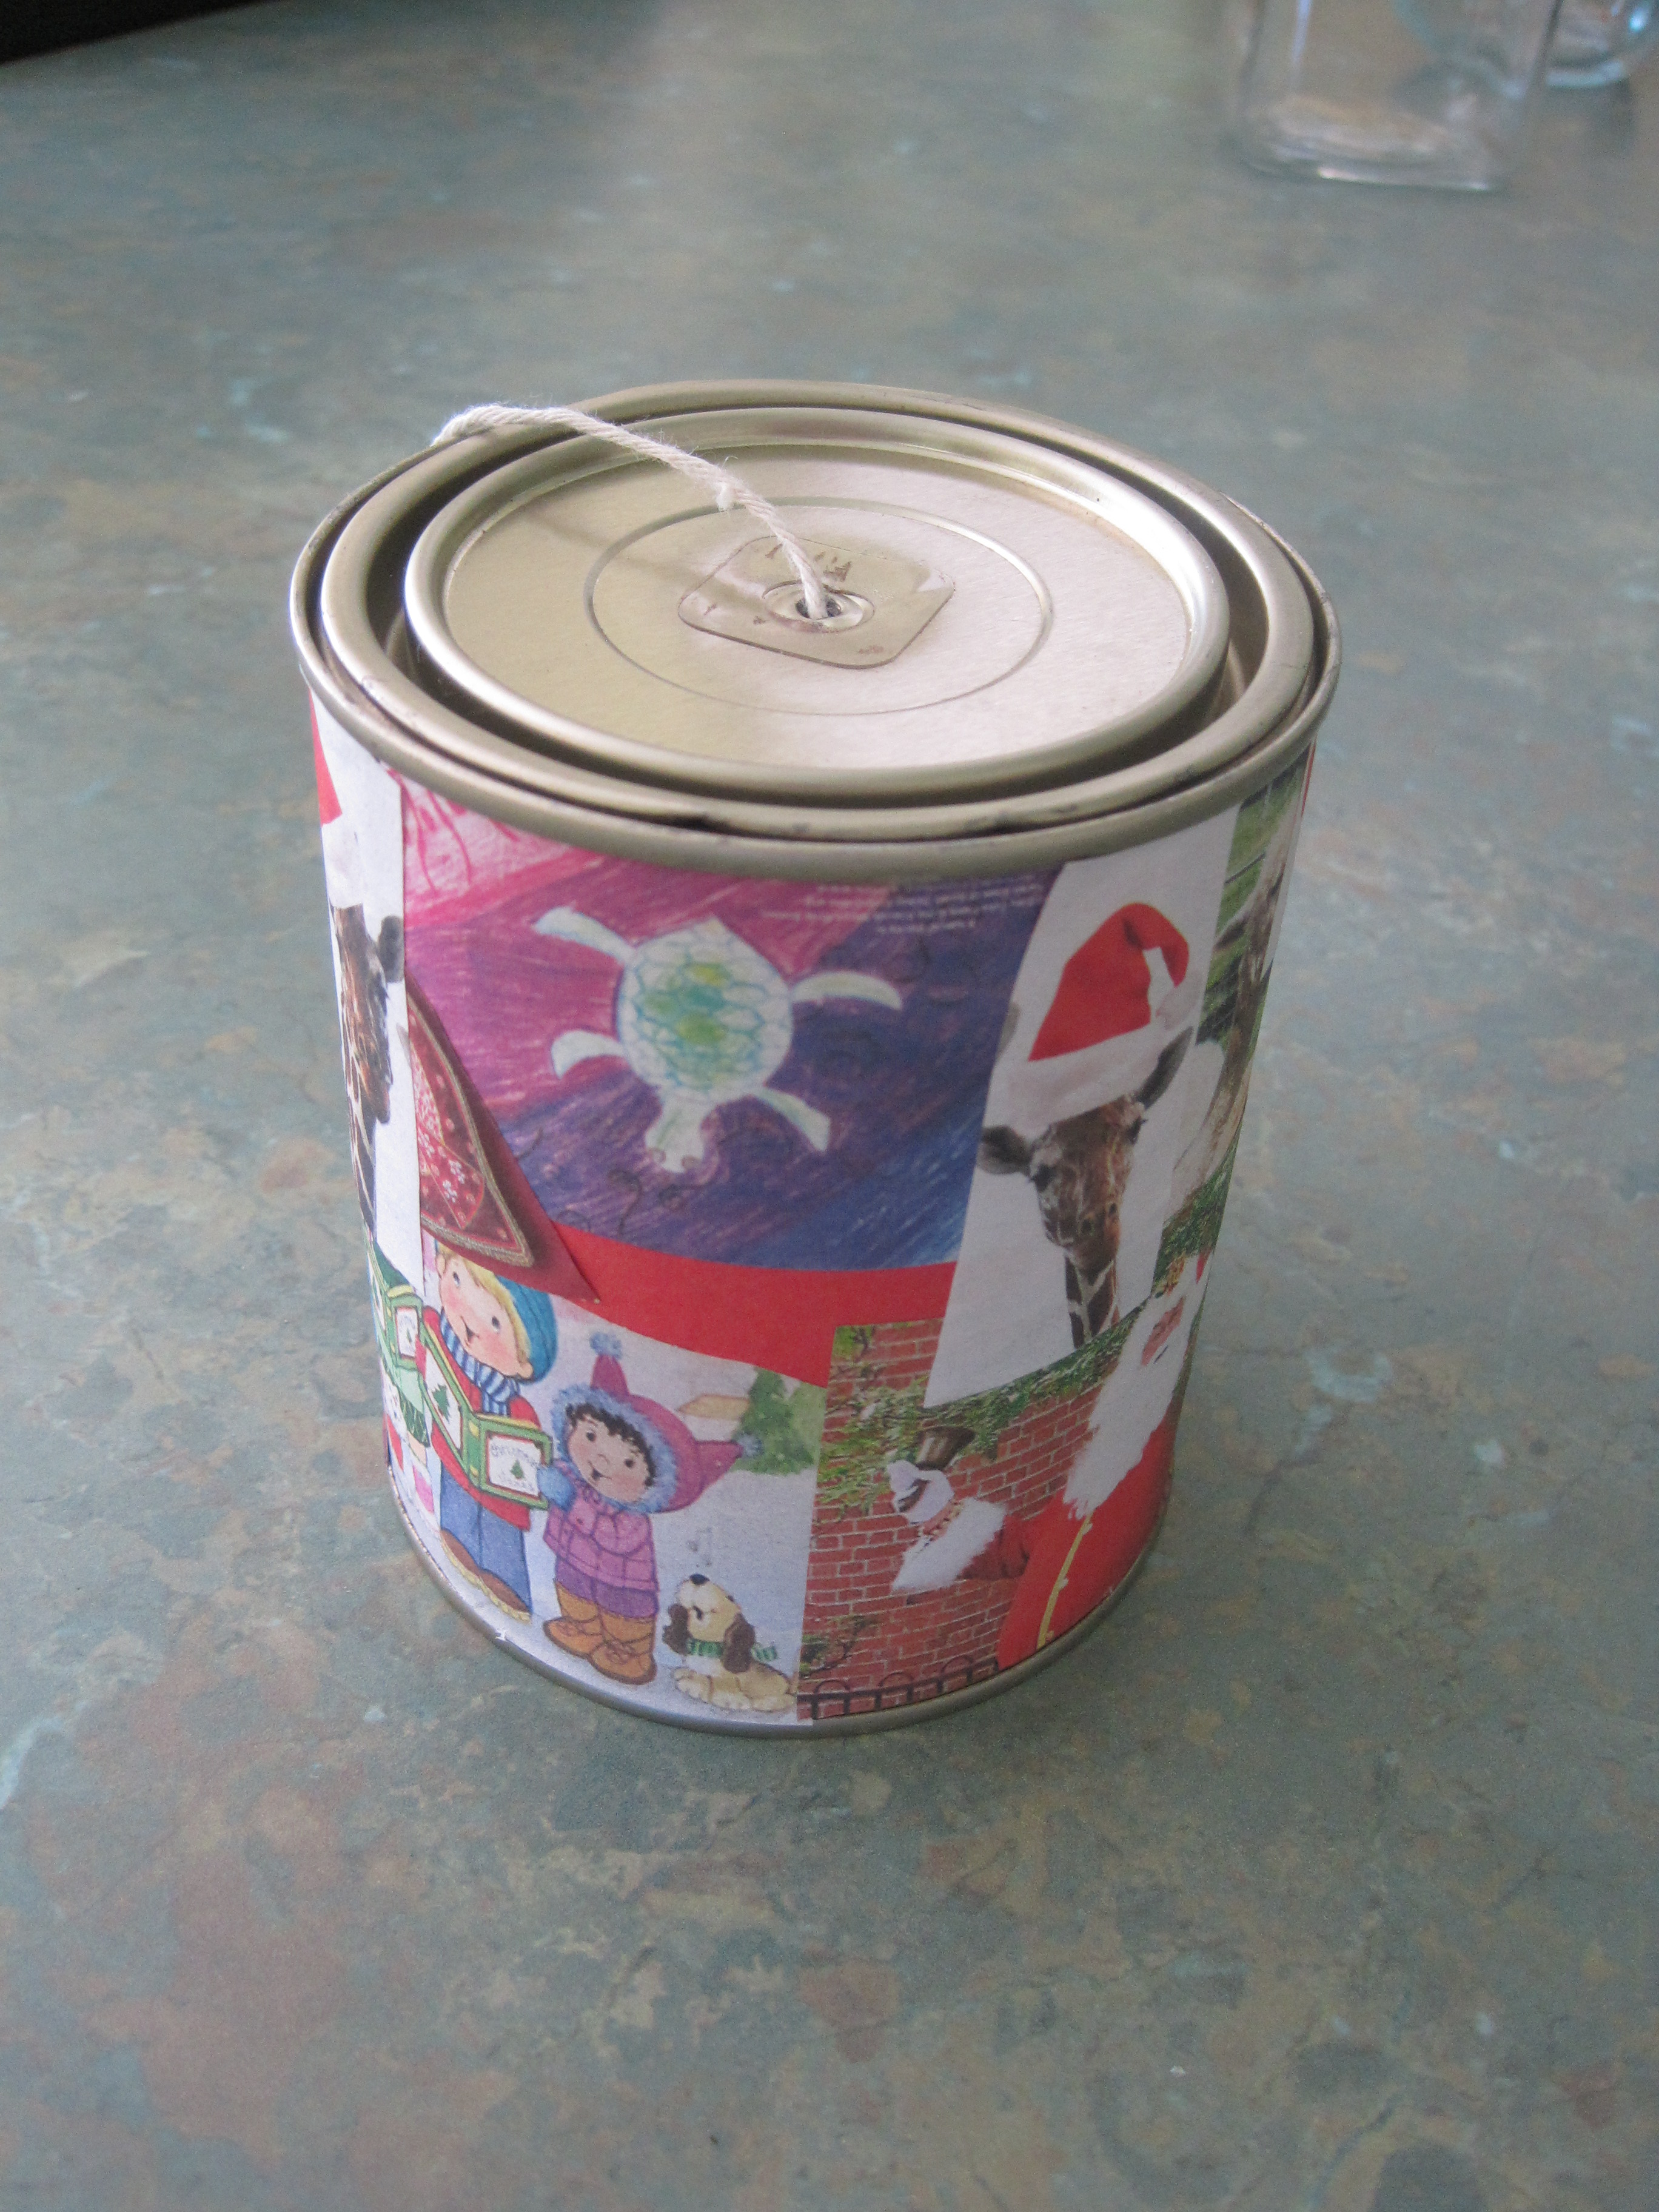
This morning I helped the girls make a gift for Belle.  It is a string tin.

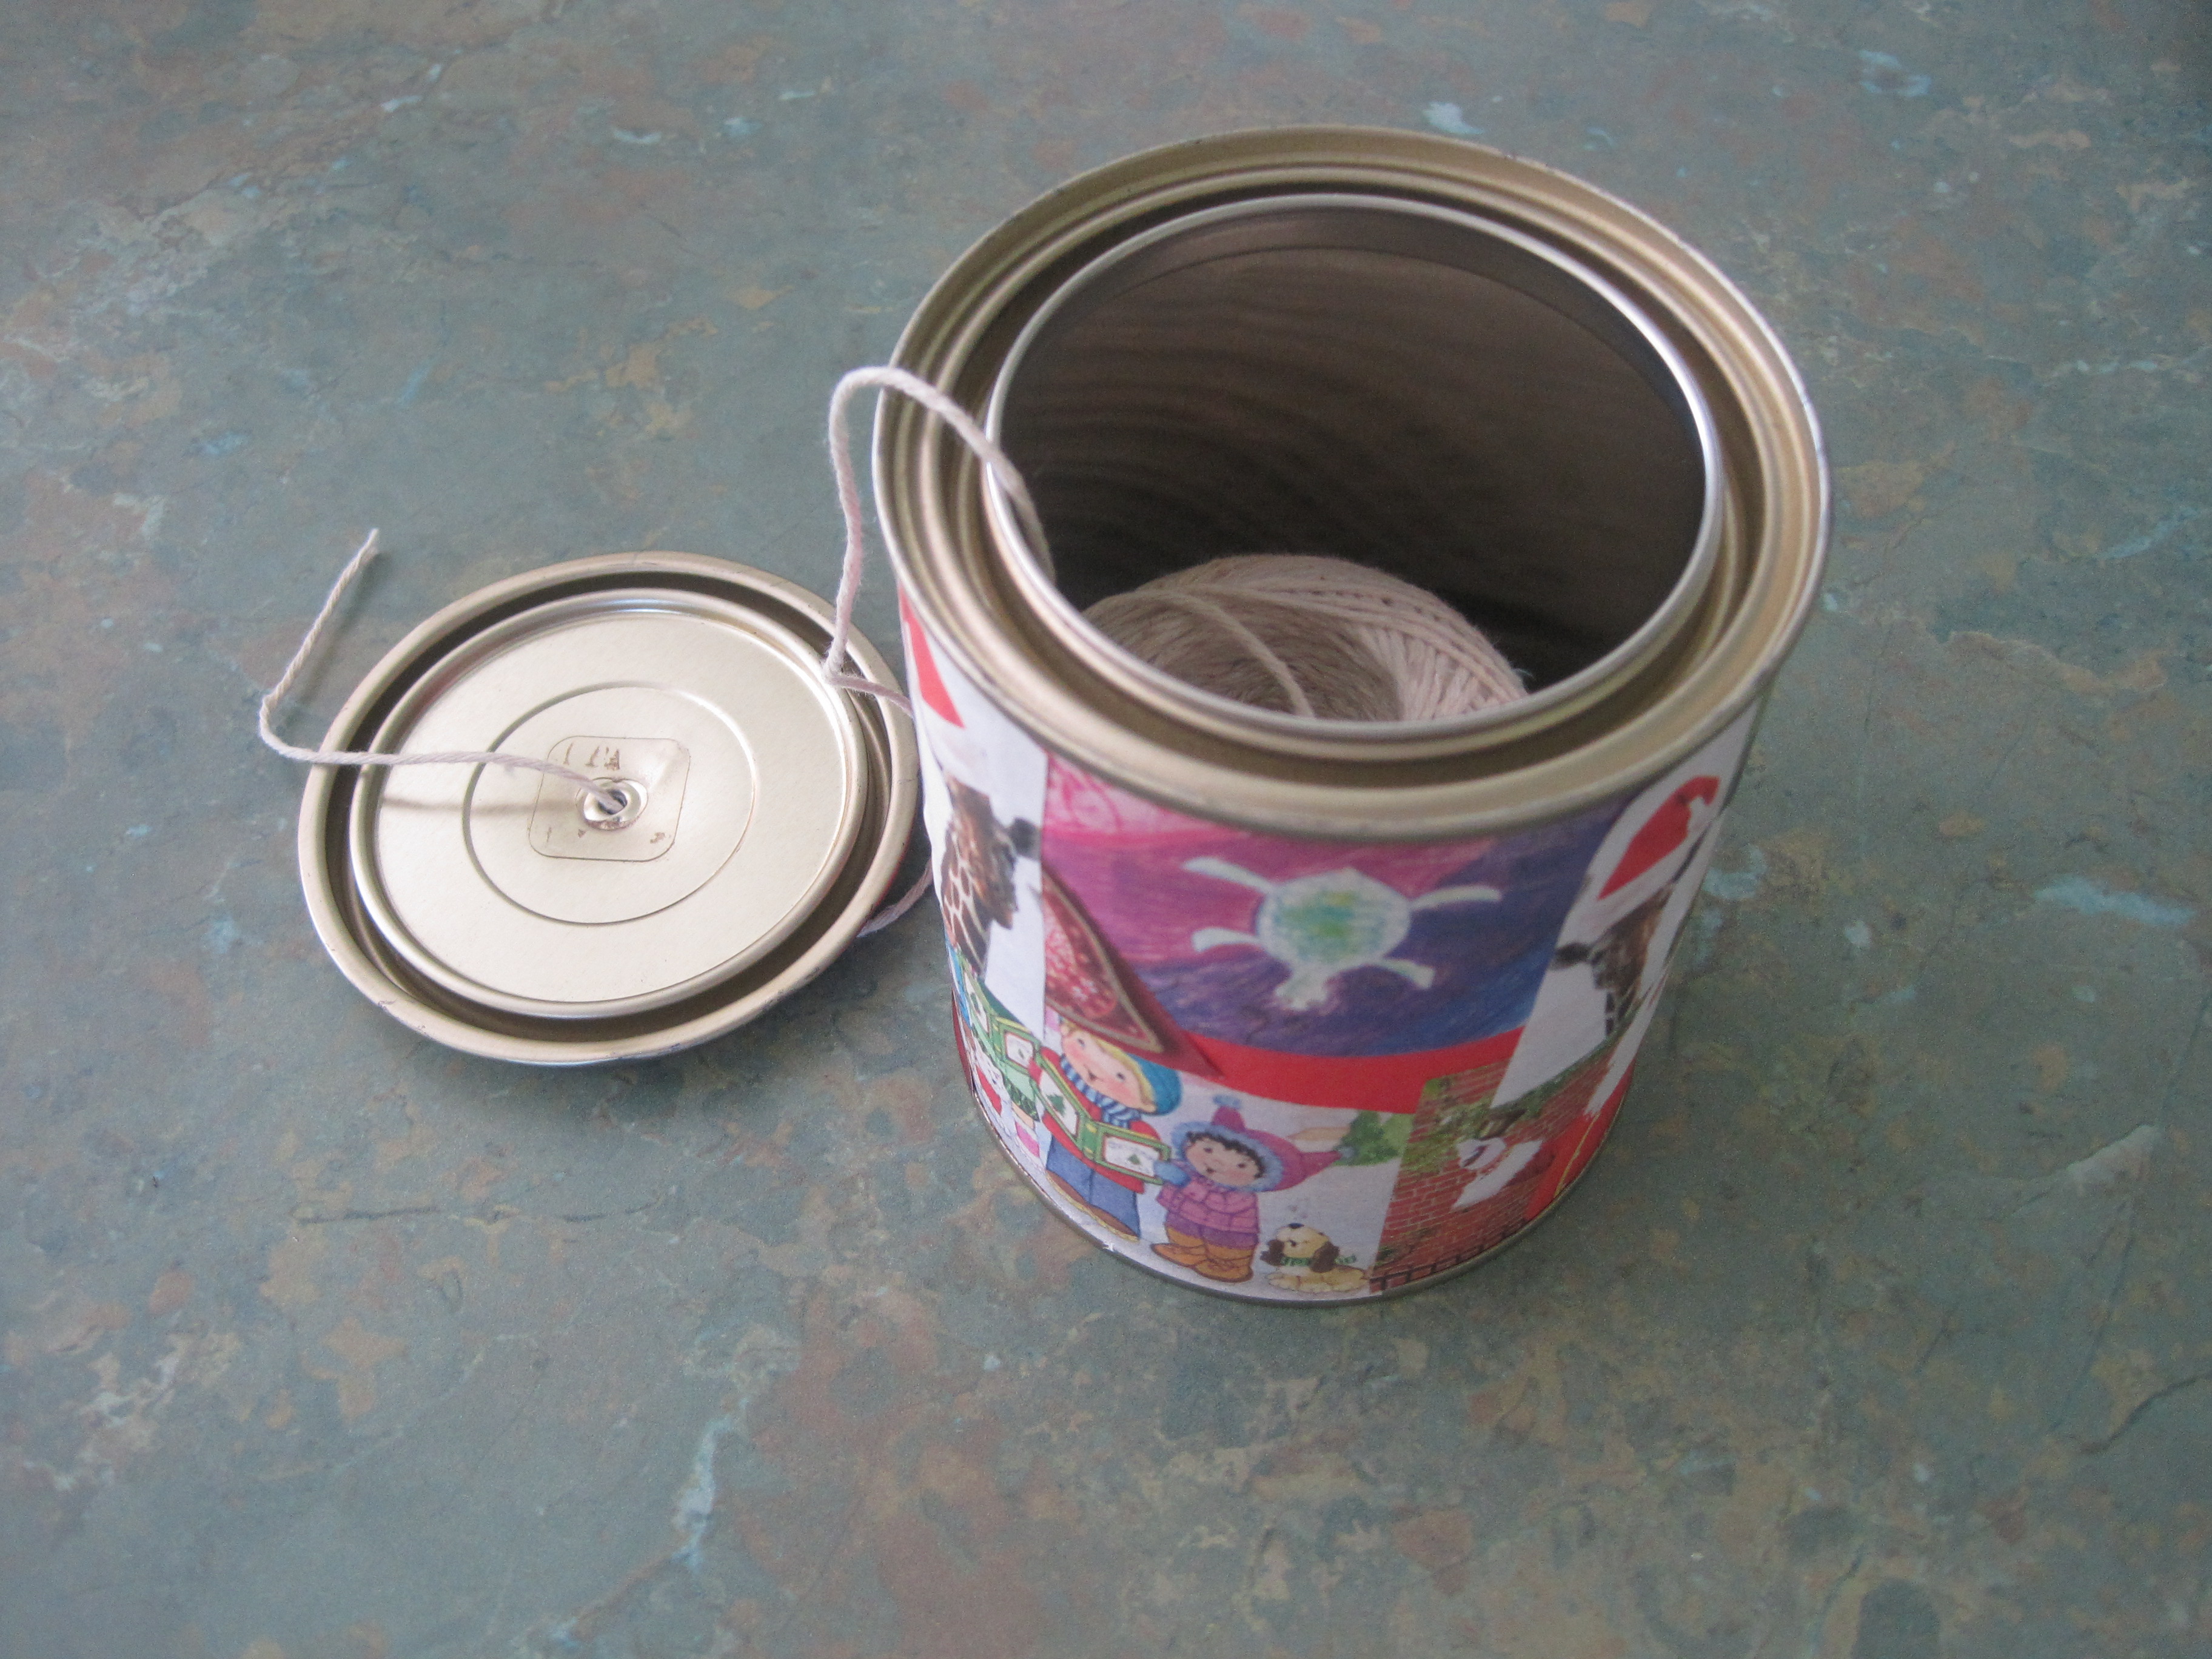
2011-12-11 02A coffee tin covered with pieces cut from a local magazine.  The paper is glued on, a hole punched in the lid and a ball of string inside.  I will finish the outside with some clear varnish to seal it and we have a practical gift that small hands can make (with a bit of help) at no cost apart from the ball of string.

2011-12-11 03I did the cutting but Miss O used the glue stick and placed the pictures.  Izz also did a couple with the glue stick.

We had a lot of fun working on this project together.

Do you have any suggestions for Christmas gift ideas for children to make?