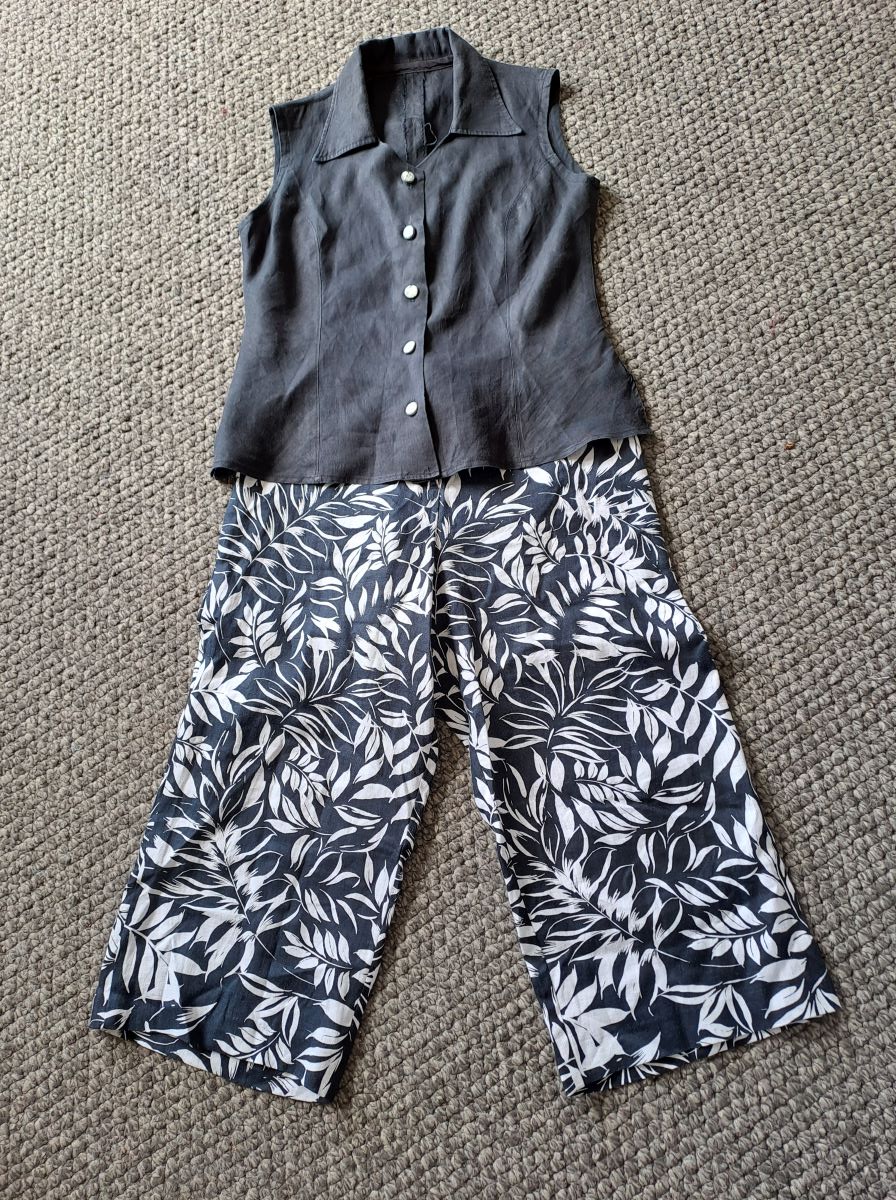
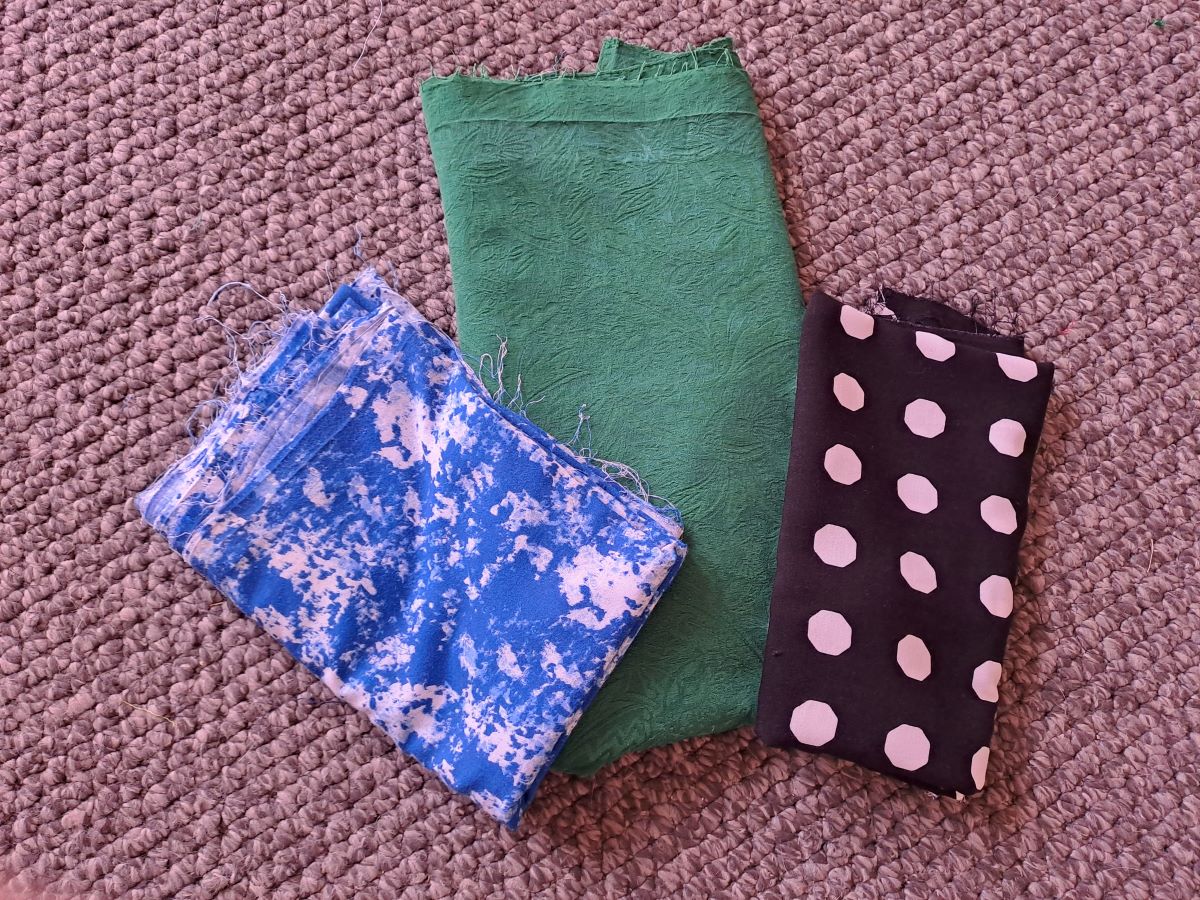
I am not a professional seamstress or dressmaker but I do have reasonable sewing skills and am always ready to turn my hand to a bit of upcycling. It was with these skills in mind that I picked up a couple of things at the op shop today.
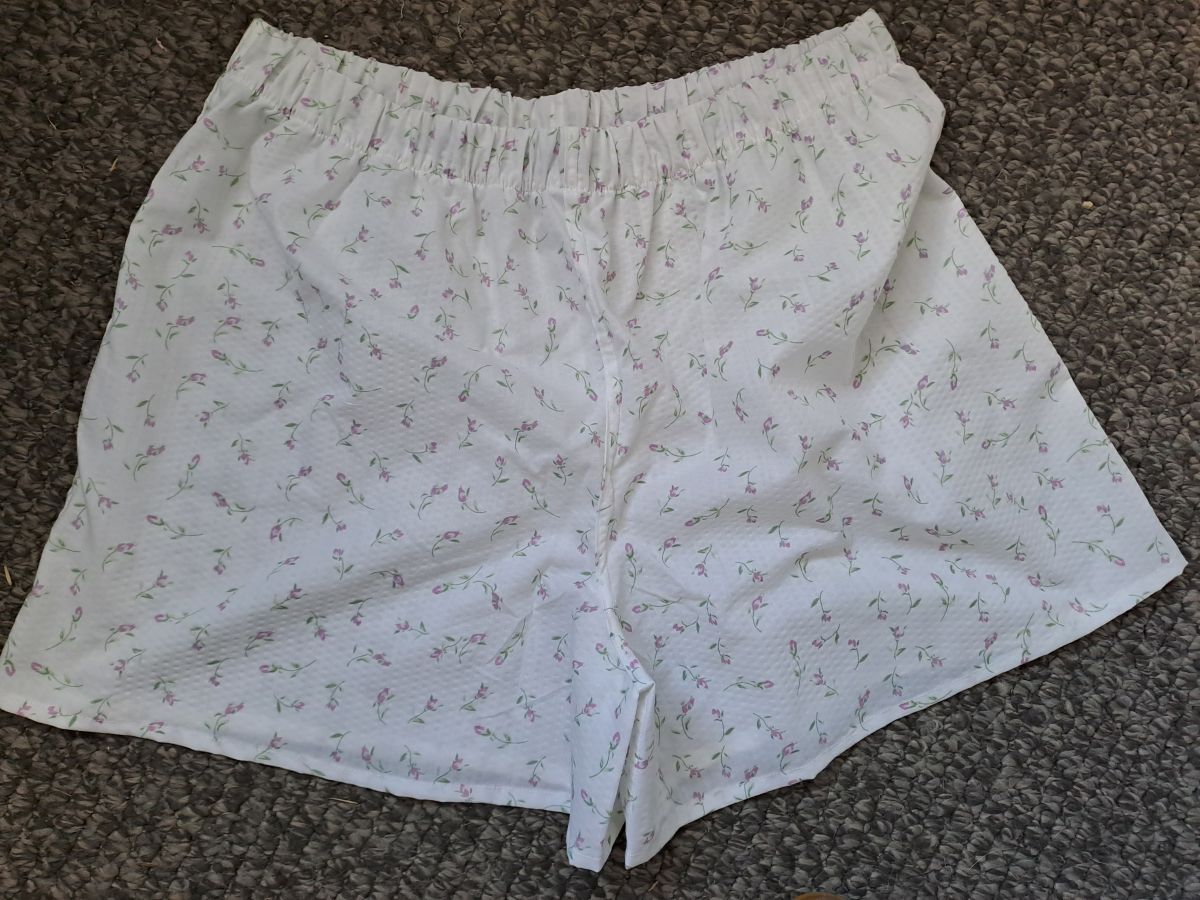
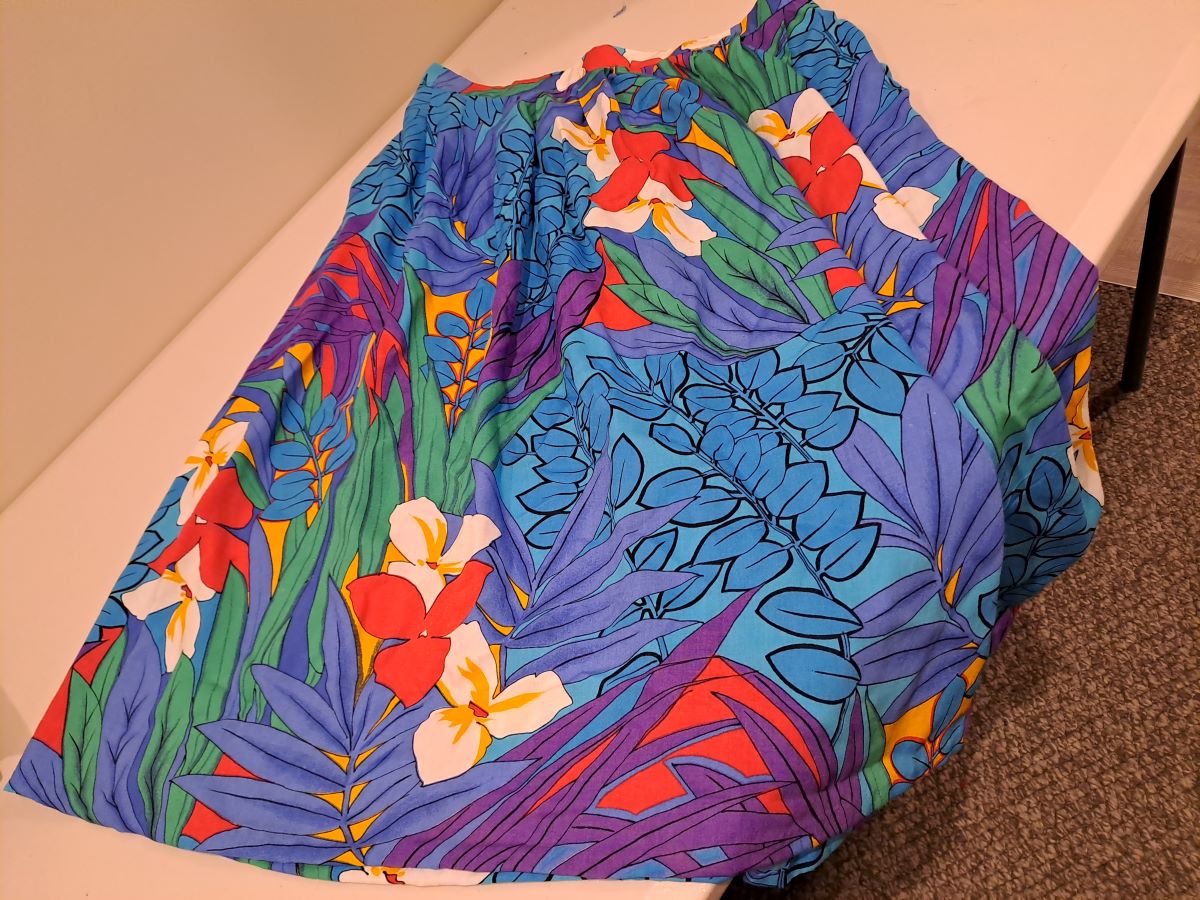
I spotted (pardon the pun) a cute pair of pyjamas which look as though they have never been worn. I love the colour and pattern plus the fact that they are 100% cotton. I bought them without trying them on as I knew that there are multiple ways to use the fabric.
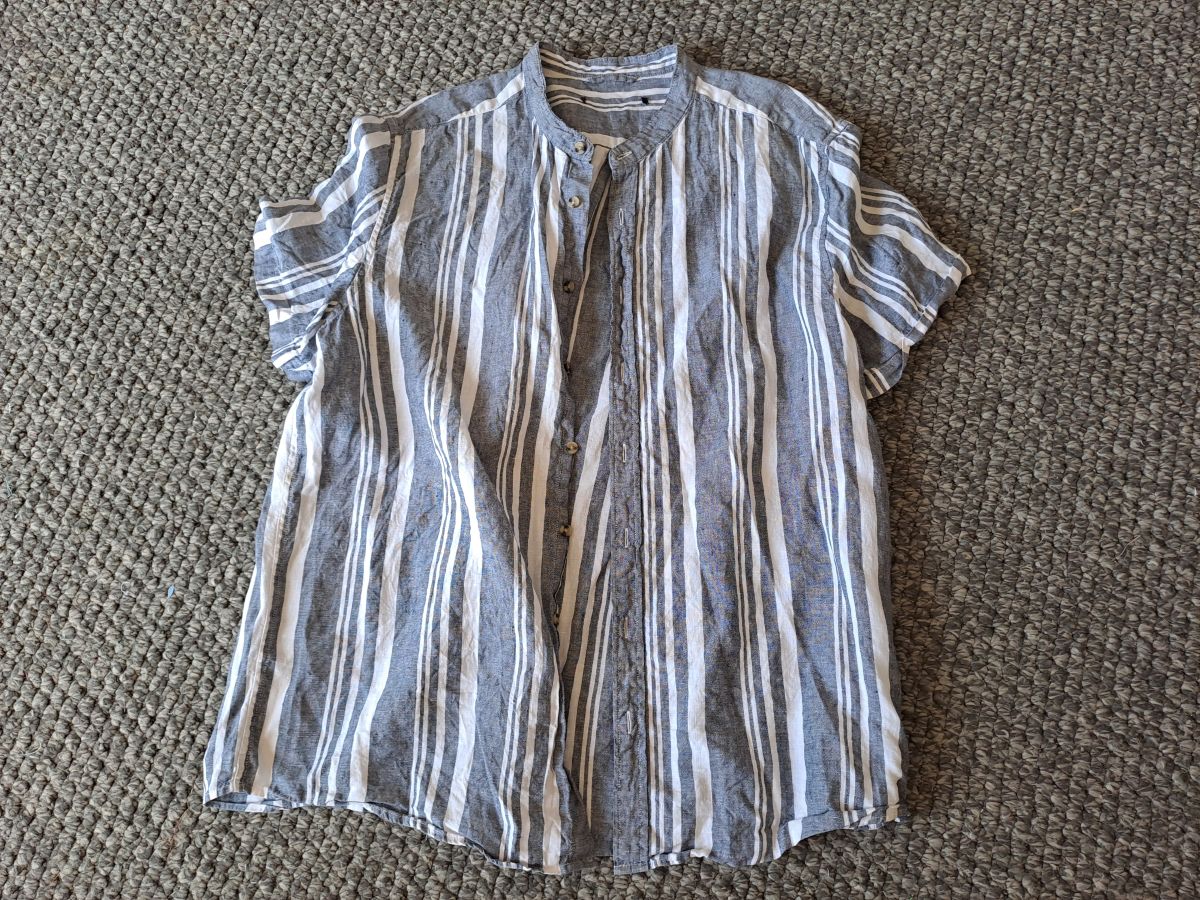
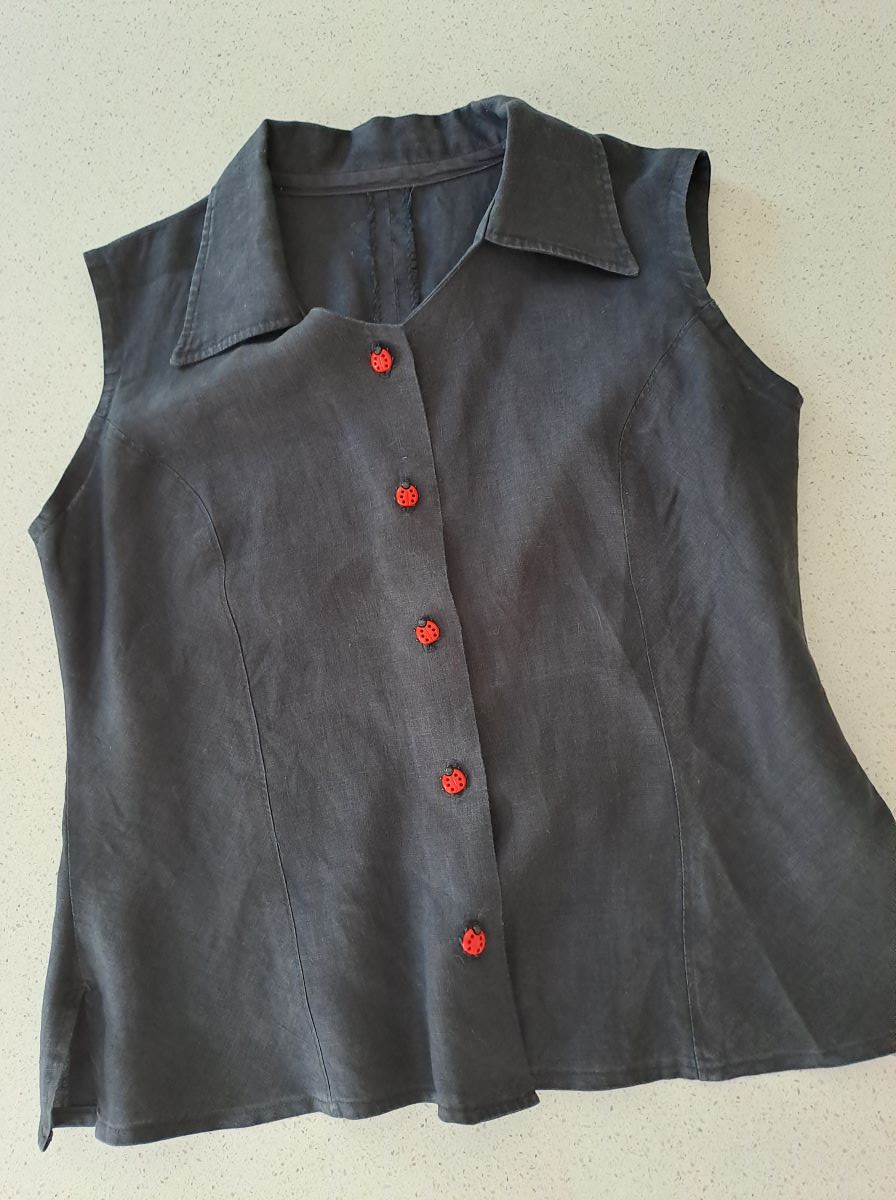
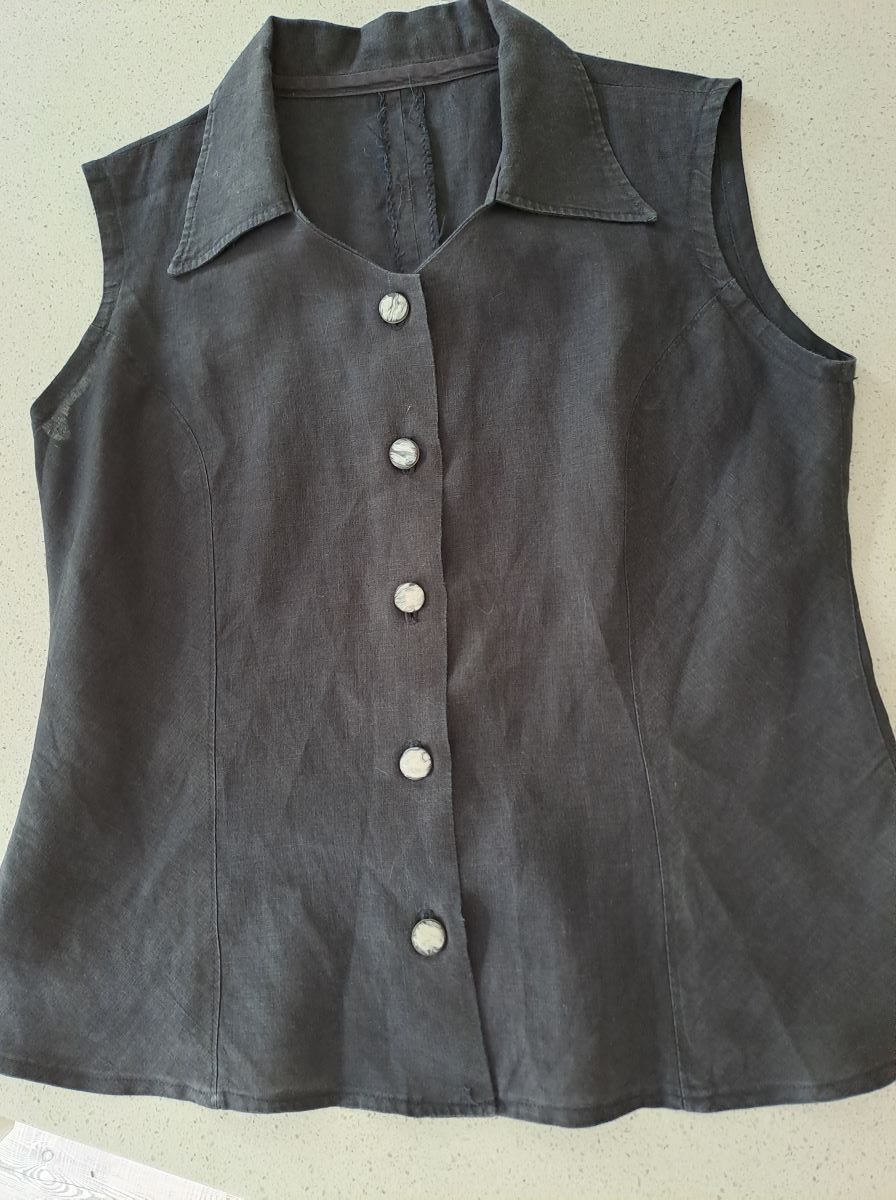
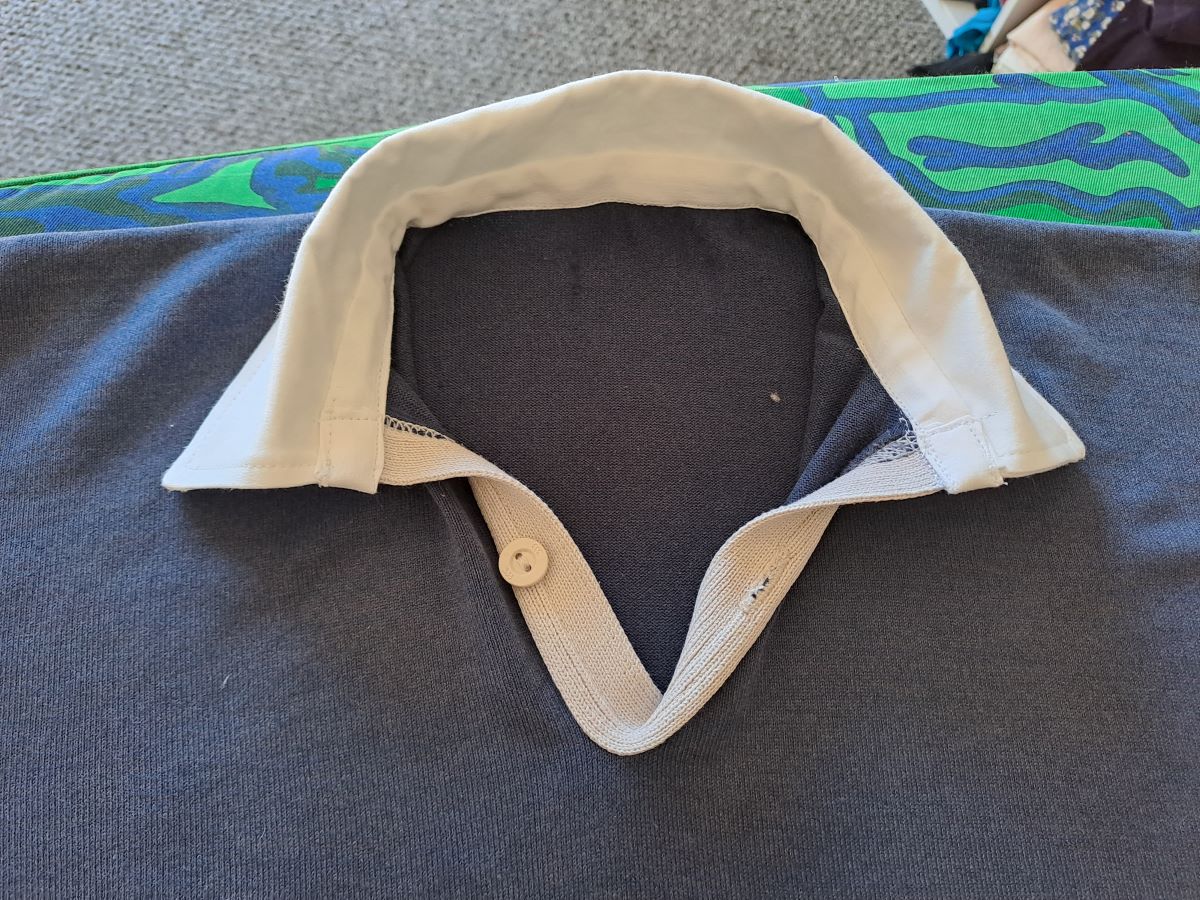
Well, the shirt is a great fit so that is a win.
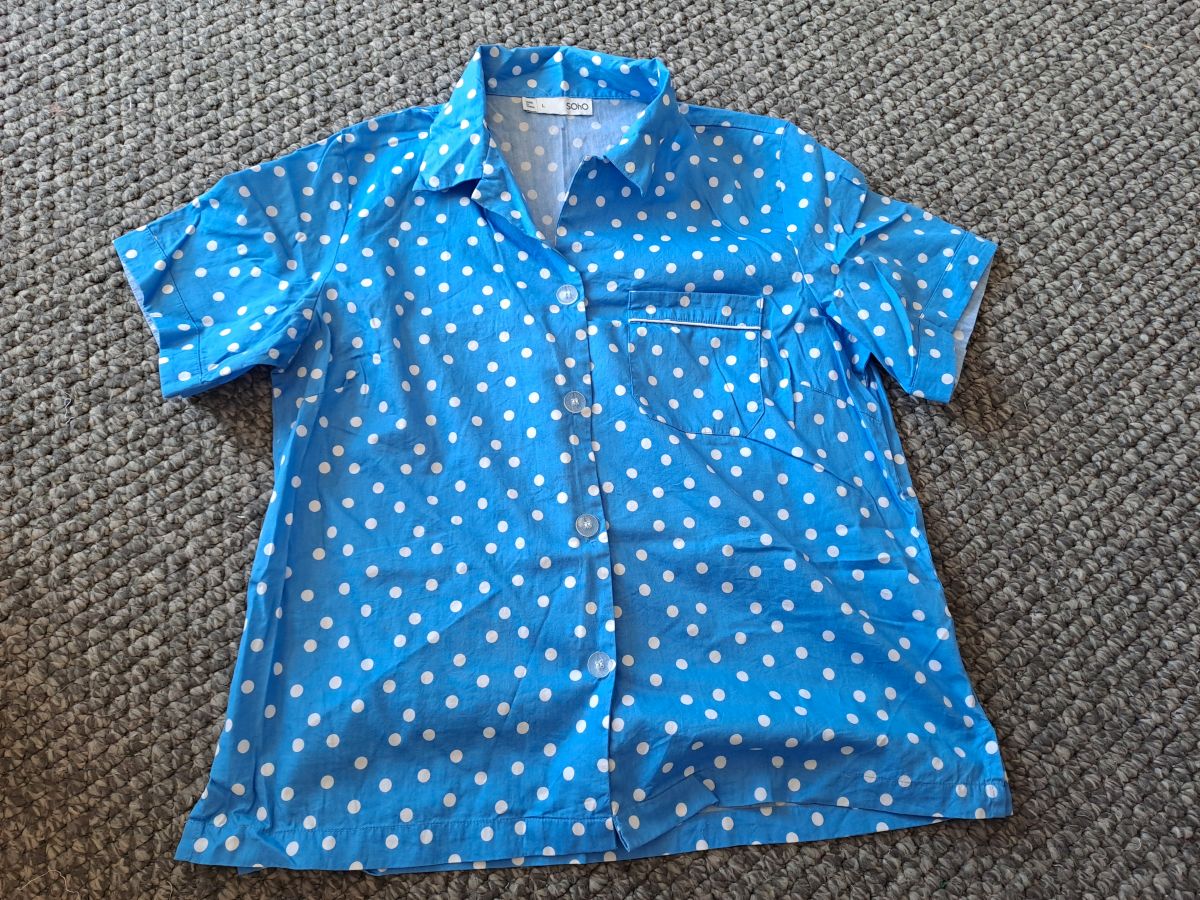
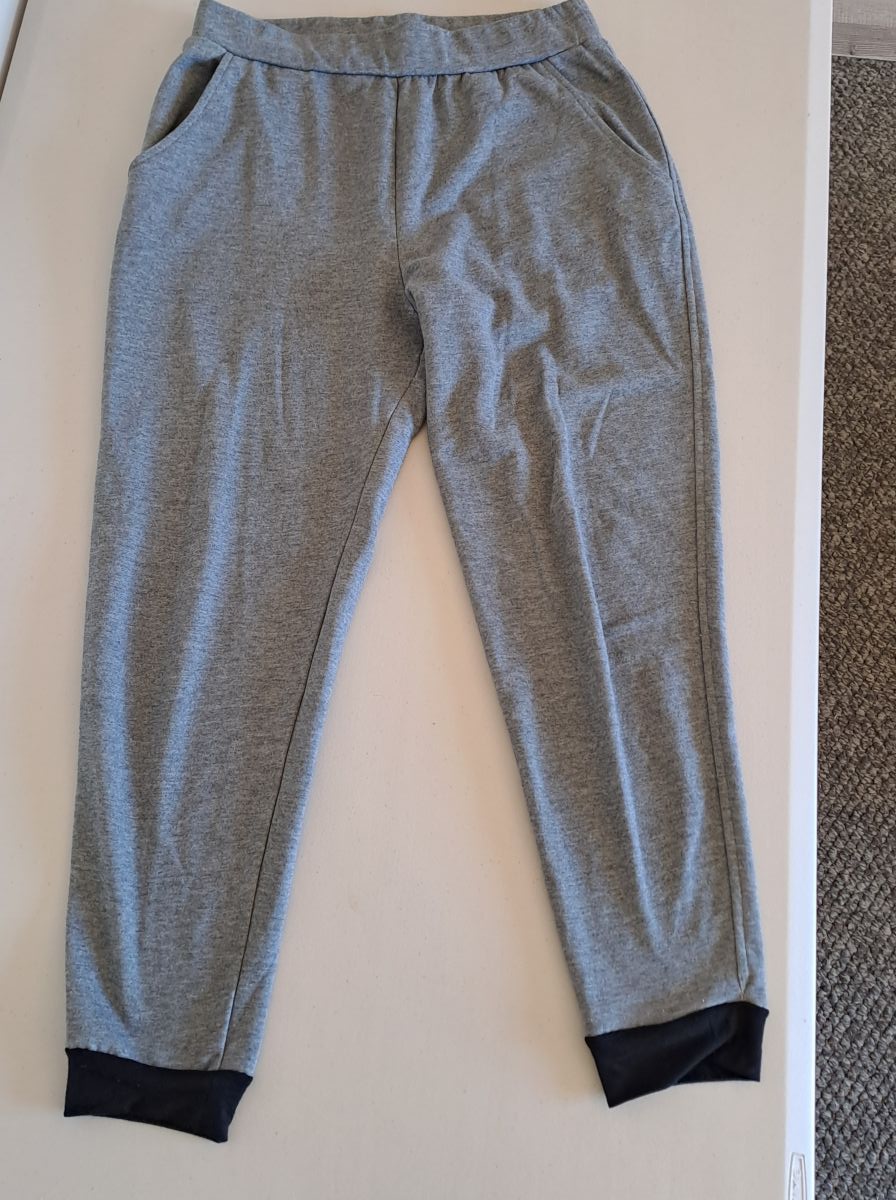
The bottoms need a little bit of work to make them perfect but I am confident that with some simple alterations I will have a brand new set of pyjamas for the princely sum of $4 plus a bit of time and handiwork from me.
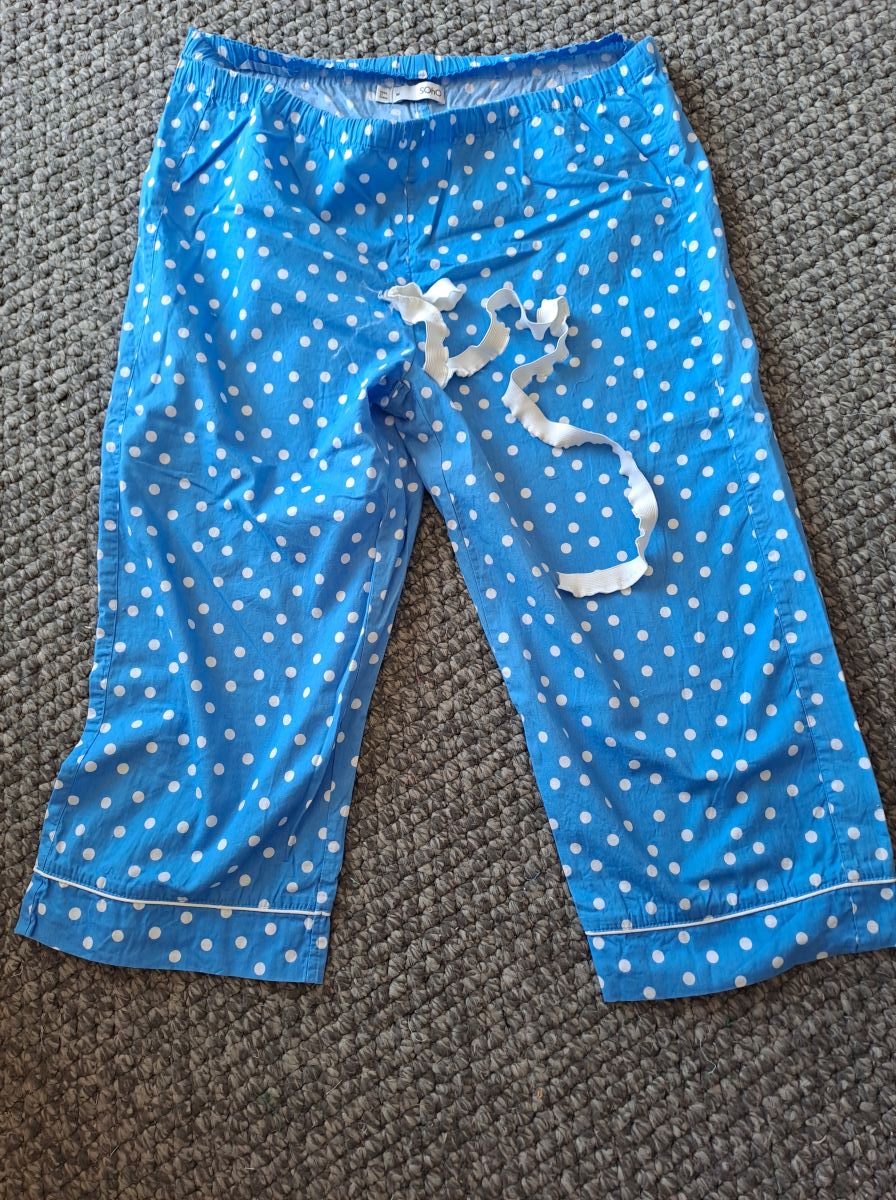
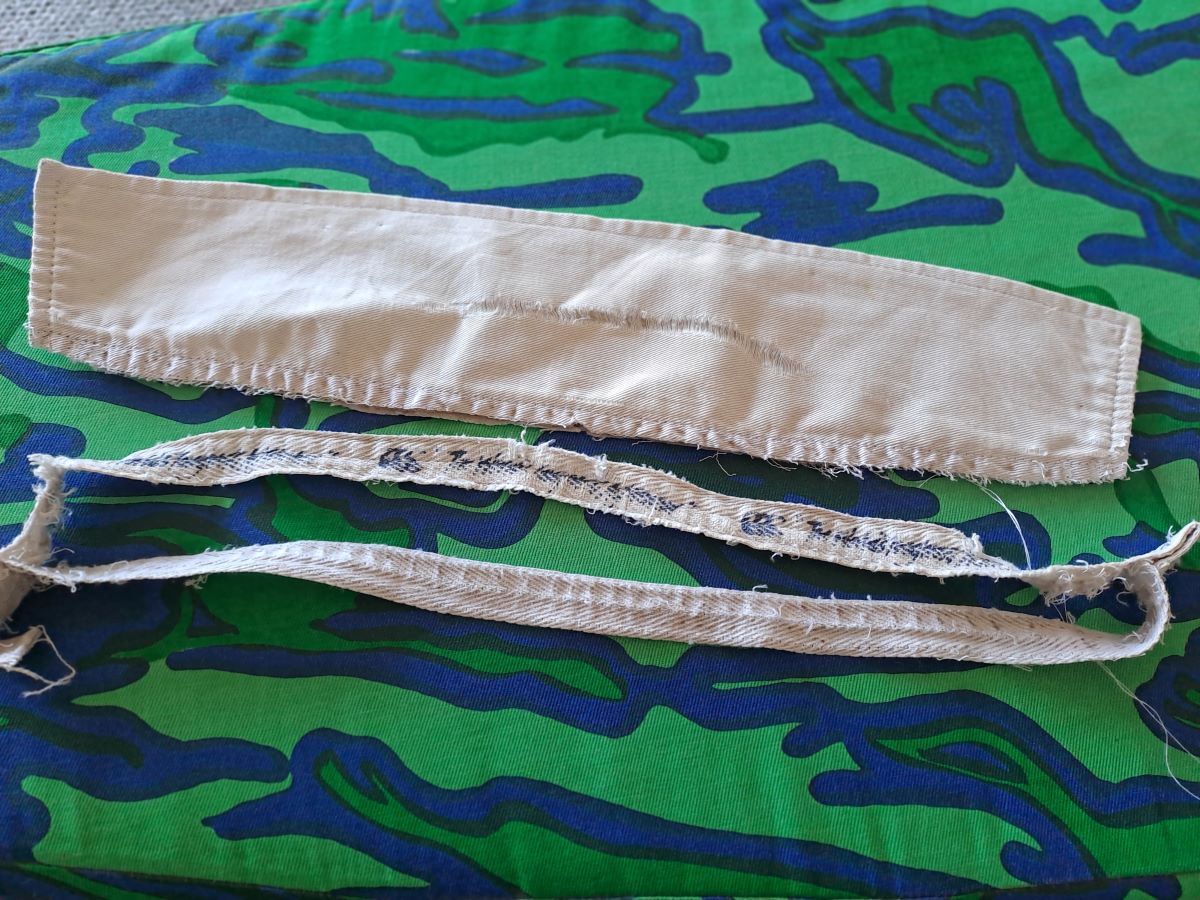
I have removed the waist elastic which was too soft and obviously perished. Perhaps, these have been sitting in someone’s cupboard and unworn for an extended period of time. I am going to turn them into boxer shorts rather than mid-calf length trousers. This will give me enough excess fabric to make them a bit wider at the sides as well as extending the length of the crotch. I will use my existing pattern as a guide for these adjustments.
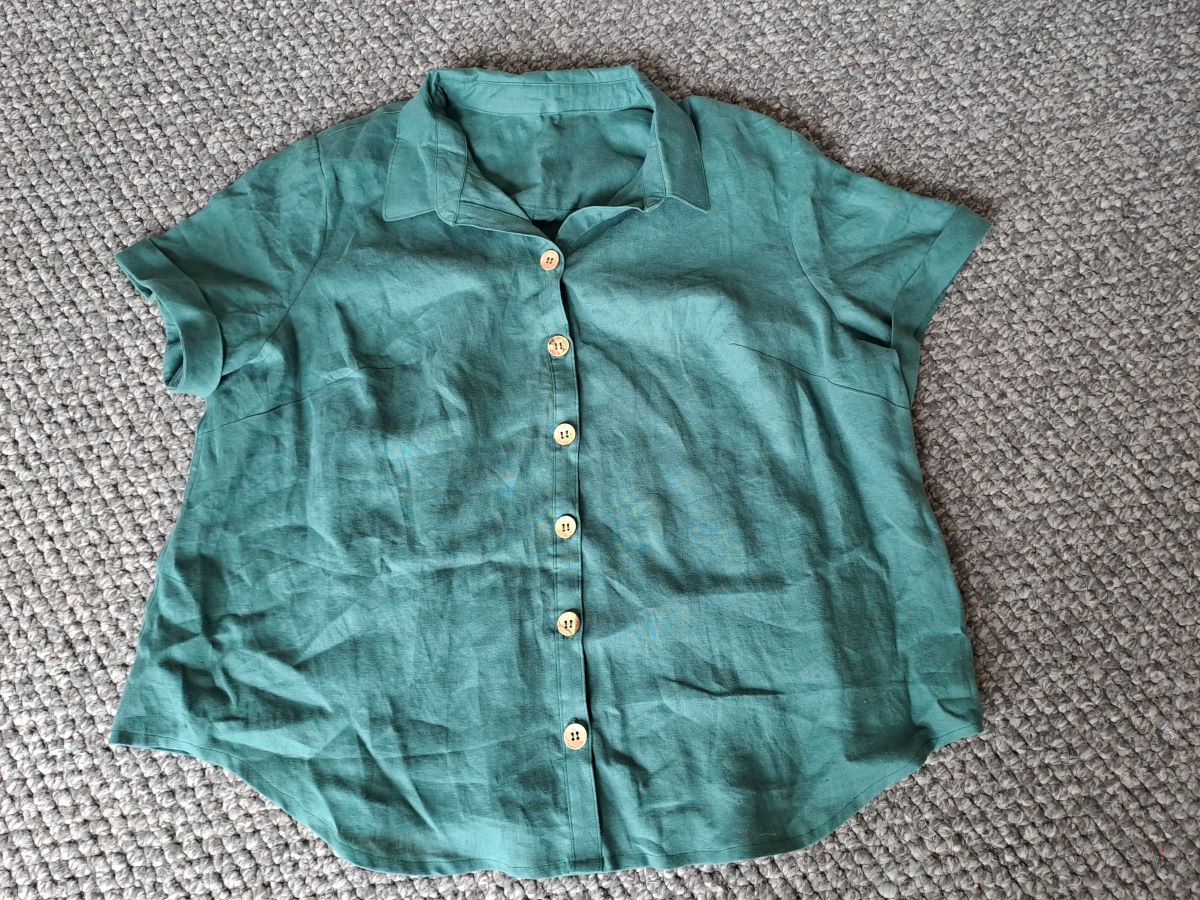
I also scored this collarless men’s shirt for $3. It is 100% linen and there is plenty of fabric for me to unpick it and remake into another summer linen top for myself. I can’t have too many sleeveless linen tops while the temperature continues to hover around 35C and above.