Even with a relatively small garden the late summer and early autumn harvests are enough to keep idle hands occupied.
We have 2 varieties of Nashi pear trees espaliered and we have had them netted for the past 3 months to allow the fruit to grow and ripen unhindered by our feathered friends.
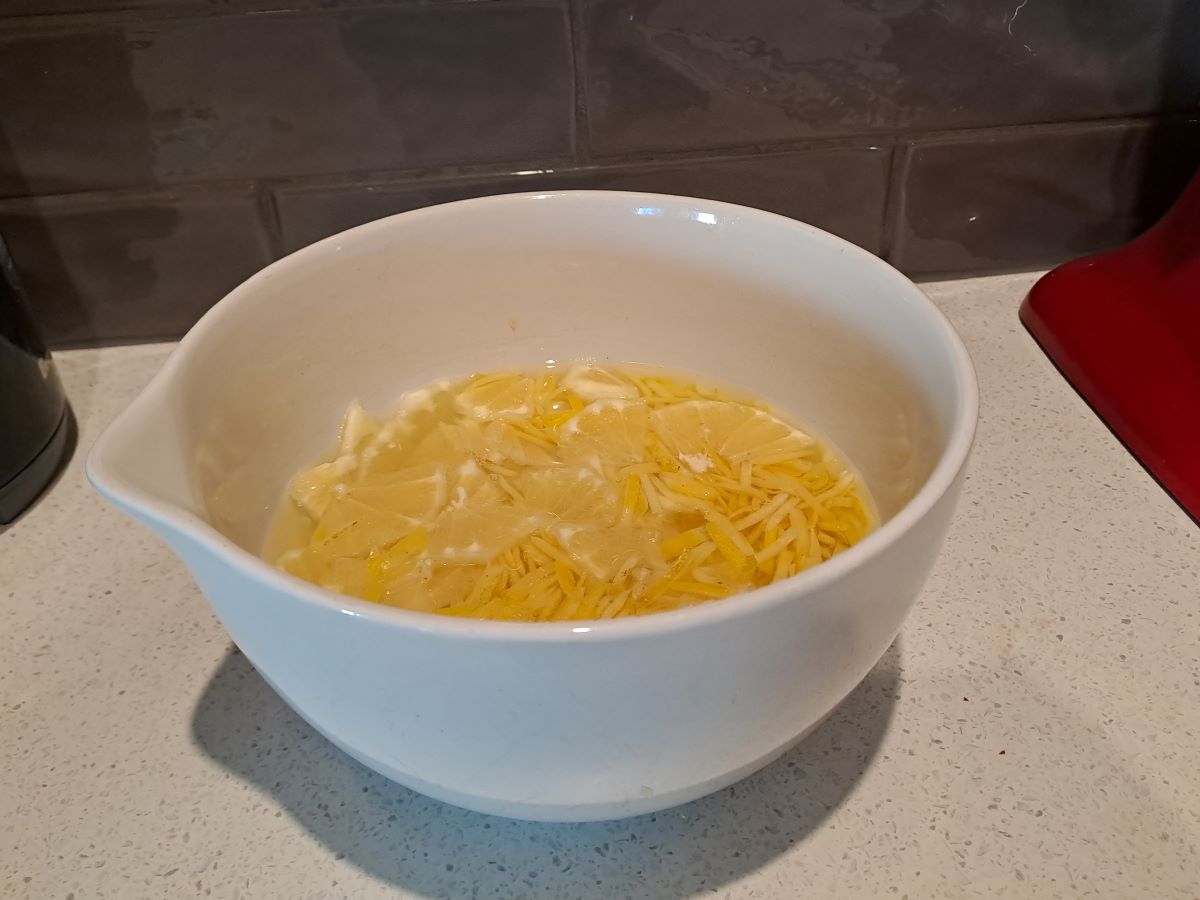
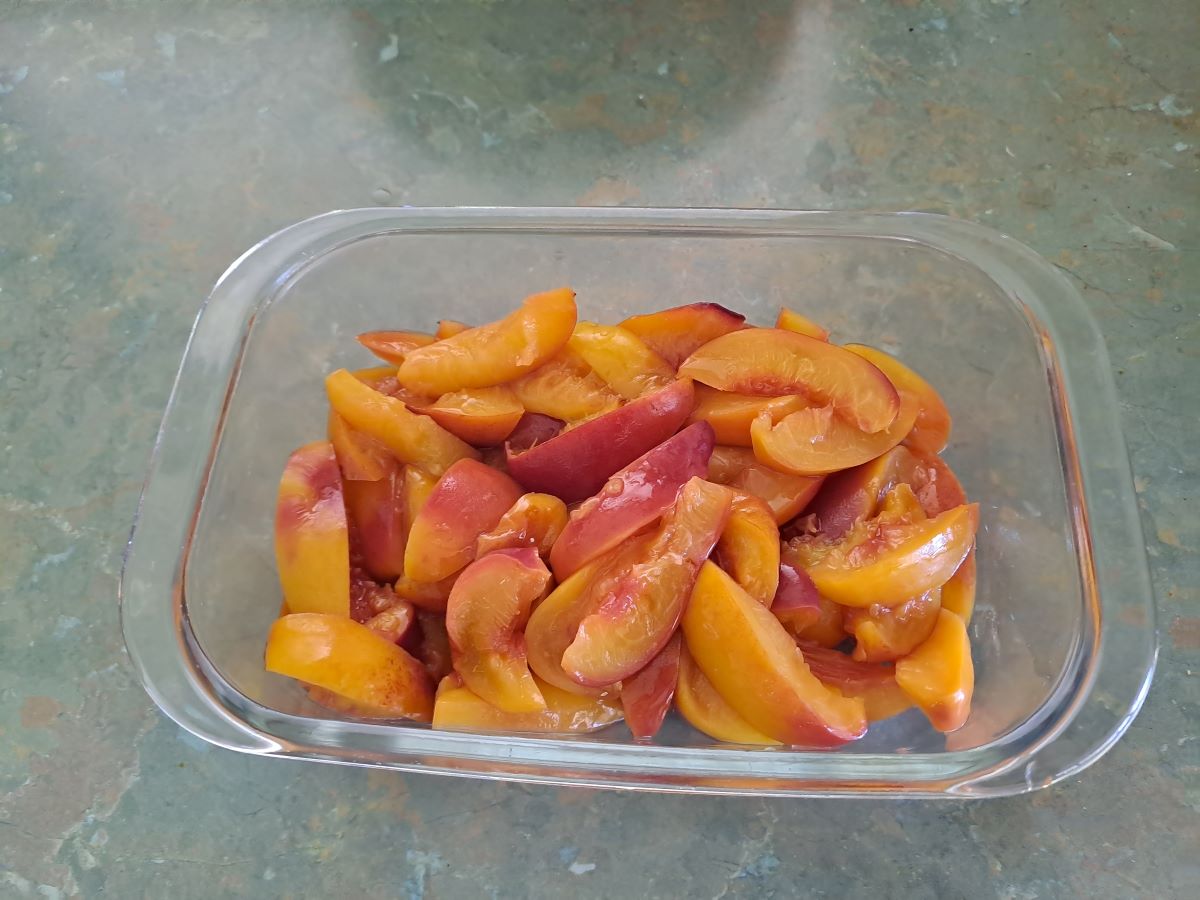
Today we picked all of the fruit from one tree. 70 Nashi pears.
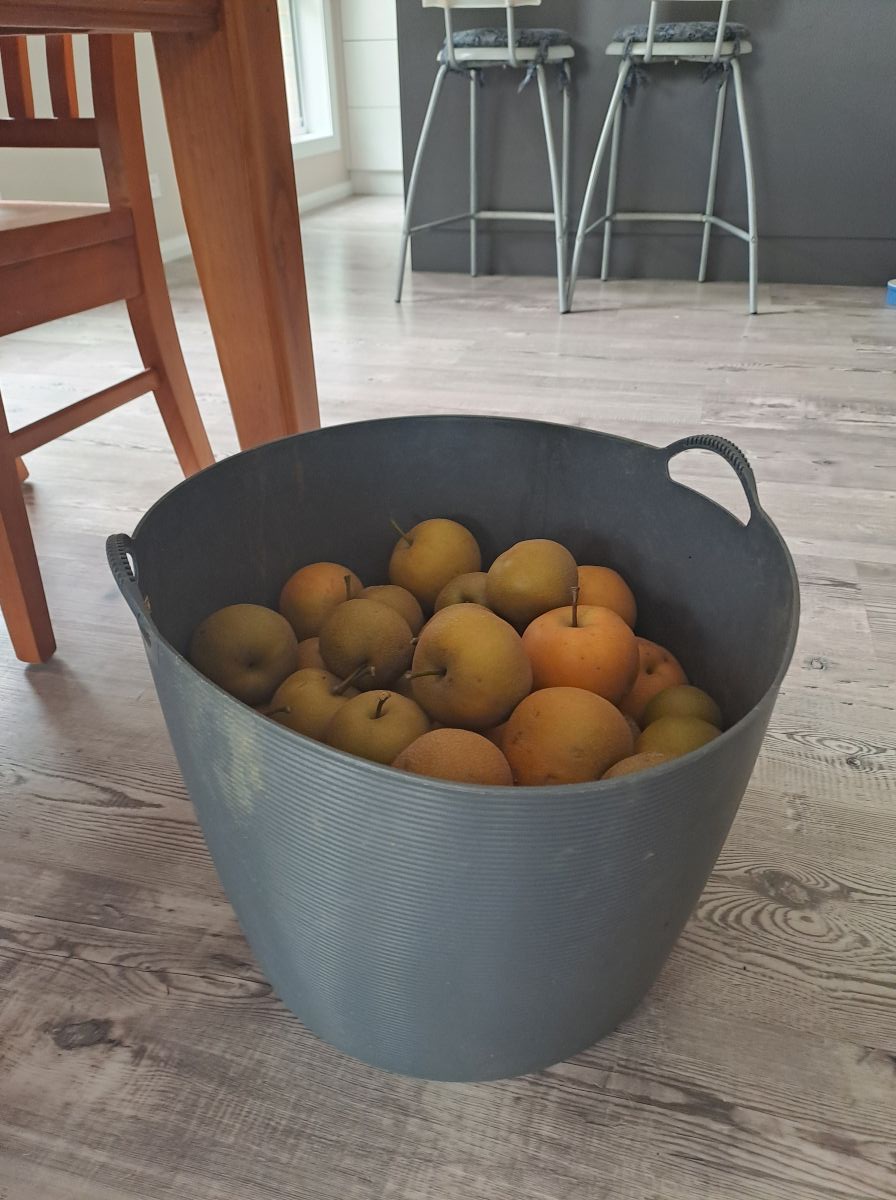
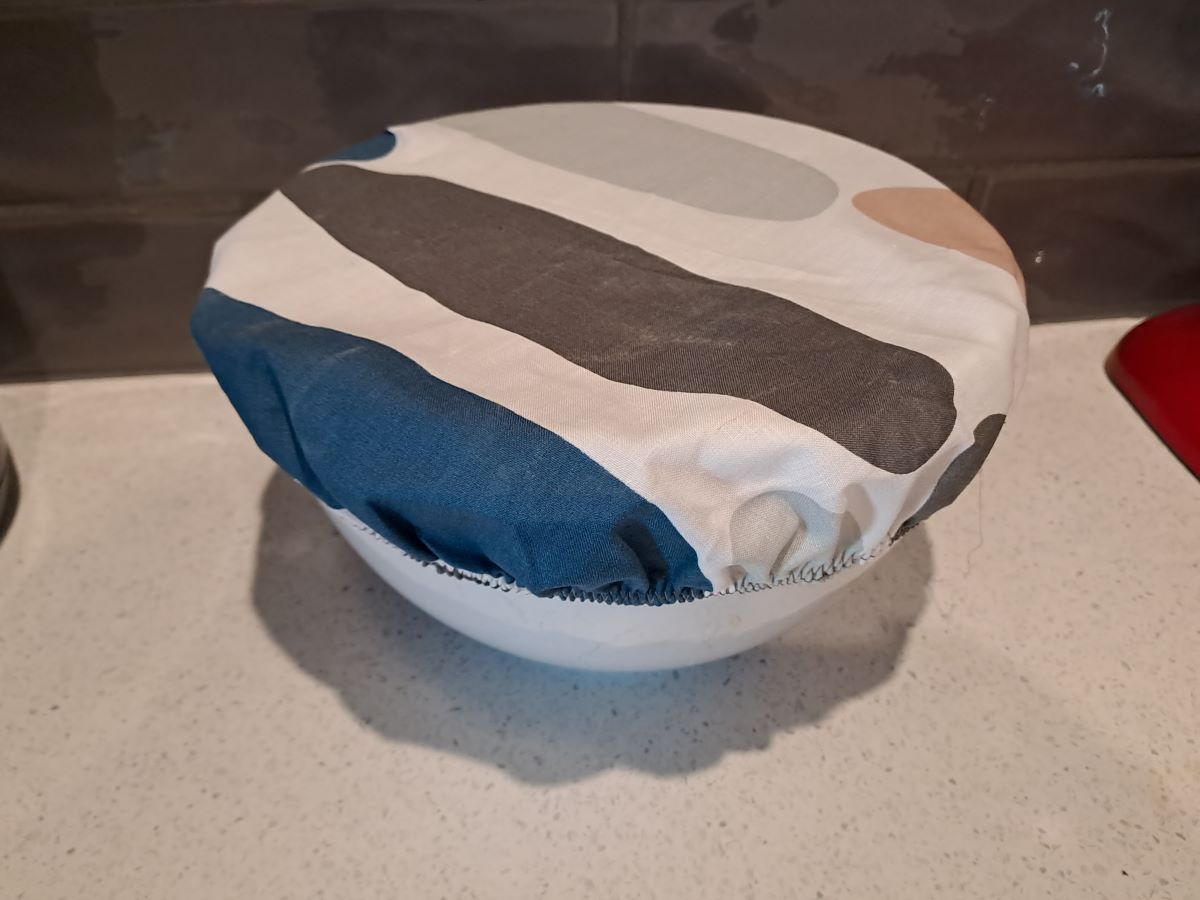
GMan has been busy for several hours peeling, cutting and slicing. We cooked them in batches in the microwave and they are now cooling before we freeze them. We use the lightly stewed fruit on our breakfast cereal.

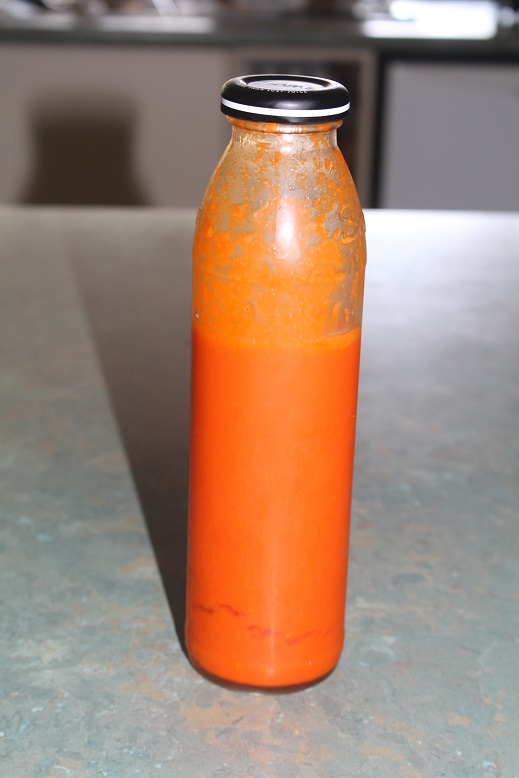
The fruit from the other tree will need to be picked before too long. Meanwhile the tomato harvest continues. This all from a single plant. We have enjoyed generous serves of tomato in lots of meals over the past few weeks. I think I will need to dice and freeze some of them for use in casseroles and other cooking during the winter.

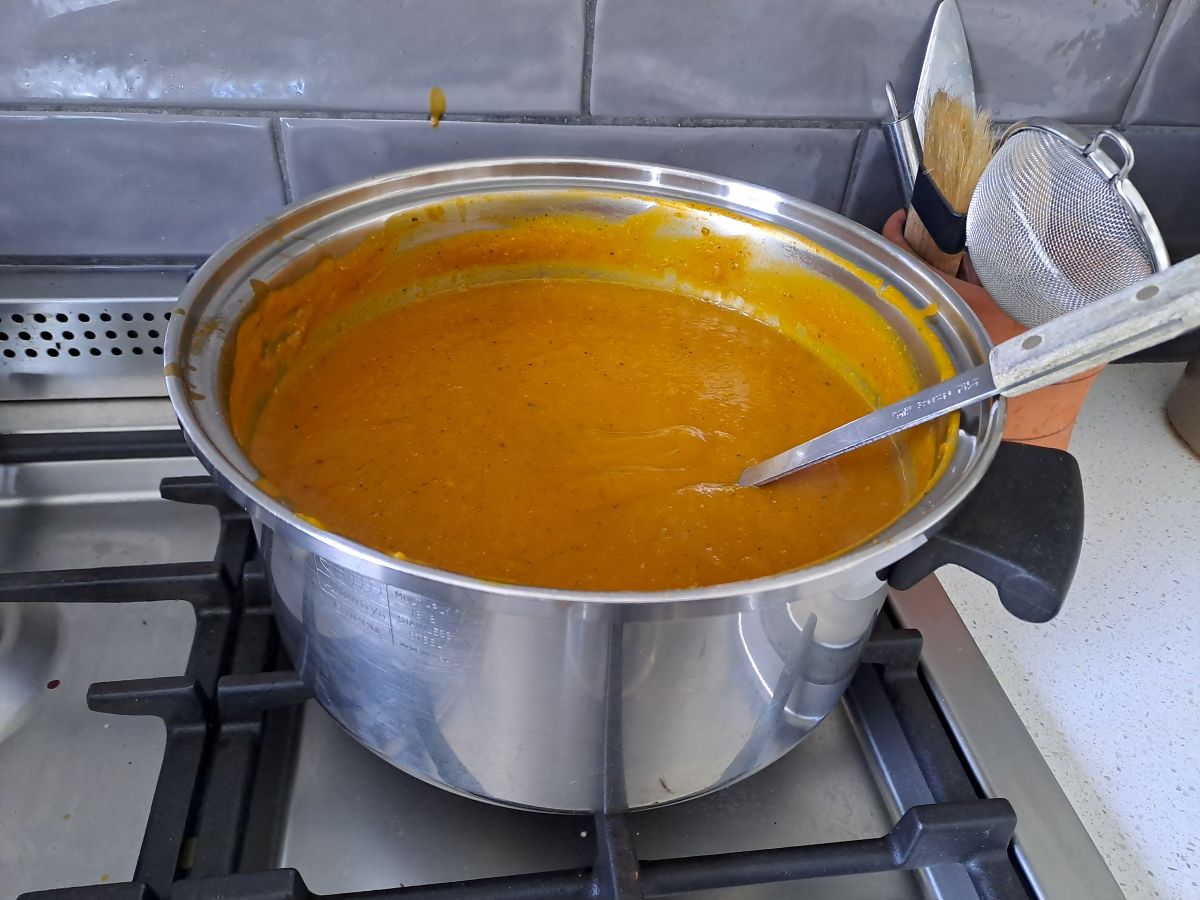
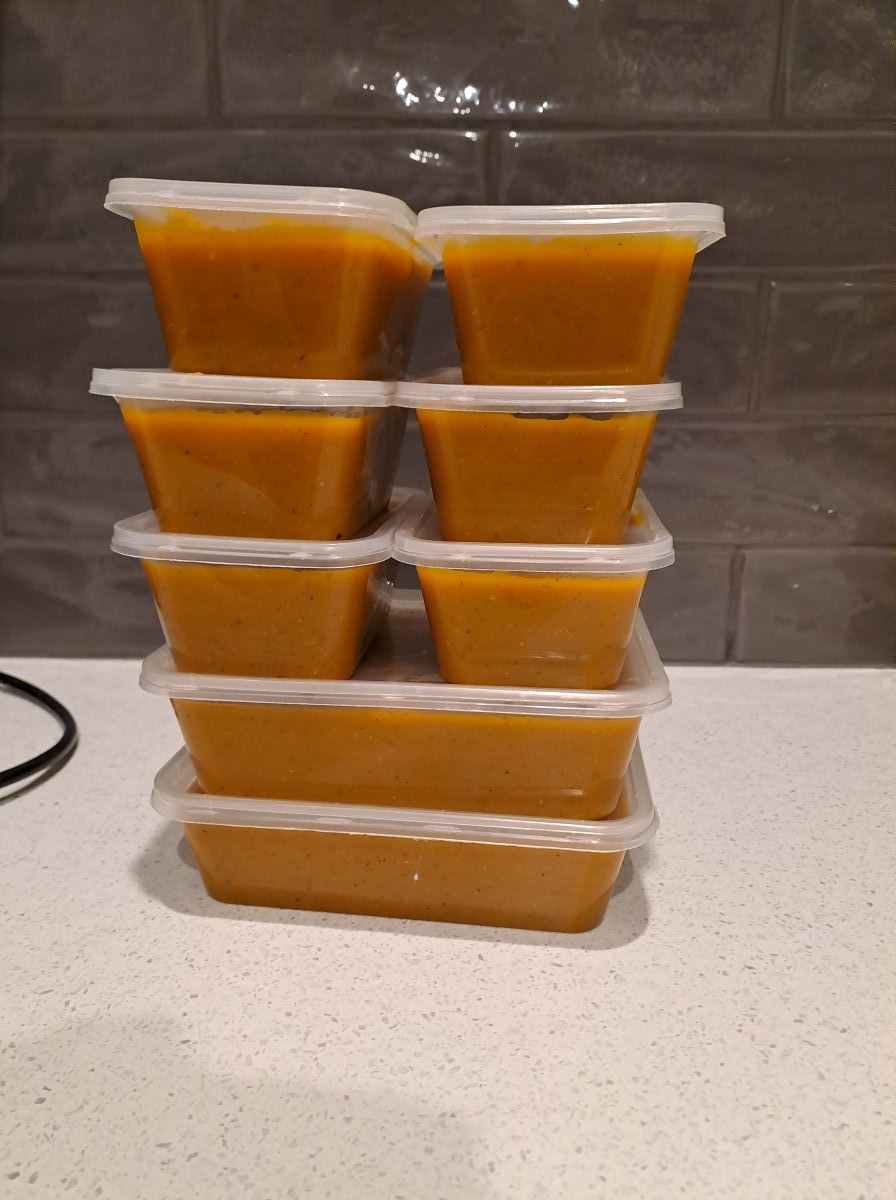
Additionally, the cherry tomato plants are now ripening so I am simply destalking and rinsing them and freezing in 1kg bags. I can see some sauce making in the not too distant future.