Flown the Coop

Leave a comment

We have a small flock of chickens.  It ranges in number from 2 to 7 depending on circumstances.  We had 5 until last week when one of them died.  We usually let them out for a couple of hours late in the afternoon when we are home so since I was working from home today I went downstairs to let them out about 4pm.  The 2 brown chickens came running but there was no sign of the 2 black ones.  I searched everywhere for them but to no avail.

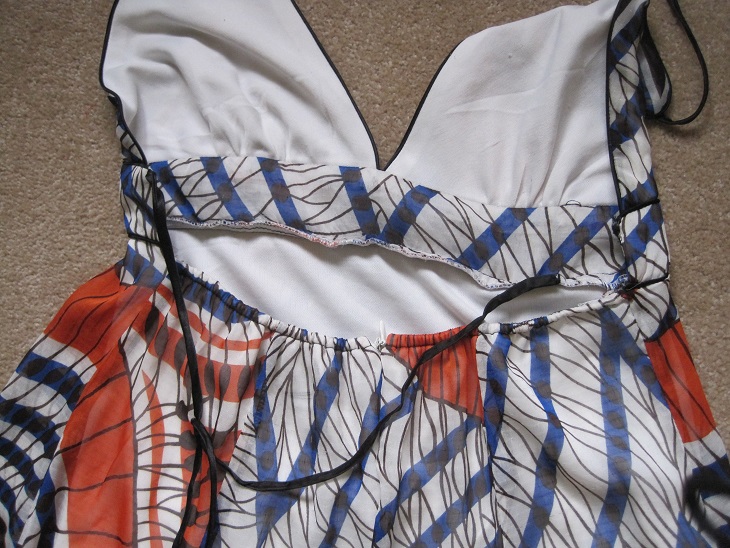
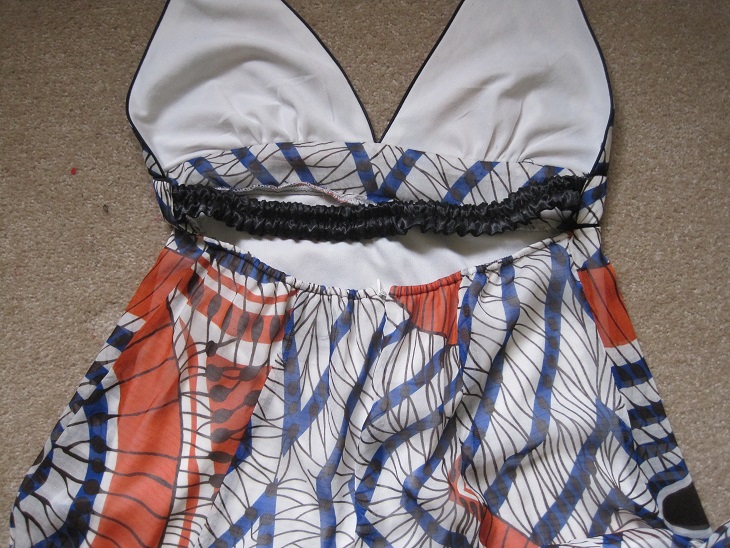
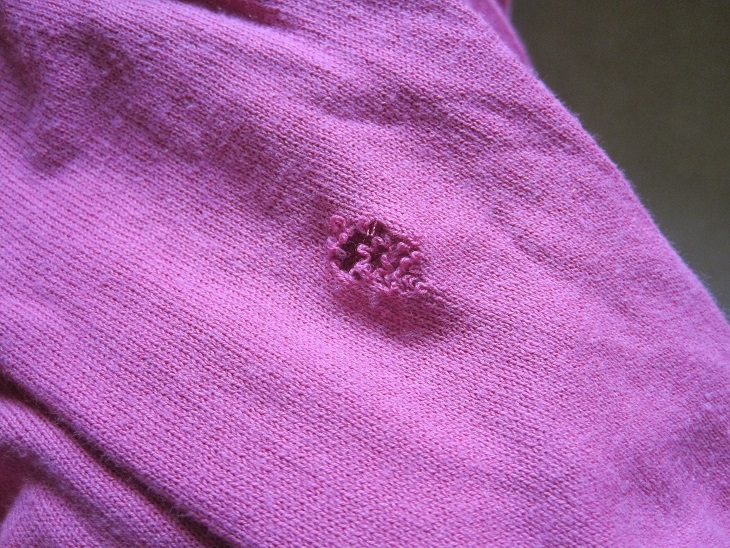
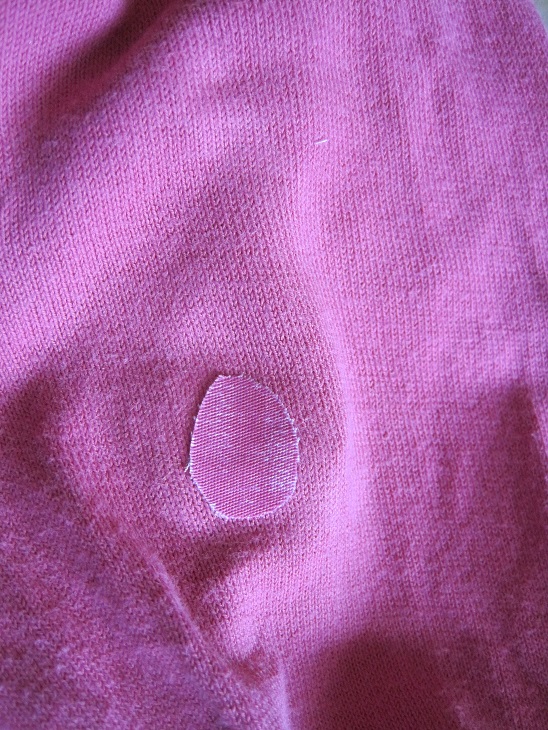
Then I noticed that the shadecloth that we have over part of the run was split.  The join had obviously deteriorated in the sun.  One of the reasons I put the shadecloth up was to stop the chickens getting on the roof of the henhouse and then using that as a launching-pad to fly out of the enclosure.  The black chickens were the main culprits and The Duke had christened them ‘Harriet Houdini’ 1 & 2.  It looked like they had lived up to their names and I was not sure whether I would see them again.

Wire clips
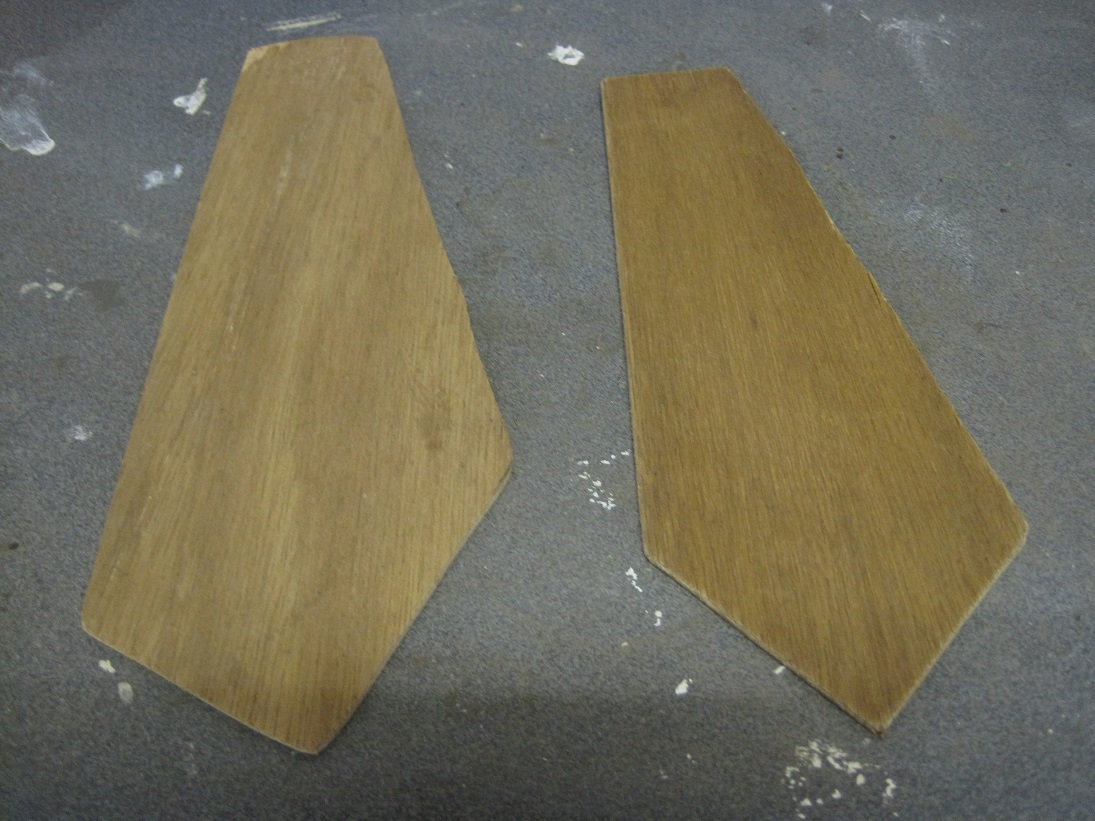
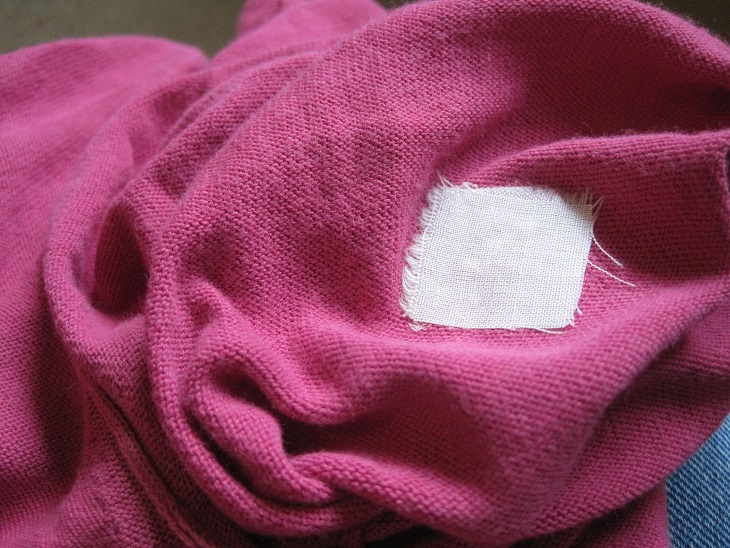
I decided to fix the split so I used these fencing wire clips.

Repaired shadecloth
Here is the finished result.

About an hour later the 2 escape artists returned and carried on scavenging in and around the garden beds as though nothing untoward had happened.  I am hoping that I have solved the problem and they will stay in the run.

Make & Mend – Picture Frame

4 Comments

This week I want to share a few of the projects I have been working on recently.

First up is the picture frames.  These are 2 large timber frames which belong to my mother.  They have family photographs in them and usually stand on her sideboard.  The problem is that the stand is actually very heavy cardboard.  After several years of very wet and humid weather the cardboard has absorbed moisture and now has flexed and will not stand and support the frame.

Picture frame with stand
I brought these home with the idea of repairing them and this is what I did.

I made a pattern from the stand on each frame and then marked it out on a sheet of plywood.

Pattern
The pieces of plywood were cut using a jigsaw.

Plywood
I then spread the glue (Aquadhere) over the plywood and placed it on the cardboard stand.  I used several clamps to make sure firm contact was maintained between the surfaces.  I left the clamps in place for 24 hours.

There are no photos of the clamps as my camera battery was flat.

Tonight I removed the clamps and the repair has been successful.  Now I need to finish the other frame then return them to my mother.

Repaired
Tune in again tomorrow for the next project.

New and Not So New

1 Comment

I have been busy with my sewing today and wanted to show you what I have done.

This morning I started on the blouse which I cut out earlier in the week.  I was on target to have it completely finished today, however, the sewing machine decided to misbehave.  The automatic buttonhole function is not working,  I do not know what the problem is and have tried all of the usual trouble-shooting ideas – re-thread the machine, reset the buttonhole settings, clean the bobbin case etc but all to no avail.  I will have to ring the sewing machine shop tomorrow.

In the meantime, here is a sneak preview of the blouse.  It is all done except for the buttons and buttonholes.

2012-12-02 01The next project is another skirt but I decided to have a short break from making new things and set about repairing/refashioning this bag.

2012-12-02 02This bag belongs to my daughter and it previously had rope handles which were knotted on the inside.  The holes were finished with large eyelets, however, one of the eyelets had pulled away from the fabric.  In order to repair the bag I removed all of the eyelets and made new handles.

2012-12-02 03

I used some scraps of chocolate brown fabric which was lurking in my stash.  I had to join a couple of pieces together to get enough length for the handles.  The straps are double-stitched to allow for heavy weights that may be carried in the bag.  You can still see the eyelets holes on the inside but all in all it is a functional bag again.  It is great to be able to give items a new lease of life.

Back on Track

3 Comments

It is now 4 days since we arrived back in Australia from our trip to the United States and I feel as though I am back into my routine.

I went back to work on Monday but yesterday was my day off so I caught up on the washing, packed the suitcases away and re-made the guest bed.

While I was emptying the cane waste paper basket in the guest room I noticed that the top edge was broken.  It is not really noticeable  because there is a plastic bag liner but I decided it would be better if I repaired it.

The cane binding had broken and the overlapping ends were sticking out.

2012-09-20 01I used some white kitchen string and a large curved needle which had been in some sewing notions that were handed down to me some time ago.  I had never used the needle before but it was prefect for this job.

2012-09-20 02I tied the string in place at one end to anchor it and then held the ends in place while I wound the string around the damaged section and tied it at the other end.

It is not superbly pretty but the repair returns the baskets to its original shape and makes it easy to fit and replace the plastic bag liner.

2012-09-20 03Do you take the time to make simple household repairs?  Do you keep a ball of string or do you see it as useless?

Sewing on Saturday

1 Comment

As I promised to myself yesterday, I have been sewing today.  I started with the pile in the mending basket.  The socks and shorts were first – straightforward.  Then I progressed to the more challenging tasks.  My methods are far from orthodox but I usually get results that mean a garment can be worn for a bit longer.

This is a maxi-dress that belongs to Belle.

2012-04-14 01The tie at the back had pulled away from the seam so we decided on something a bit different.

2012-04-14 02I removed the tie and using some black satin from my collection I made a band and threaded it with wide elastic.  It is secured at both ends and has enough stretch for the dress to be slipped over head and shoulders.  This is much sturdier than the original flimsy ties but still in keeping with the rest of the dress and the black satin halter neck ties.

2012-04-14 03Here is Belle’s pink cardigan with a hole in the sleeve.  There was no matching thread when the item was bought and the hole was too big to darn successfully.  Since it is not suitable to be worn as is I decided that any repair would be better than the alternative fate – the bin.

I found a bit of material with some flowers the same colour as the cardigan so cut out a bit and fused it on using double-sided iron-on interfacing.

2012-04-14 04I fused some fabric on the wrong side.

2012-04-14 05The final step was to zig-zag around the patch.

2012-04-14 06Whilst it is definitely not invisible it does make the cardigan wearable.

I have finished all of the mending apart from some hand-sewing on Missy’s skirt and I will finish that this evening.

2012-04-14 07I then turned my attention to the bag I am re-fashioning.  I showed you the patchwork strap the other day and here it is all finished and ready for use.

I am also making an apron for my buddy in the apron swap that I am participating in.  This was from Rhonda’s blog, Down to Earth.  I should have it finished tomorrow and then will be posting it later in the week.

The weather here has been cool and showery all day so it was perfect for a day of sewing.  Maybe I will do some more tomorrow.

Running Repairs

1 Comment

We all know that “a stitch in time saves nine” and, being competent with the use of a sewing machine I regularly repair and refashion clothing and linen.  However, from time to time I actually repair something else.

Last week we had a day of high wind and my clothes hanger blew down from the large hook under the verandah.  When I picked it up I found that one of the spring-loaded pegs was missing.

It was in pieces – 2 on the floor of the verandah and one piece had blown over the edge.  I collected up the bits  and set to work to see if I could resurrect it.

With the aid of a small screwdriver to stretch the metal ring I got it back together.

Then it was a simple matter of re-attaching the peg to the metal clip.

It is now as good as new.  I have seen these type of things for sale in Australia, however, I bought this one in Japan when we were there in 2009.  It is just another example of how the Japanese have adapted to their limited space in so many ways.  I find it very useful as I can hang it in a variety of places to catch whatever sun or breeze there is and it is a simple matter to bring it inside to dry things in front of the fire.

Have you repaired anything?  Was it a success?