Running Repairs

Leave a comment

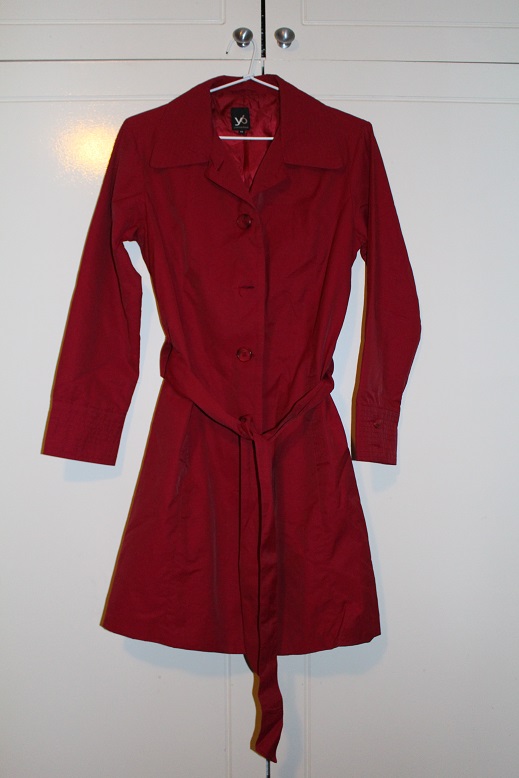
Both GMan and I have have some really old clothes which we wear when we are gardening or doing other outdoor jobs.

Last weekend we were busy building a new hen house and we both managed to cause some damage which necessitated some mending.  After the clothes were washed today I set about repairing them.

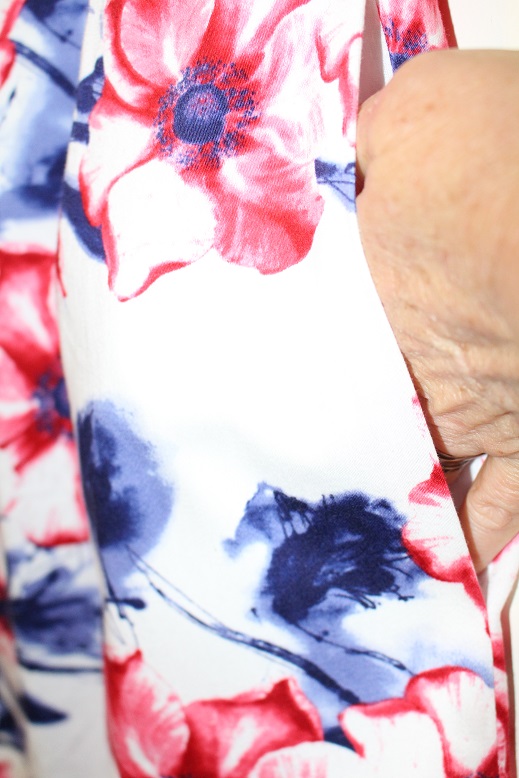
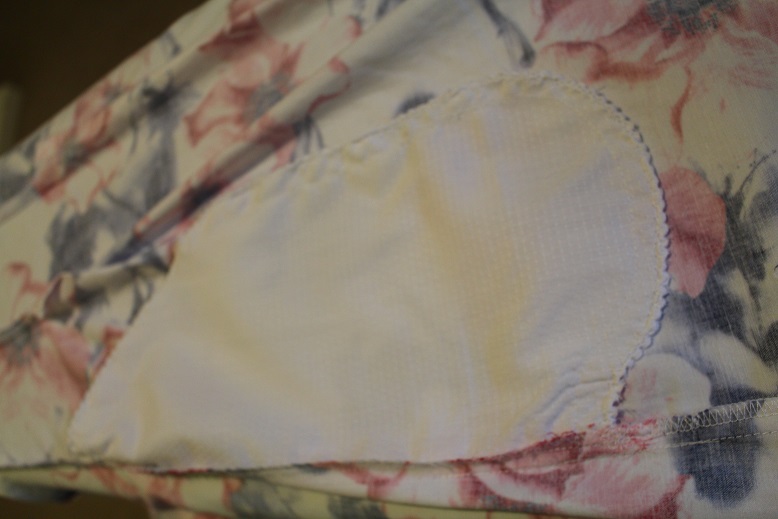
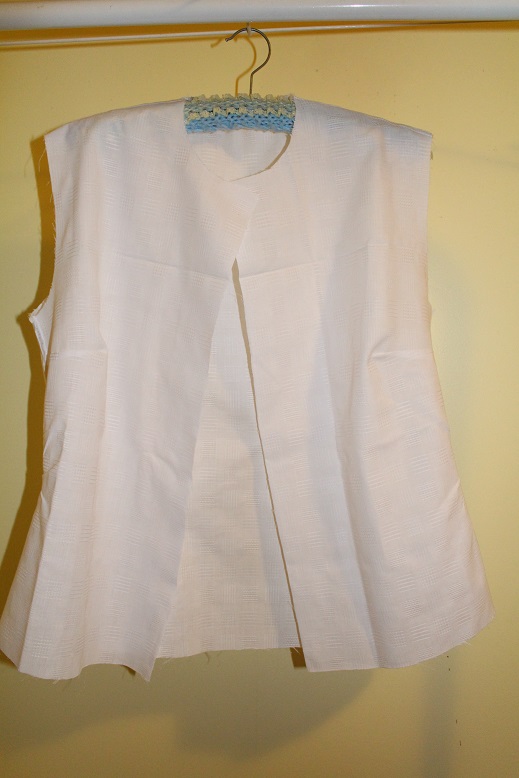
Here are the ‘before’ shots.

2016-01-06 01

I ripped a 3 cornered tear in the back of my cotton trousers.  They are very thin and some would say they are not worth repairing.

2016-01-06 02

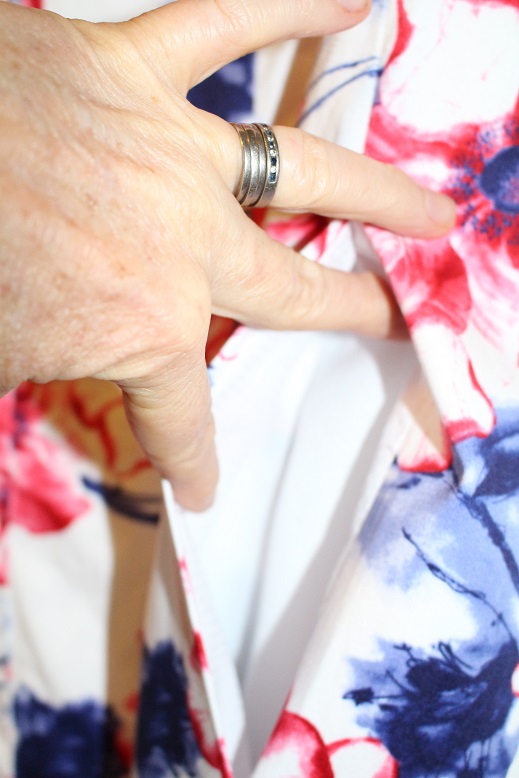
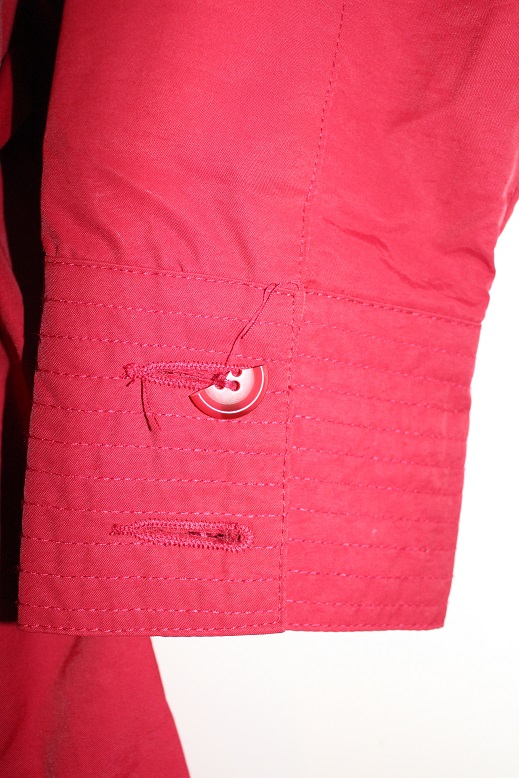
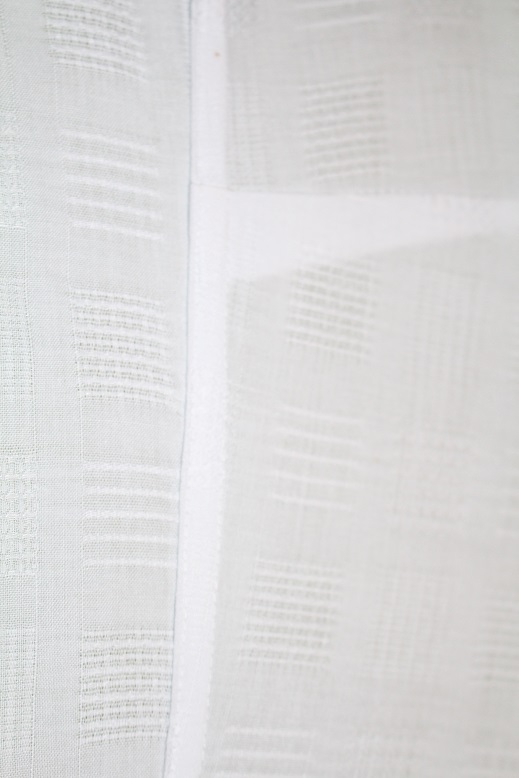
Gman’s patched trousers had a different problem – the stitching of the crotch seam below the zip gave way.  I think the thread had just worn out.

Here is a close-up view.

2016-01-06 03

I started with my trousers and placed a patch on the inside using double-sided iron-on interfacing.

2016-01-06 04

Zig-zag stitching over the tear plus around the edge of the patch and the job was complete.

2016-01-06 05
This is the view from the right side.

2016-01-06 06

For the crotch seam I sewed a seam from the wrong side and then 2 rows of stitching from the right side.  Like many of my mending jobs, it won’t win a prize but it is effective and extends the life of the garment.

2016-01-06 07

Do you mend clothes?


A New Hat

2 Comments

GMan always wears a hat when he is out in the garden.  The one he wears is a cloth one which has seen better days and only has a relatively narrow brim.  On several occasions we have looked at broad-brimmed straw hats but they never seem to be quite the right fit.

Today we were in the local hardware store and he tried some on.  We found this one which was perfect – except it did not have a chin strap.

2016-01-02 01

I assured him that I could make a strap without any problem.  I was not sure whether I had any cord at home but when I checked my collection, I found some red cord and a toggle that I had saved from the drawstring on a fleece top which had worn out.

2016-01-02 02

I threaded the cord around the base of the crown on the outside then passed the ends through to the inside, attached the toggle and tied off the ends.  The cord sits under the band on the outside so is not visible.

GMan is very pleased with his new hat and very happy with the chin strap which I created in about 5 minutes using things that I had on hand.


A Simple Storage Solution

4 Comments

Several years ago we bought 2 free-standing hanging racks.  They were for our daughters who were both living in accommodation that had no built-in wardrobes.

Fast-forward a few years and their circumstances changed and the hanging racks both ended up at our place.  One was boxed up in the garage and after a while I sold it on Gumtree.  The other was quite useful as I had it in the spare bedroom/sewing room.  I also use it to hang clothes waiting to be ironed or wheel it into the lounge-room to dry clothes in front of the fire during winter.

2013-02-15 02

I am working hard to streamline my sewing room and reduce the general clutter.  When I sold the small chest of drawers that had previously lived in the wardrobe it meant that I could use the hanging rail in the wardrobe for the ironing that was yet to be done.

The hanging rack can be dismantled but it is difficult to store.  I am not ready to part with it yet as it is useful during the winter months.010I decided to make a storage bag.  I found some pieces of very strong cotton fabric in my stash and fashioned a bag which was big enough to hold all of the pieces.  I added a couple of ties and it was finished.

009Here are a couple of photos showing the finished article doing its job – holding the disassembled hanging rack.  I simply tied the ties in a knot over the rail at the desired length.

011 012Now I am off to do some more sorting in the sewing room.

Have you got any creative storage solutions?  Please share.

No Visible Change

2 Comments

I have finally made it to my sewing room and done a small project.

This is one of 4 dresses that I own which are all the same style.

They are perfect in every way – except one.  The do not have any pockets.

001I have another dress that I bought recently and to my delight it has 2 large set-in pockets which are really handy but totally invisible.  This made me realise that it would be a simple project to add pockets to the existing dresses.

The first pocket is done and I am very happy with the result.

002Here is a view looking into the pocket.

003Finally, this is the inside of the dress.

004While this may not be feasible in a tight, fitted dress it is certainly easy in a dress with some fullness below the waistline.

I wear these dresses to work and as I am in an open office I tend to listen to music with earphones on my iPod.  I can leave the iPod on the desk but it is much easier to have it in my pocket so that it comes with me whenever I jump up from the desk to go to the printer/photocopier etc.  Handy to pop a handkerchief in, too.

Do you look for pockets in garments?

Red, Recycled & Revamped

6 Comments

It is definitely spring-cleaning time and it seems that many of us are taking a long, hard look at what is in the wardrobe.

i 001This is a gorgeous, lightweight trenchcoat that my sister retrieved from her wardrobe recently.  She offered it to me as she admitted that it was really a bit too big for her and she had never felt entirely comfortable with it.  The coat fits me perfectly and being the perfect shade of red made it doubly attractive.

She did point out that the buttons on one sleeve had been damaged with one completely missing and the other one broken in half.

i 002I went to Lincraft in the city today and found some buttons to replace them with.

i 003They are the same size and style as the originals but are plain red rather than a variegated red/black as the others are.  I am going to replace all 4 buttons on the sleeves and while they will be slightly different to the ones on the front opening, I don’t think that is going to matter.

I am looking forward to doing the necessary repairs so that this coat is ready to be a really useful addition to my wardrobe.

This is the sort of positive story that is happening every day when you choose to let go of things that are not quite right and languishing in the cupboard.  There is someone out there for whom it will be perfect.  They may be a family member, an op shopper or someone looking on eBay or even a Facebook Buy, Swap, Sell page.

Some Sewing

Leave a comment

You may remember that earlier this year I ran a series of posts titled “Sew My Stash Sunday”.  Well I have finally got back to my sewing room and continuing to sort and cull.  Of course, I did not get too far as I was inspired to actually sew.  I have made 2 little t-shirts (Size 1) from a piece of fabric that I found last week when helping my mother sort through some excess fabric.  I just have to put the ribbed neckbands on and they will be complete.  There was some blue ribbing that was with the fabric so that is what I will use.

008Next, I found a couple of pieces of fleece and have cut out some tracksuit pants.

009The black ones are a size 2 and the red spotted ones are a size 6.  The spotted fabric would not be my first choice for tracksuit pants but it was a piece leftover from a dressing gown I made for my grand-daughter a few years ago.  They might make a snug pair of pyjama bottoms that will keep someone warm.

That is a couple more pieces of material gone from my pile and hopefully will be of use to someone.

An Antimacassar

1 Comment

I recently made a new antimacassar (headrest cover) for an armchair which belongs to my mother.

001The original concept of these linens dates from the Victorian era and you can read more about them here.  They were draped over the headrest of a chair or sofa but I chose to use some elastic to hold my handiwork in place.

I cut up a brand new pillowcase which had some promotional printing on either end.  It was in Mum’s stash of new linen but was unlikely to ever be used as a pillowcase and it was perfect for making this.  In fact, this is only half of the story as there were 2 pillowcases and I made another for a second chair.

It is easy to forget how much wear and tear the headrest of an armchair takes.  The other chair is also leather and the ptch at the centre of the headrest had actually worn right through some time ago.  Mum had made an antimacassar for that chair using a small linen table runner but that had subsequently worn to the point where it was almost worn out.

Now the two chairs have new antimacassars, there are two less pillowcases stashed away and I did not have to buy anything new for this simple but effective sewing project.

Sew My Stash Sunday – 15

Leave a comment

Today I made a start on sewing a shirt I cut out a few weeks ago.  It is a piece of material that was given to me some time ago and I am making a shirt for my daughter.  This is an illustration of the pattern I am using.

003I am using flat fell seams wherever possible on the shirt.  This is the type of seam that is generally used in purchased business shirts, boxer shorts and jeans.  This article explains the method very clearly.  I like to use them as they provide extra strength and there are no raw edges inside the garment.

Here is a close-up of a section of the finished side seam.  The triangular section on the right-hand side is the side dart on the front.

006I have sewn the side darts in the fronts as well as long darts in the back which will create a nice fit.  The shoulder seams and side seams are done.

004The shirt has a two-piece collar – collar and band, but I think I overlooked drafting the piece for the band.  I got side-tracked while I looked for the other piece and the sewing ground to a halt.  Hopefully, I will get some more done this week.  In the meantime I will need to buy some buttons as I do not have anything suitable in my collection

Sew My Stash Sunday – 14

Leave a comment

I have a completed garment to share with you this week.

2015-04-26 01This is the top I have made to take to Singapore later in the year.  I bought the fabric a couple of months ago at Sckafs Fabrics at Indooroopilly Shopping Centre.  The prices are not cheap but they have a range of top-quality fabrics that you won’t find in Spotlight or Lincraft.  This is a lightweight 100% cotton fabric but it looks luxurious and would be suitable for wearing in the evening.

I made a prototype here and the only adjustment I have made is to make the sleeves a bit longer so that they are elbow-length.

Remember this skirt?

2015-04-26 02Weeks ago I said that it was finished apart from the handsewing – yoke facing and hem.  It has remained in that state for several weeks but today I did the hem and hopefully the facing will be done by next week.  It was this skirt that I had in mind when I chose the fabric for the top.  There are many colours in the floral pattern, including mint green.  I think the top will look equally good with black or white trousers.

2015-04-26 03This skirt was even less advanced so today I attached the yoke and facing, inserted the zip and hemmed it.  There is now only the handstitching on the facing to do.

The reason I did not finish the skirts completely was that I ran out of daylight.  I find handsewing in artificial light quite difficult so prefer to do it during the day.  Even though the skirts are not quite finished, I am pleased with my progress this week.