Some people in various parts of the world are living in economies that are officially described as being in a recession but wherever we live, these are definitely uncertain times. At the same time there is research showing that many 1st world nations waste up to 20% of all food purchased. That is the equivalent of bringing home 5 bags of groceries and throwing one bag of groceries straight into the bin.
Perhaps it is time to look back to earlier generations and their ‘waste not, want not’ mentality. Everything was used, re-used and re-fashioned until not a single thing was left. This applied in equal measure to food, clothing, furniture and so on.
Today I want to show you how we can easily make better use of the abundant food that we have.
This morning I juiced a large carrot, 2 apples and about 1/3 of a pineapple. I drank the juice for breakfast and saved the pulp.
Next was a 600 ml container of cream. This was bought in January and not required for a luncheon we were hosting so it was put in the freezer. Last weekend I thawed it to have some cream on dessert. Only a small amount was used so today I put it in my Kitchen Aid stand mixer and made butter. I followed the description from here. I was very pleased with the result.
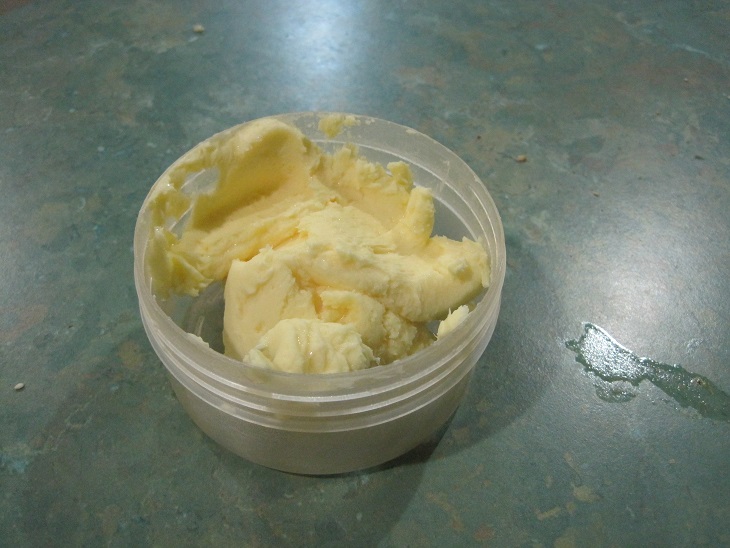 I used 100g of the butter when I made pastry and this is what was left. From about 500ml of cream I made 220g of butter and had 250ml of buttermilk.
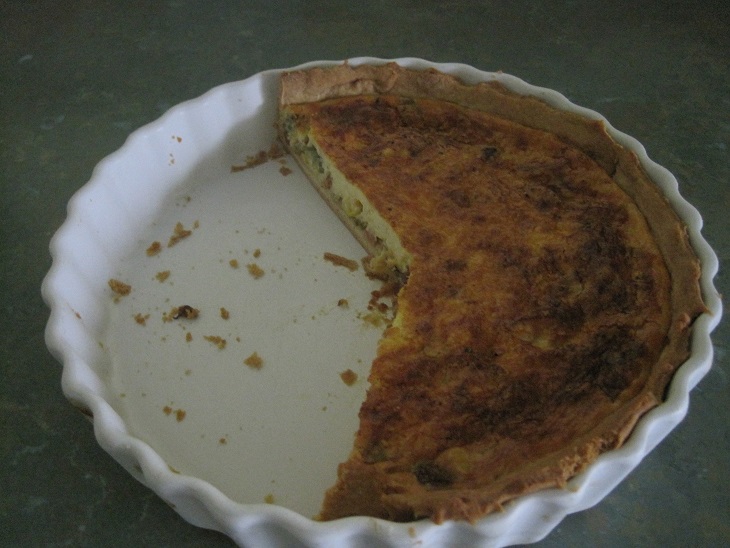
I used the buttermilk tonight when I made a bacon and mushroom quiche for dinner. I mixed a couple of tablespoons of milk powder into the buttermilk to make a thicker liquid for the quiche.
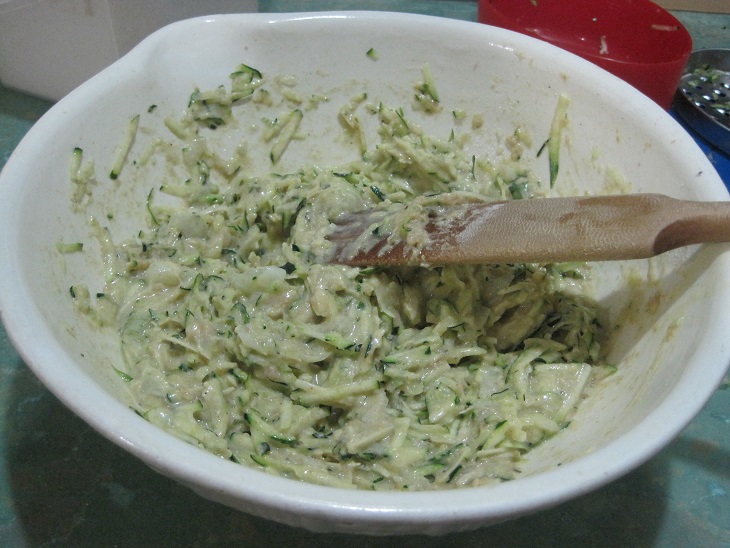
 While the oven was on I also made a batch of muffins using the leftover fruit pulp from my juice.
 I made beef curry in the slowcooker from a recipe in one of the Sally Wise cookbooks. This is now divided into portions and frozen along with several serves of bolognaise sauce and a dish of lasagne.
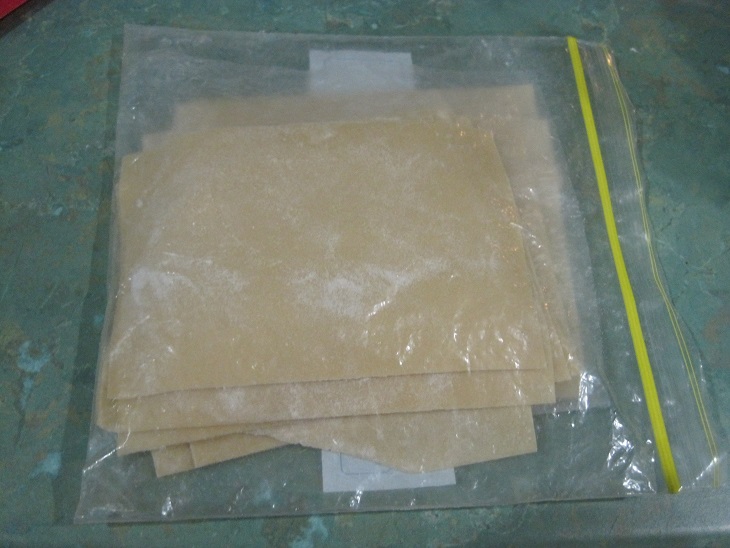
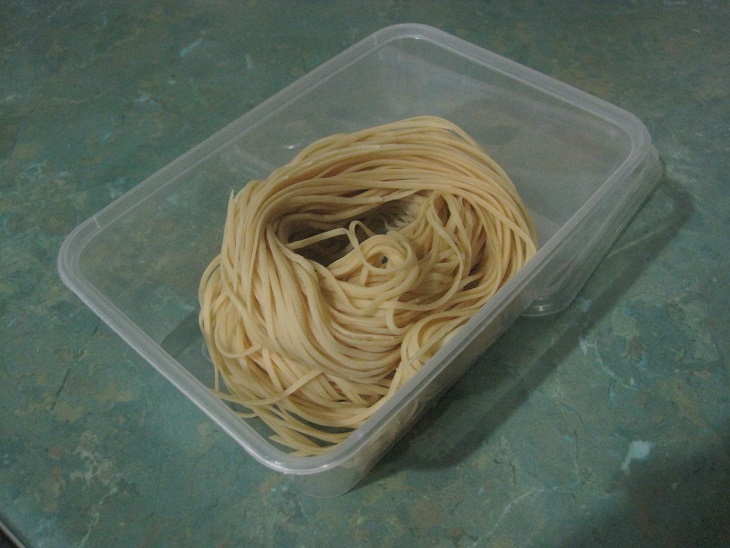
 Making these meals is a reminder of how we can use our own condiments. The curry called for tomato sauce, worcestershire sauce, chutney and curry powder as some of the ingredients. I had home-made versions of all of these to use. Some of the pasta sauce I made during the summer when tomatoes were very cheap and plentiful went into the bolognaise sauce. The lasagne sheets were ones I had made some weeks ago and frozen. It is great to have so many of the ingredients for meals at your fingertips and know that they have been created in your own kitchen and you know exactly what went into them.
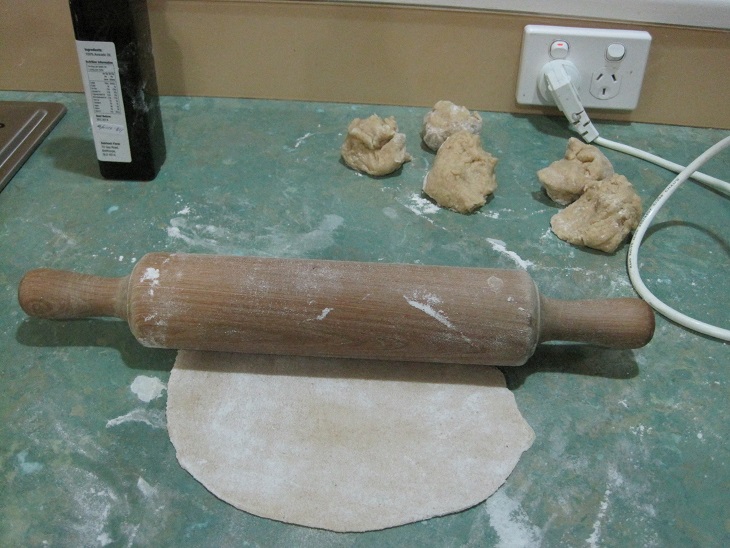
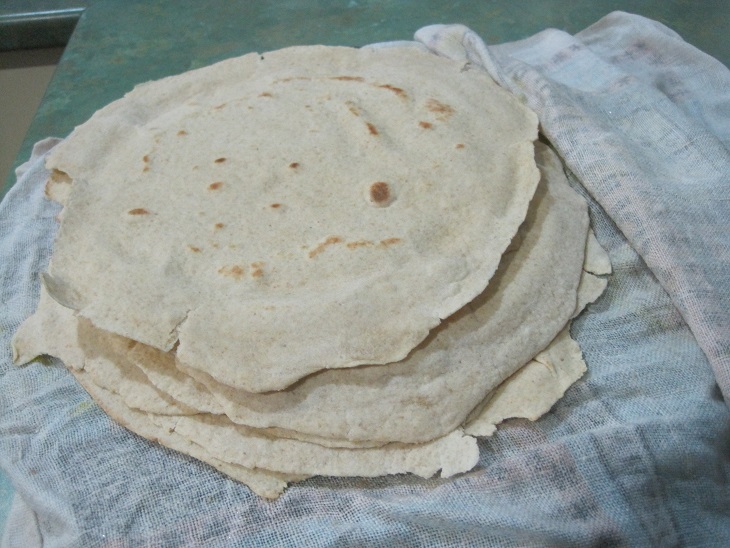
The Duke has made our bread from bought pre-mixes for a number of years and now he is experimenting with making it from scratch. He has the white loaf pretty well perfect but has working on getting the wholemeal loaf the way he wants it. Here is the result of his effort today and naturally he is very pleased.
 Tomorrow I plan to make lemon butter which will use our own eggs and lemons as well as some of the butter I made today.
How do you make the most of the food you have?