Some Special Sewing

Leave a comment

I have put my head down and done some concentrated sewing over the past couple of days. It is a birthday gift for our elder granddaughter.

The result is that I have now completed 21 patchwork blocks which is half of the total needed for a QS quilt.

I wrote a post in February which you can read here in which I mentioned that I had done the first block.

Here are the other 21 blocks ready to start sewing.

The disappearing 9 patch is essentially a 2-step process. The first is to sew the 9 pieces together and you can see some of them here at that stage.

After that, each block is cut into 4 pieces and rearranged before restitching. This gives the overall random finished pattern.

I hope to have the patchwork completed in the next week or so but it is somewhat dependant on other activities.

Patchwork – Pink & Pyjamas

Leave a comment

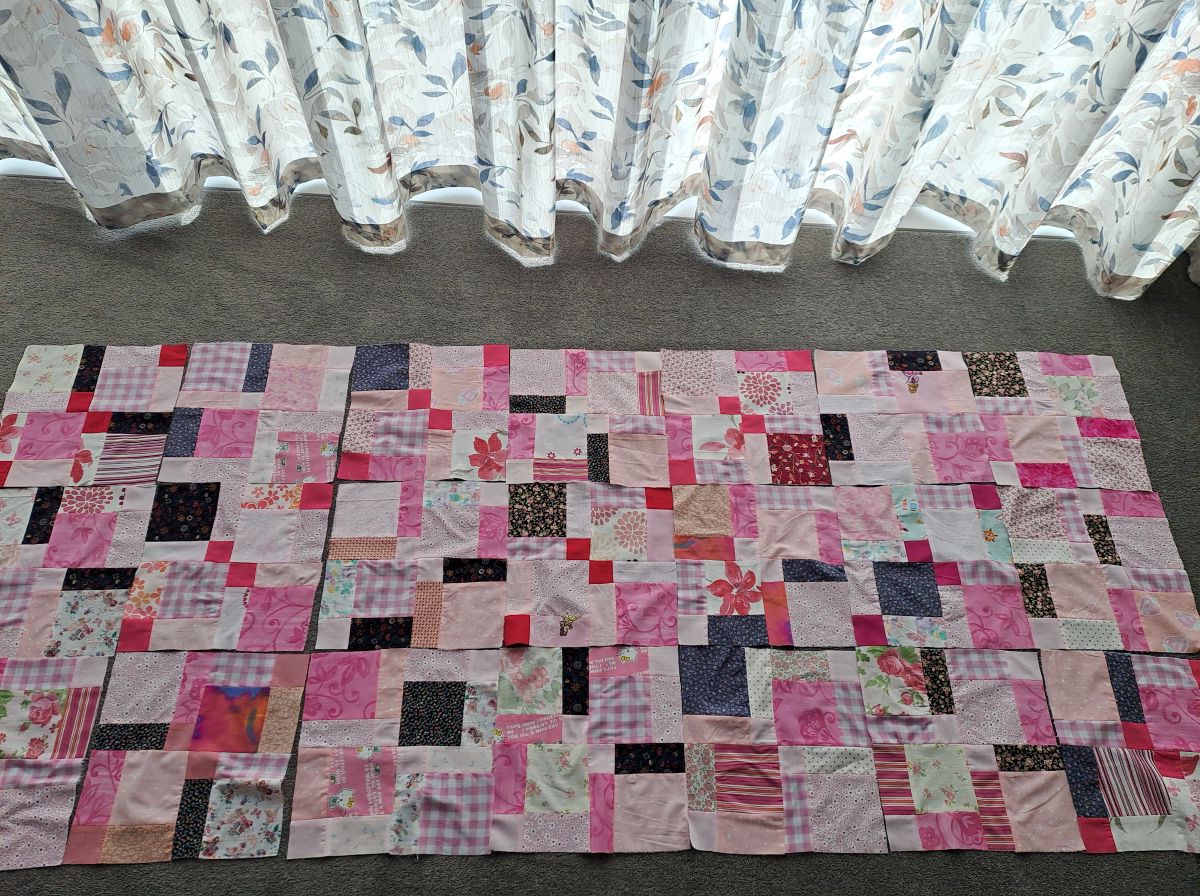
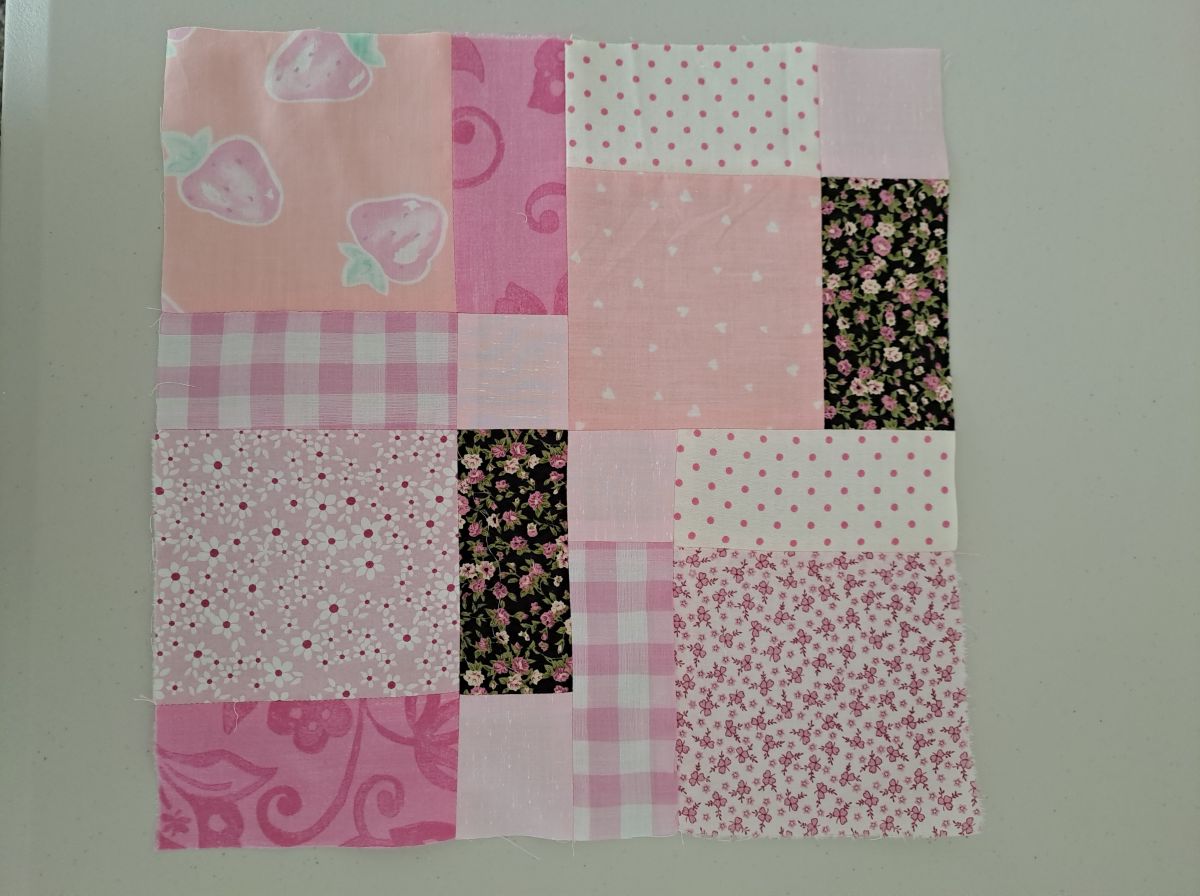
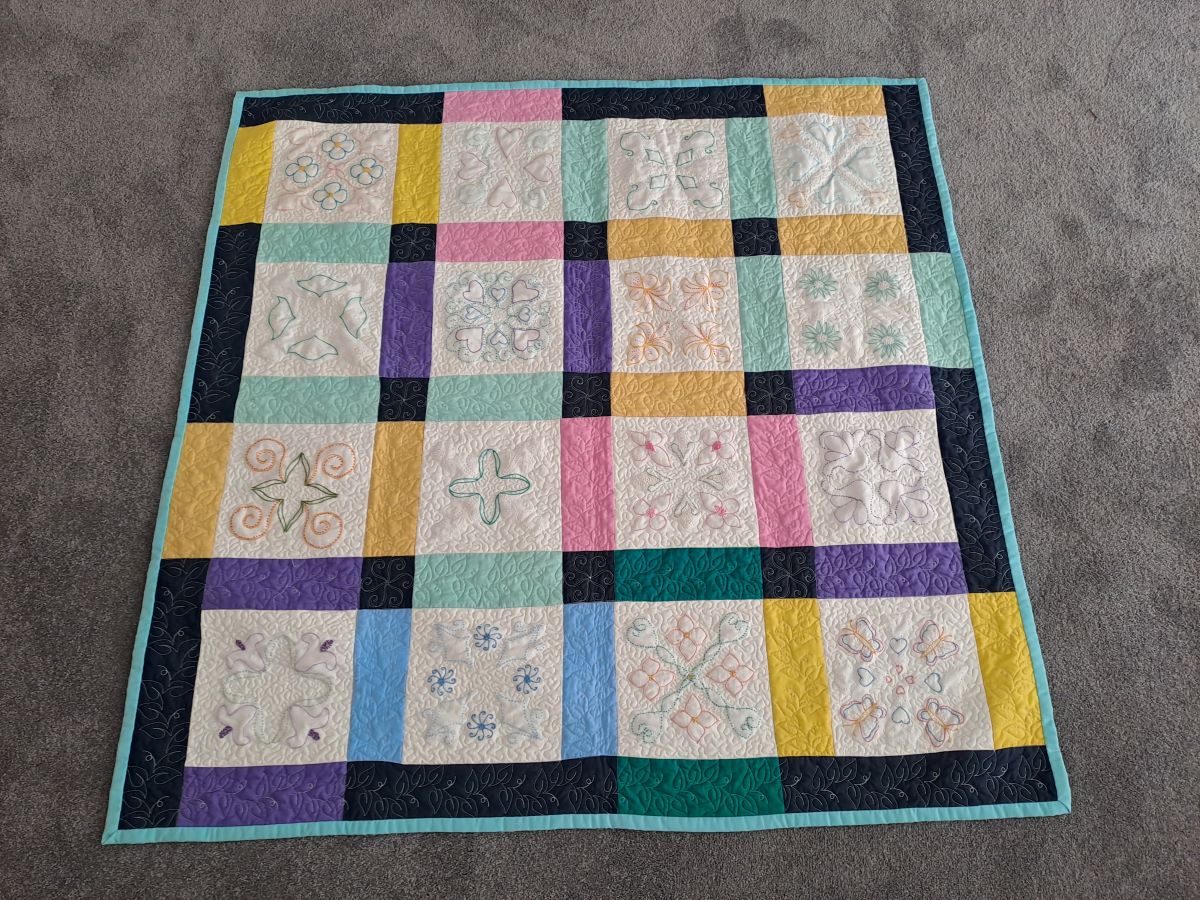
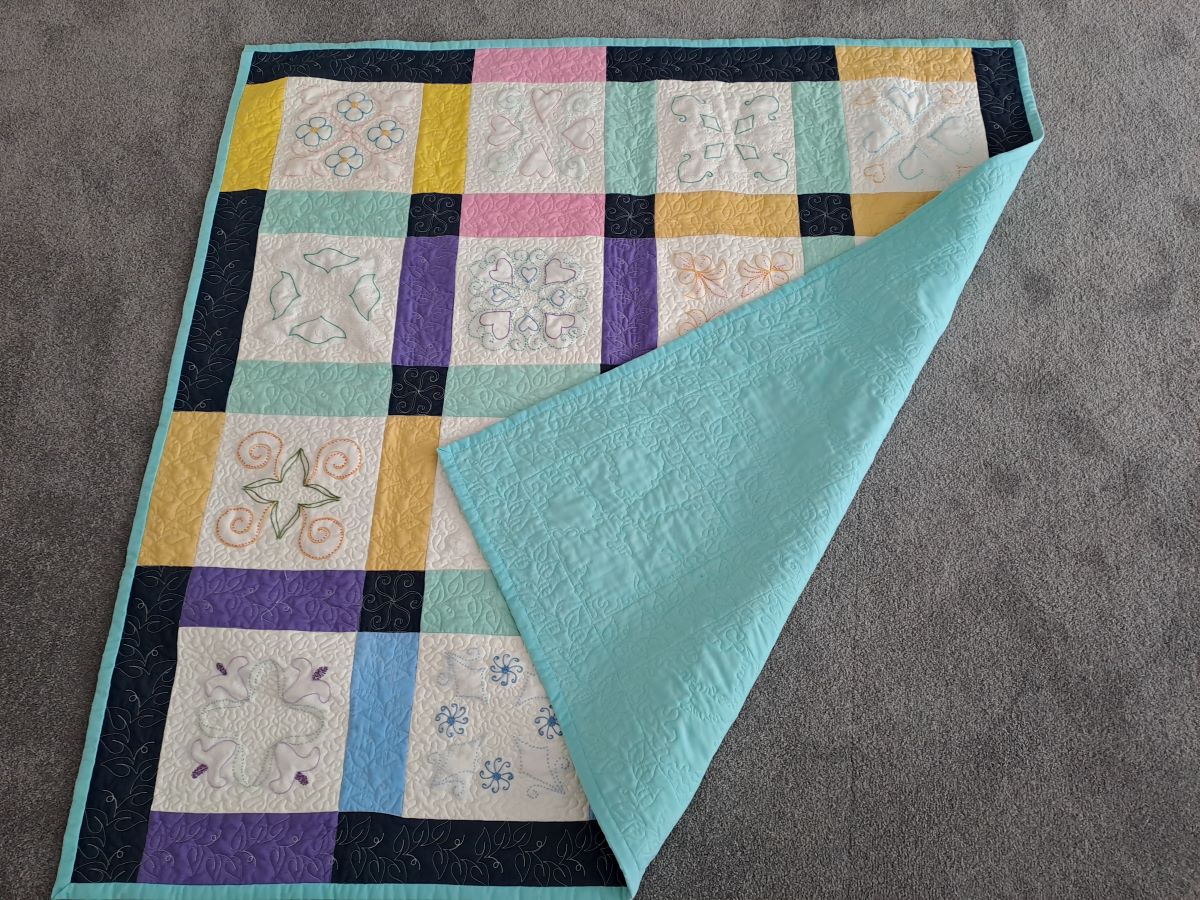
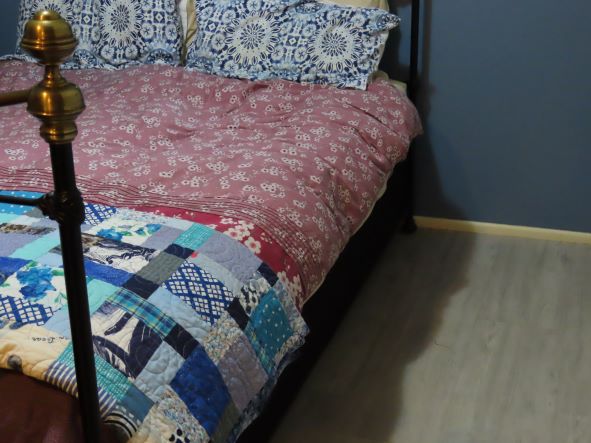
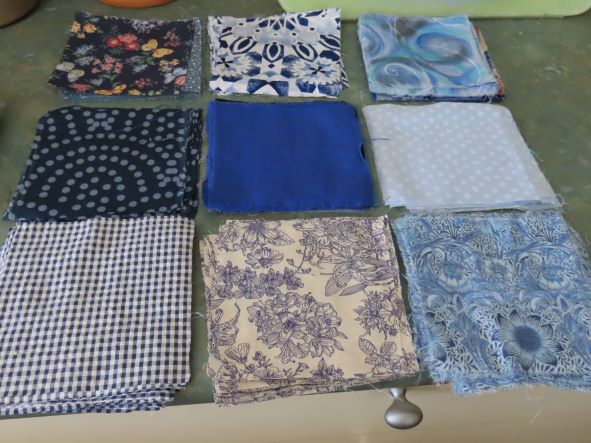
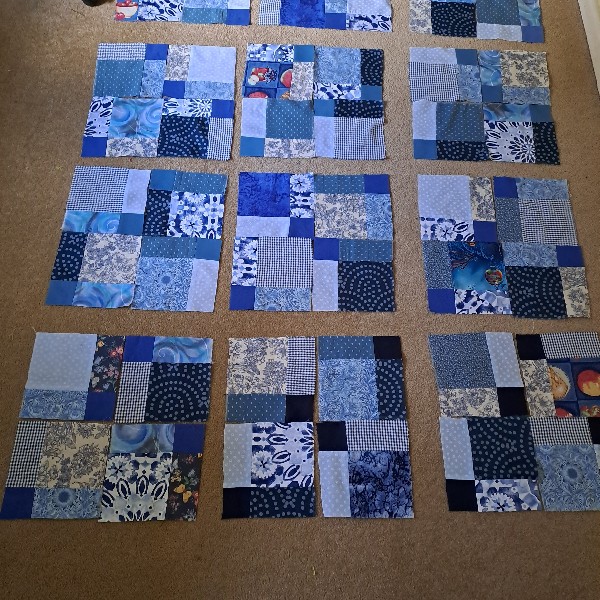
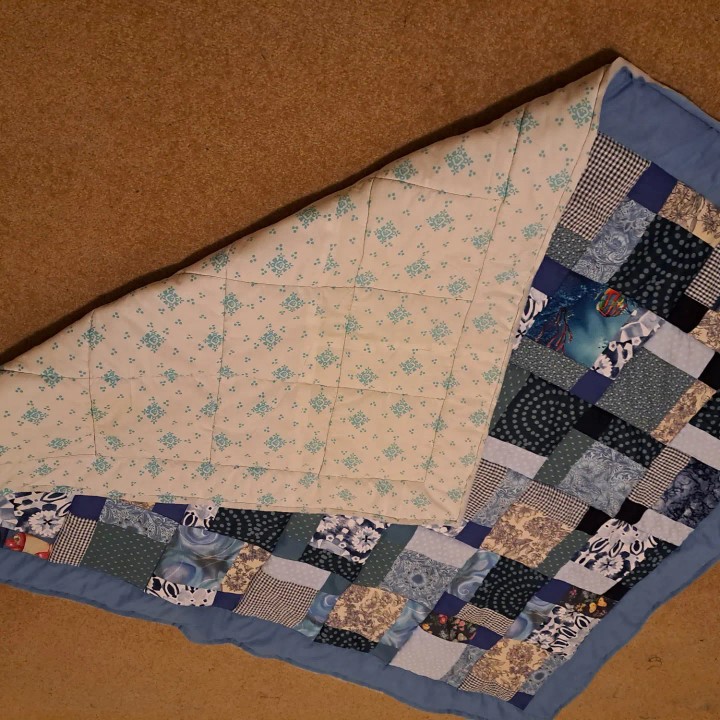
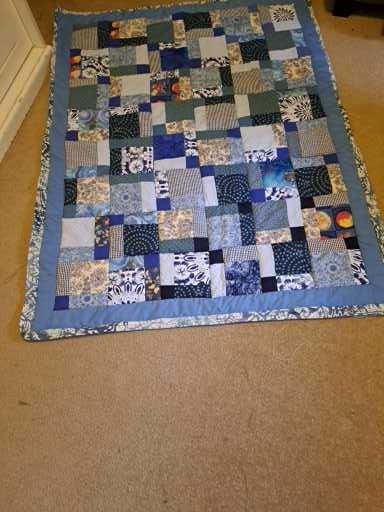
I began a new sewing project today. This is the first block of a patchwork quilt I am making for my elder granddaughter. It is for her 18th birthday in December. One block done, 41 to go.

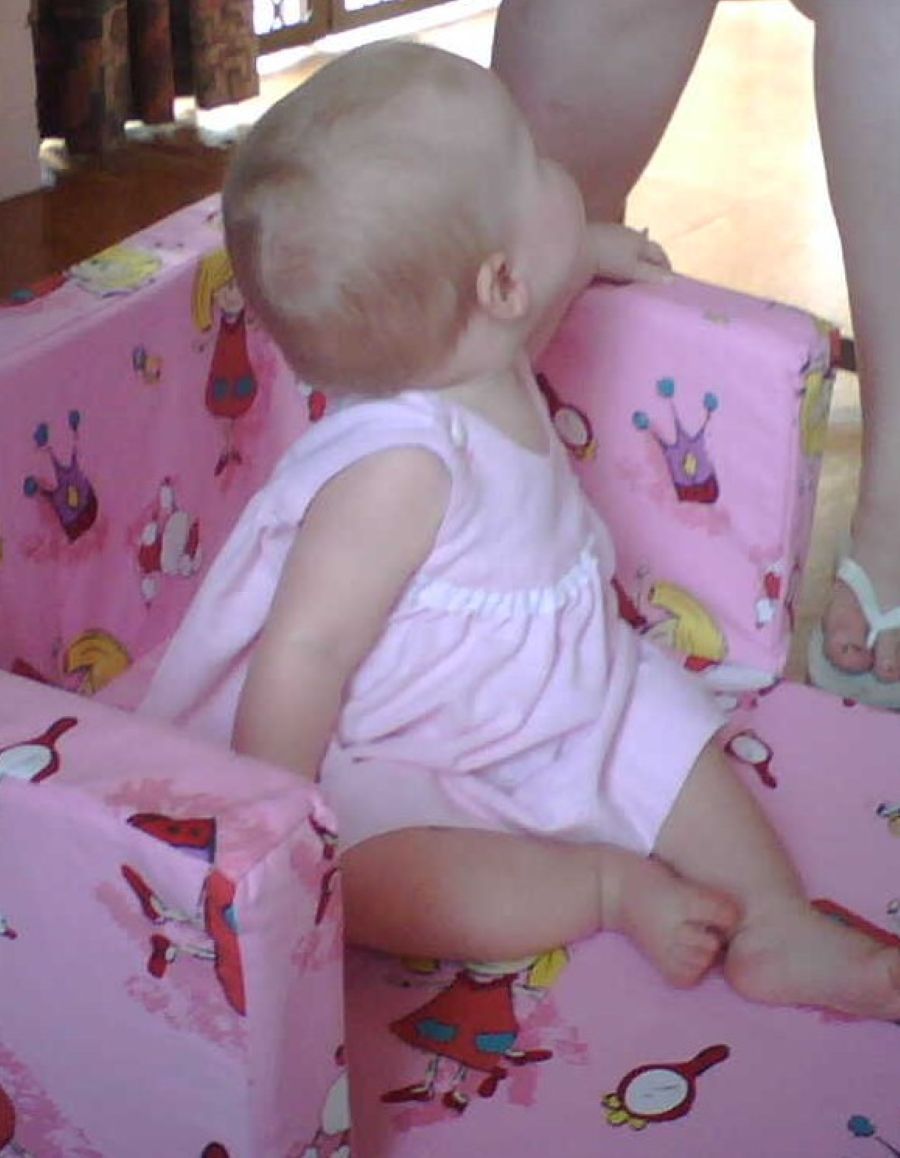
Most of the fabric has been randomly collected from op shops and offcuts from various previous sewing adventures. However, there will be some from a particularly special piece. The small pale pink squares have history. They are from some leftover fabric from a dress which my mother made for herself – probably close to 30 years ago. From those leftovers I made a dress for my granddaughter which she wore on her first birthday.

This is not a great photo but you get the general idea. It was from an Enid Gilchrist pattern which I had made many time before and numerous times since.

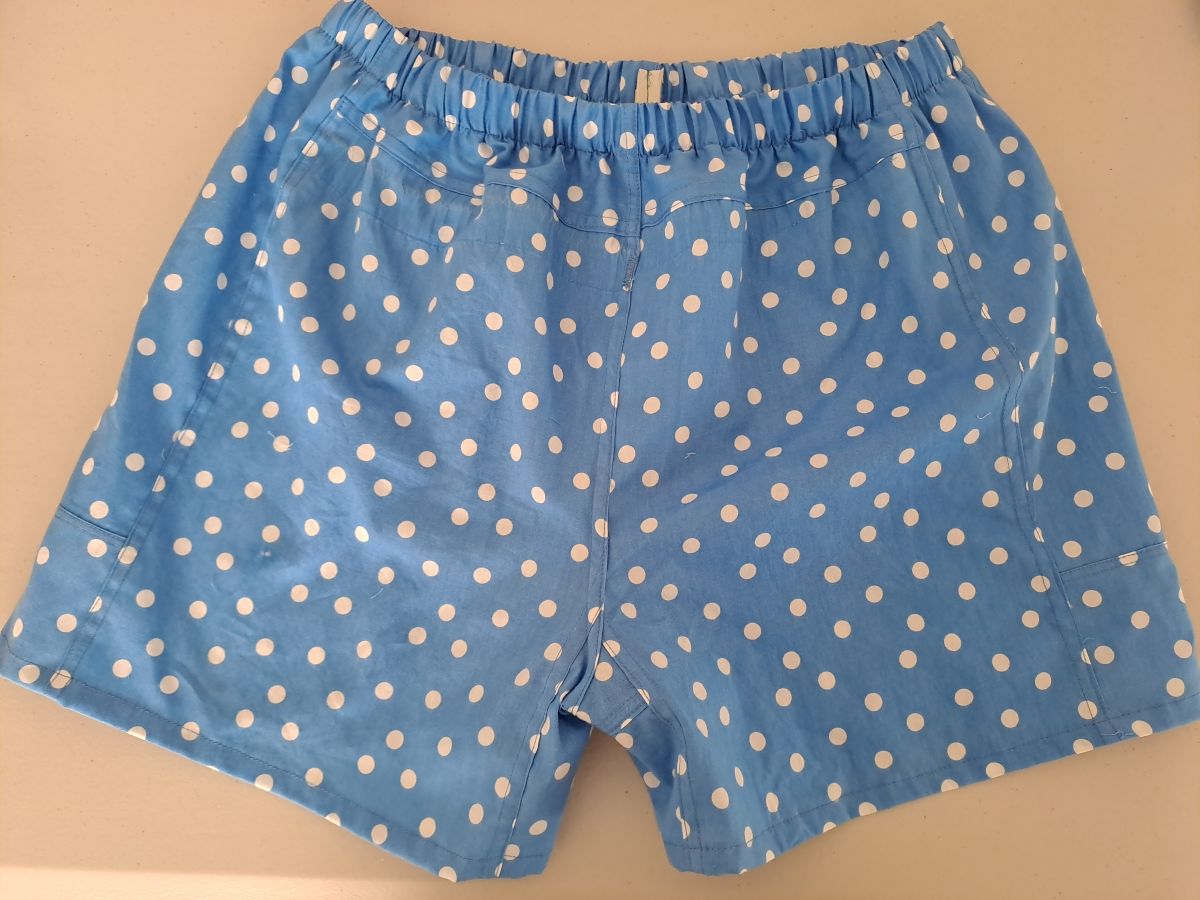
The other patchwork was for the boxer shorts which I mentioned in my last post. I had rather optimistically thought that it would be a simple matter of adding a strip of fabric into the side seams and a bit at the top to extend the overall length of the crotch.

As I began to unpick the side seams it became obvious that the construction method was appalling and regardless of any alterations that I might make, the existing seams were not robust enough to stand up to much wear at all. So, I altered my plan and unpicked the entire garment. By this time it became obvious why they were not a great fit. The pieces bore only minimal resemblance to the pattern I had.

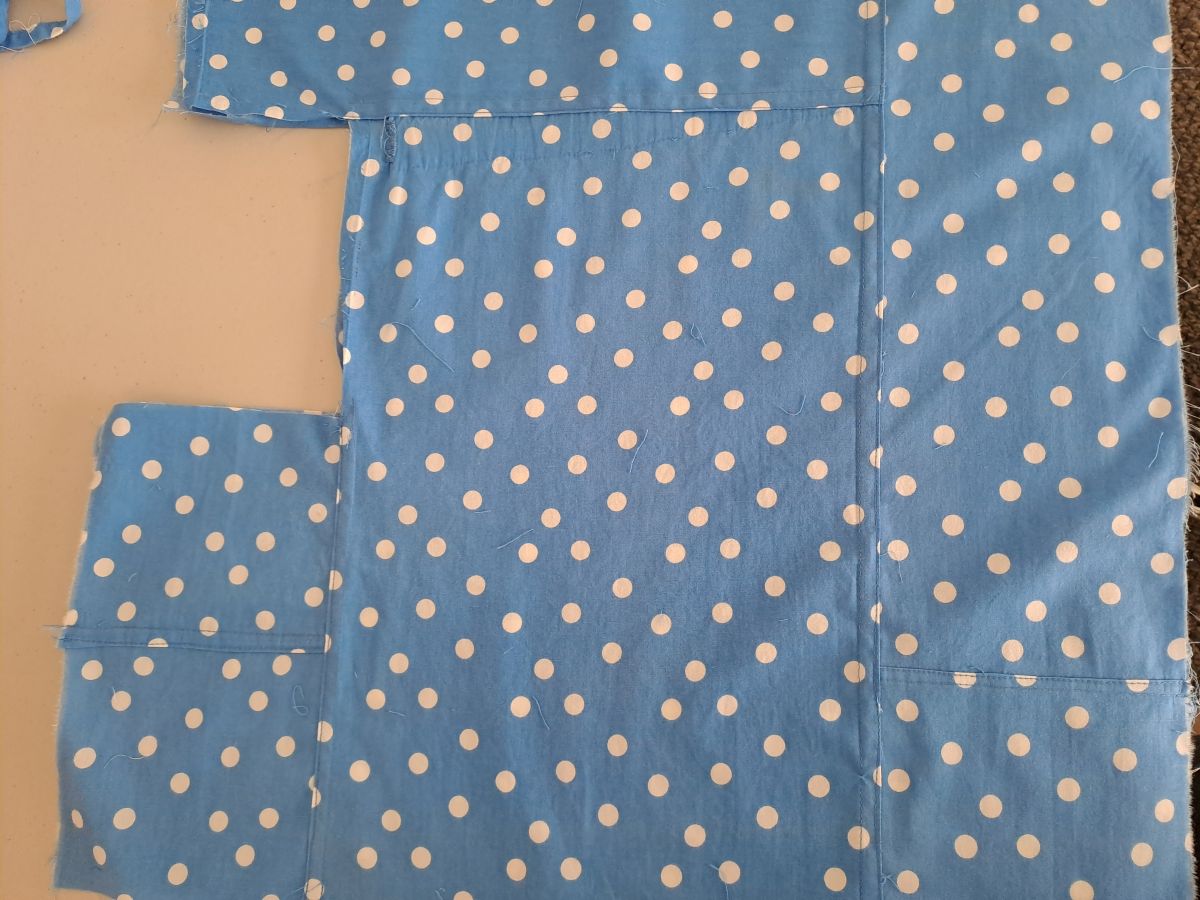
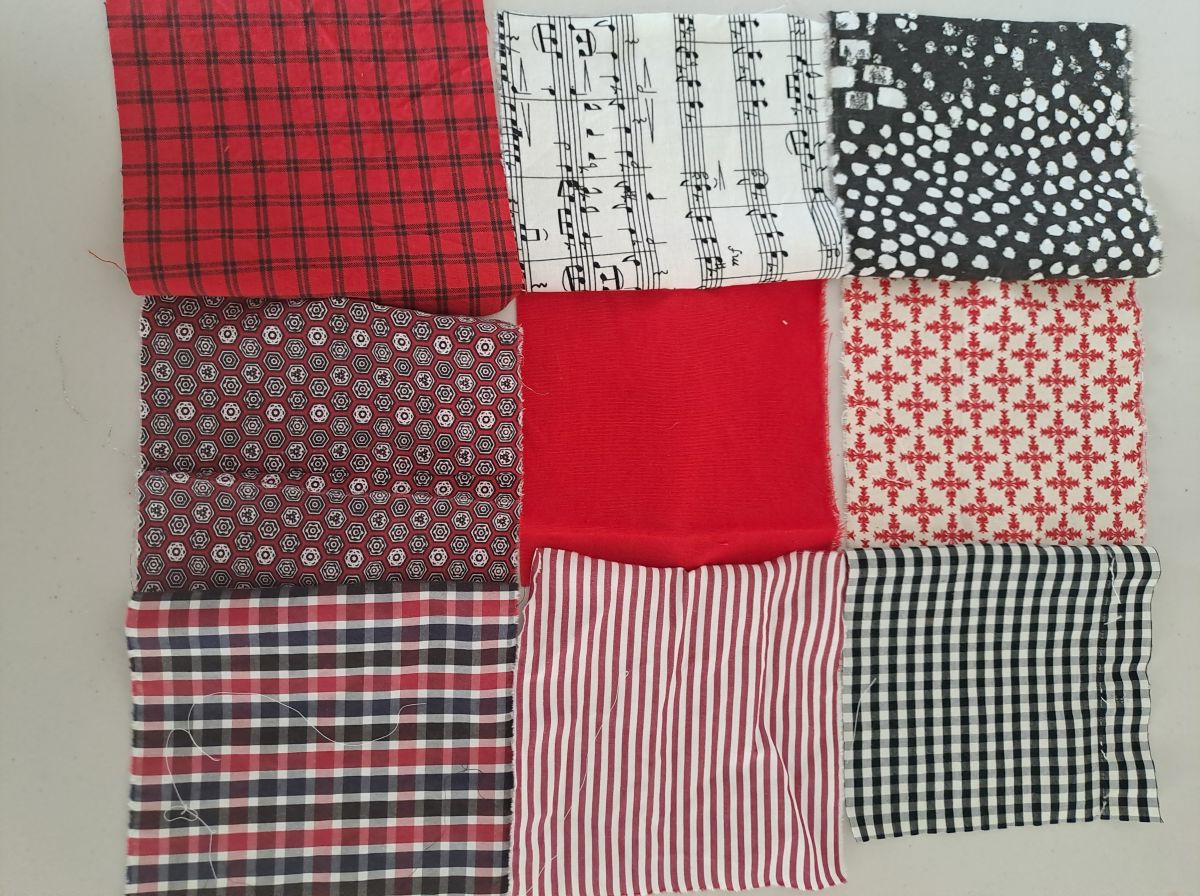
I used the excess length of the original trousers to add pieces to be able to recut all of the pieces for the boxer shorts using my own pattern. I used flat felled seams for joining the extra pieces as well as the main construction as I always do. These seams are great as there are no raw edges on the inside as well as being extra strong due to the two rows of stitching.

This photo shows the randomly joined pieces of fabric before I cut out the pattern pieces. I did not have enough fabric nor the desire to match the pattern.

It was a bit of a fiddle but I now have a pair of boxers which are comfortable. The various joins are really barely visible.

Time to Reveal

Leave a comment

I have made some fleeting references to some red and black patchwork that I was working on in the latter part of the year but I couldn’t reveal too much as it was a gift.

This is a photo that I took in the very early stages when I was still unsure of the overall plan.

It all came together quite quickly as I used some larger pieces in places rather than all disappearing 9 patch blocks. This after it had been quilted but before the final trimming and binding.

The quilt was not actually a Christmas gift but an early (milestone) birthday present for my brother. I know I won’t be with him to celebrate on the day so this was a good opportunity to be able to give it to him in person.

I was very pleased with the result and I think his smile says it all.

Nothing New

2 Comments

In June 2014 I took my first tentative steps towards making a quilt using Disappearing 9 Patch blocks. I was finally completed nearly 7 years later as I finished sewing the binding on while I sat with my mother when she was in hospital. I am so glad that I was able to share the finished quilt with her as much of the fabric had come from her stash of offcuts from garments she had made for herself and various family members over many years. You can see it here.

Last year I offered to make one for our younger daughter. Her preferred colour palette was soft greens such as sage and olive. I wondered how on earth I was going to source sufficient scraps of these colours as they are not generally colours that I use. However, I have been remarkably surprised at the bits that have come my way from many and varied sources.

Initially, I made about 6 blocks but I have not made any since before we moved. I had been collecting and cutting fabric in preparation. So, the past couple of days have been a bit of a marathon and I now have 33 completed blocks. I have some squares cut out but need 42 blocks altogether so I need to keep a close eye on fabric in op shops.

This is a preliminary layout with the completed blocks.

I am confident that this quilt will not take 7 years to complete.

A Combined Effort

2 Comments

I have recently finished making this lap quilt.

Let me explain the ‘combined effort’ in the title.

The embroidered calico blocks came to me in a bag of salvaged textiles that had been donated to an op shop but were destined for landfill as they were deemed not to be saleable. The blocks were sandwiched between other larger pieces and may not have even been seen. They had been hand embroidered and I felt it was important to respect the love and care which had gone into the handiwork.

So, I trimmed the blocks to a standard size and set about sourcing some plain coloured fabric which would complement the embroidery colours. Some were from my own stash and others from a friend.

The patchwork top was finished earlier in the year before we left Queensland. Once we moved I needed to find someone with a long arm quilting machine as I wanted to make sure that I did justice to the work so far. I bought a king-size sheet from an op shop for the backing and the binding and handed it over to be quilted. My quilting contact did a marvellous job of highlighting the various elements of the embroidery and patchwork.

Then it was my turn to add the finishing touches with the binding which was also cut from the sheet.

You can see the backing and quilting detail in the photo.

I feel like this was a really worthwhile project and the only new materials were the batting and thread.

Sewing Success

Leave a comment

Today I set about assembling a piece of patchwork for a small quilt. This one came about after I had saved the embroidered panels from the landfill pile at a thrift shop. They were clearly part of an unfinished project and I simply could not see someone’s handiwork discarded without a second glance.

Initially, I was unsure of how I could use them but I gradually developed a plan. Some of the plain fabric came from offcuts in my own stash and the remainder from a couple of friends.

In due course I will add batting and the backing and outsource the actual quilting as I do not have a long-arm machine.

The other project was much more modest. This is the second of a pair of potholders that I have made for a friend. They were both made from a discarded cushion cover and with 2 layers of flannel fabric for heat resistance.

I am really pleased to have achieved these and the patchwork will be packed away until we are settled in our new home.

3 Big Days

2 Comments

I have had some full days at the Eco Creative Festival since my last post. We did not have any pre-conceived ideas about what interest there would be in our stall.

We shared our stall with the local Boomerang Bags group who had a selection of bags for sale.

Ready for action.

However, it exceeded our wildest expectations. We had many excellent conversations about waste and how we can all contribute to reducing the amount of landfill being generated. As a bonus we also sold bunting made from salvaged fabric and upholstery fabric samples suitable for various sewing and craft projects.

Definitely a successful weekend.

A Cover-Up

Leave a comment

In my last post I mentioned sorting photos on my computer. The added bonus is locating photos which I had taken with plans to use them in blog posts which were not written. These are still relevant and will appear intermittently.

Today I want to share a sewing project from April last year.

Although we both use laptops for our computing requirements, we do still have a large monitor on our desk. As its use is occasional at best I decided to make a dust cover for it.

In order to make a discreet cover for black screen on a black desk I naturally chose black fabric. A remnant of strong black cotton in my stash was perfect. I found a piece of soft white wadding from the backing of an old bed valance which had seen been better days and been unpicked for use in future projects. I used the wadding to line one side of the cover. This provides additional protection for the screen.

I mitred the corners using the same method as the bottom of the Boomerang bags that I make.

It is a simple and useful item made entirely from from salvaged materials.

The covered monitor is barely noticeable when sitting on the desk and not in use.

A Simple Solution

Leave a comment

Yesterday I was tidying up the top of the shelves in my sewing room. I found a box covered with contact that contained knitting needles. I am not a great knitter but I have reasonable selection of needles. The collection is considerably less than in the past as I rationalised what I had a year or so ago.

I decided that the box was excessive and not the best way to store the needles I had kept. So, I dived into my stash of fabric and found a scrap of corduroy and a suitable salvaged zip. Here is the result of about 30 minutes work.

All packed up and easy to store on the shelves.

From the Stash

Leave a comment

Sometimes I get so involved in projects, I actually overlook posting about what I am doing. So, this is a bit of a catch up on my recent sewing endeavours.

The first was a valance to cover the ensemble base of our bed. We originally had a bedspread which covered both the mattress and base but that has not been the case for a number of years. I did buy an elasticised cover for the base several years ago, however, it was only moderately successful in my opinion. After lengthy consideration I finally decided to try making my own version. I used a piece of light-coloured upholstery fabric from my stash to cover the ensemble base and then joined some strong black cotton fabric for the fitted side panels.

This is a glimpse of the side of the bed once it is made. The black fabric-covered base is barely noticeable so I regard my mission as a success.

The next project was completed in less than a week once I set my mind to it. I have a patchwork knee rug which I made a few years ago for my mother. We have had some particularly cold evenings and GMan was rather envious as I snuggled under it while watching television. I set to work to make another one.

The first step was to select the fabric. As I sort through fabric I regularly identify small pieces which are suitable for patchwork. I cut them into 5 inch squares and sort by colour. So it was a simple process to grab the number I needed from the bag of blue fabrics.

In progress.

The squares were all salvaged scraps. The wadding was from an old polyester doona which I disassembled and reused. The plain edging was an old pillowcase and the backing came from a worn-out doona cover.

The final step was to add the binding. I cut and made my own bias binding from yet another piece of salvaged fabric.

Both of these items have been created entirely from fabric which was destined for landfill. We have so many resources already in circulation and it makes sense to utilise what we have.