Decluttering 101

7 Comments

I have been decluttering for over 10 years now but I am not really sure when I started.  In fact, I had never even heard of the word until, perhaps 5 years ago and the concept of minimalism only entered my consciousness even more recently.

There are as many ways to approach decluttering as there are people on the planet.

I have heard of instances where people have decluttered their whole home in a weekend.  They ordered a skip, almost stripped their home bare and threw the excess in the skip.  I do not know what their long-term success rate was like but I suspect that it was a bit like a crash diet. The rebound effect brings you back to the same point as where you started or worse.

The slow and steady approach is my way and it also fits with my philosophy of minimising waste and making do with what I have.  I had numerous mini bottles of shampoo, conditioner and moisturiser from hotel visits.  I have gradually used them up until they are all gone.

I have no doubt that the key to successfully decluttering your home is to stop bringing more stuff into it.  Unless you can get rid of the endless stream of possessions coming in, nothing is achieved.  It is time to alter your mindset and cease the constant inflow.

Although I do not write regularly about what I have decluttered, rarely a day goes by without me moving something out. It may be physical items or even that very insidious junk – digital clutter.  When was the last time you checked your email inbox?  Is it overflowing with offers, freebies and emails that you haven’t even read?  Get set with the delete and unsubscribe functions!

Here are some of the things that I have re-homed recently.

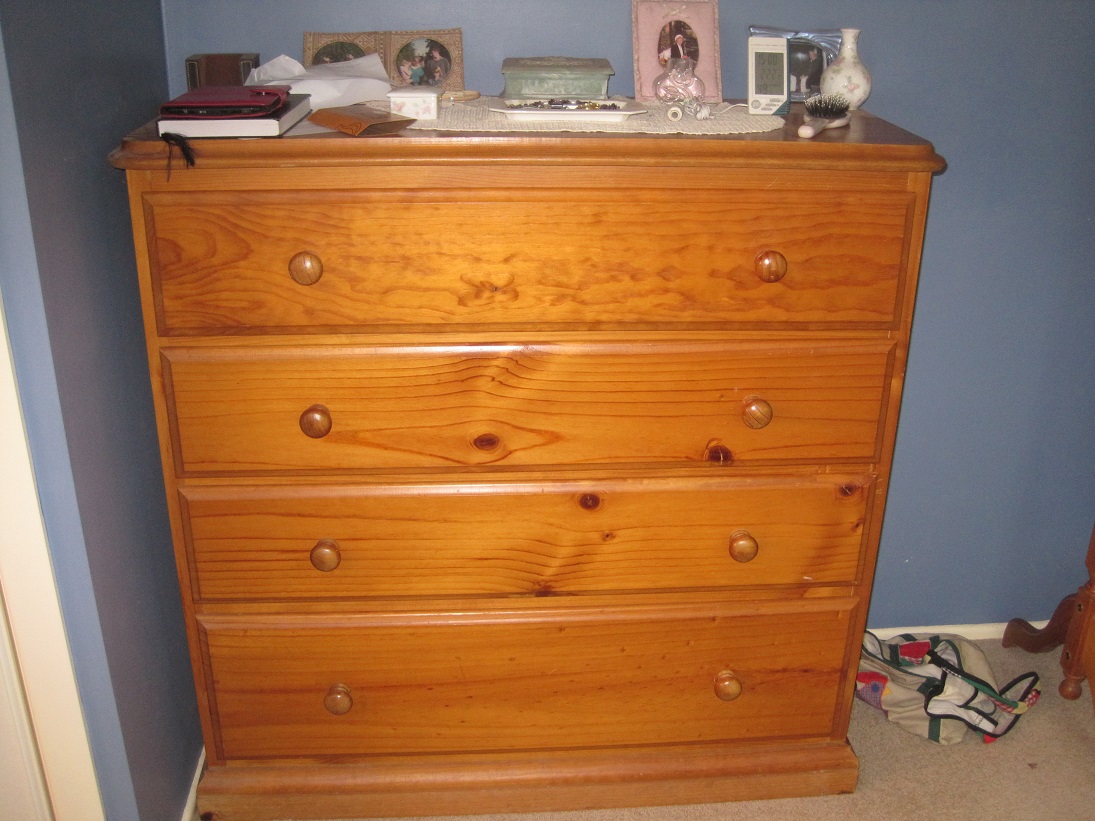
Large chest of drawers – sold on Gumtree
2 suitcases – given away via Freecycle
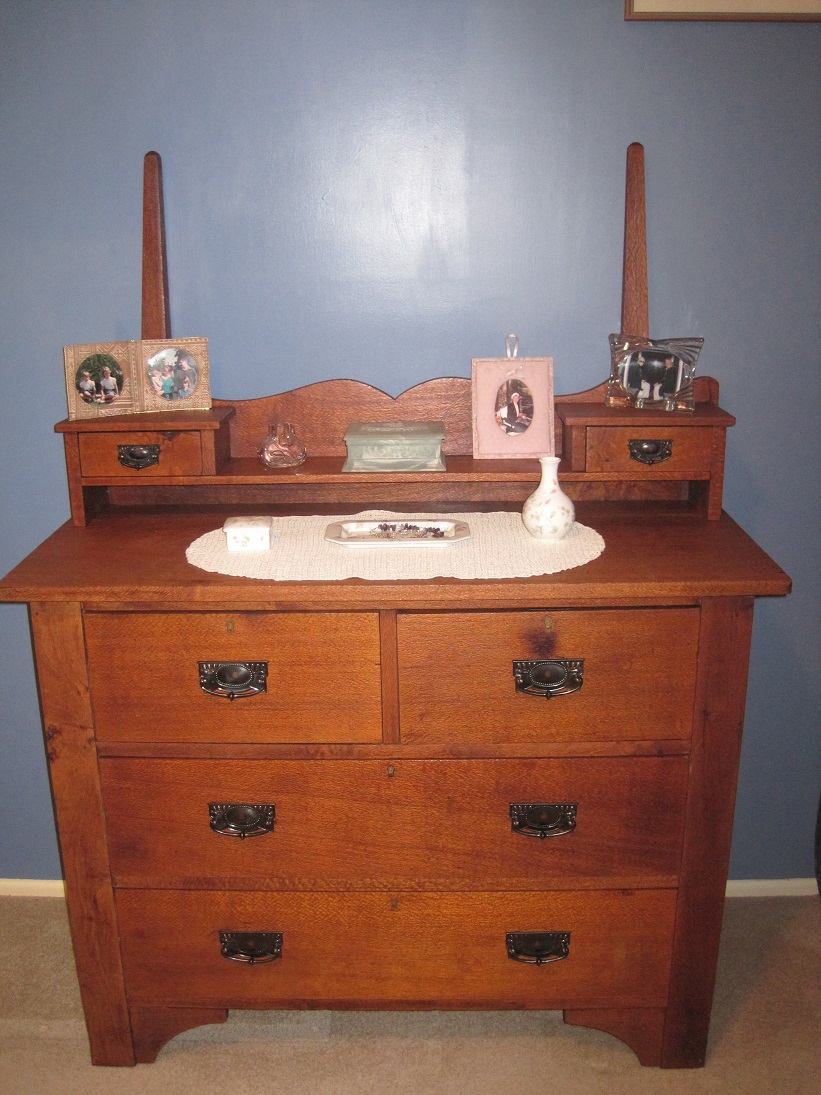
Mirror in frame – given away via Freecycle
2 zips – sent to a friend
Paper napkins – sent in response to an online request
3 men’s polo shirts – given to op shop
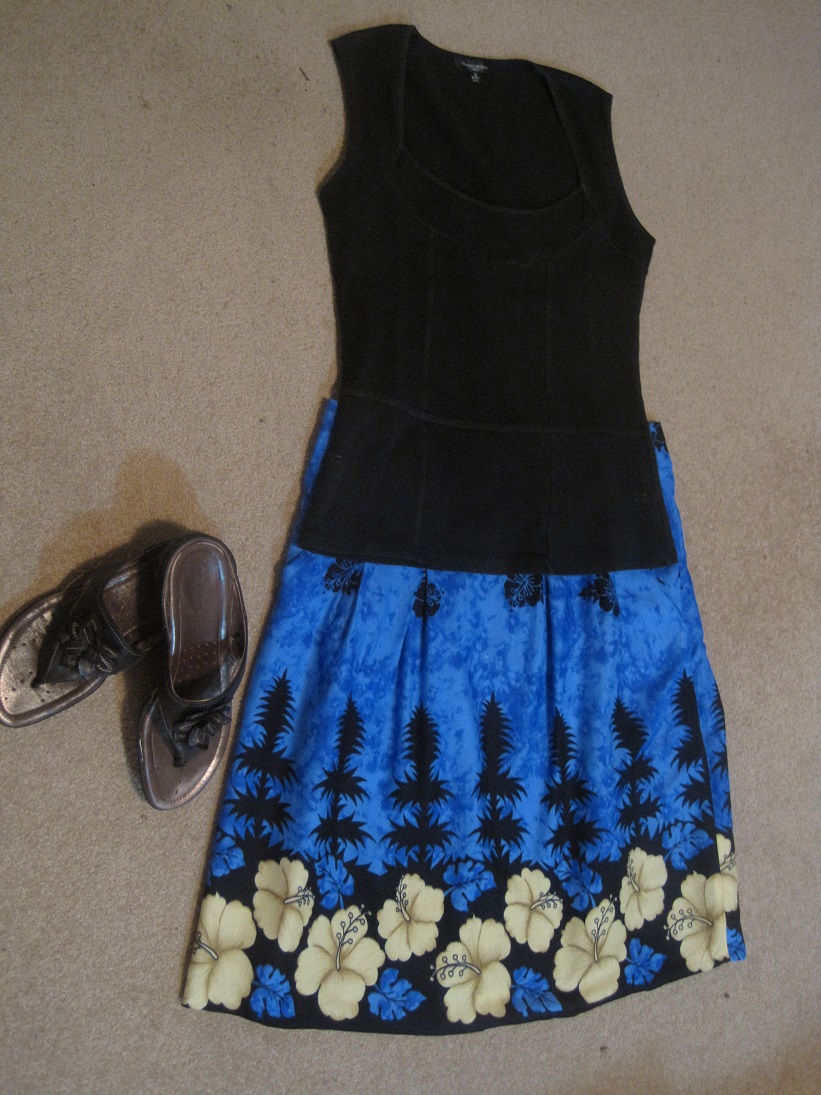
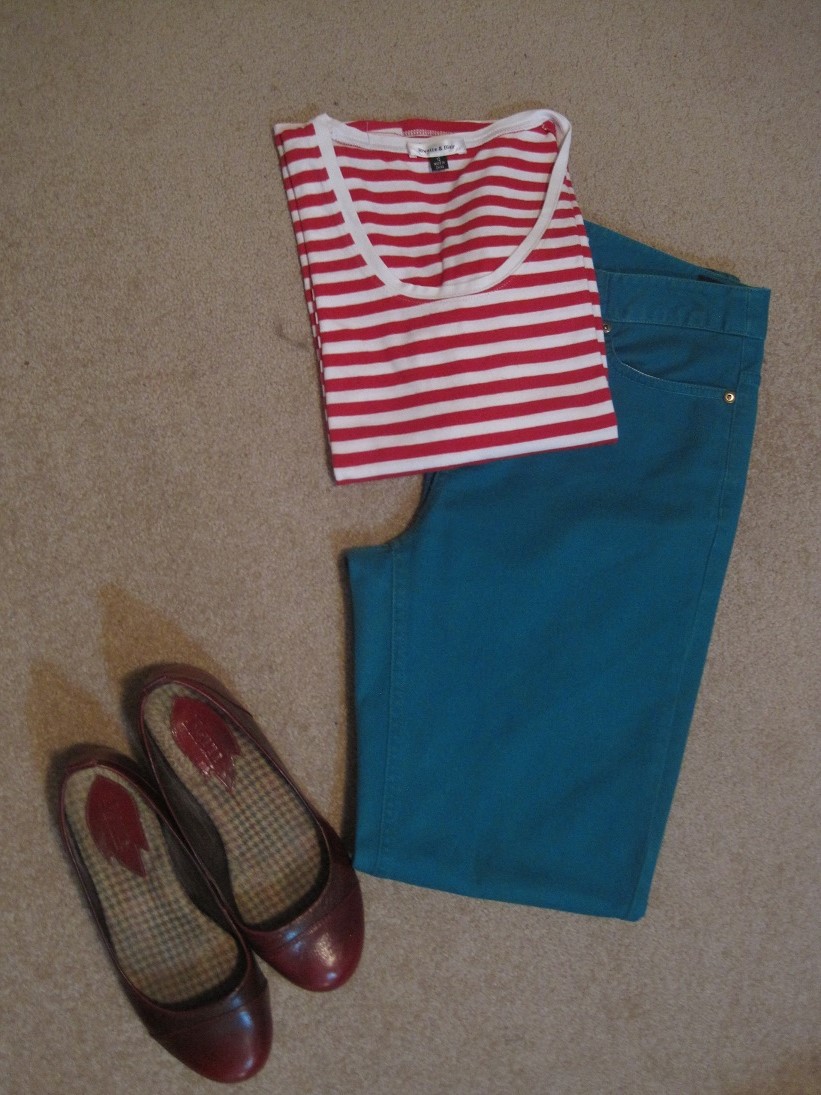
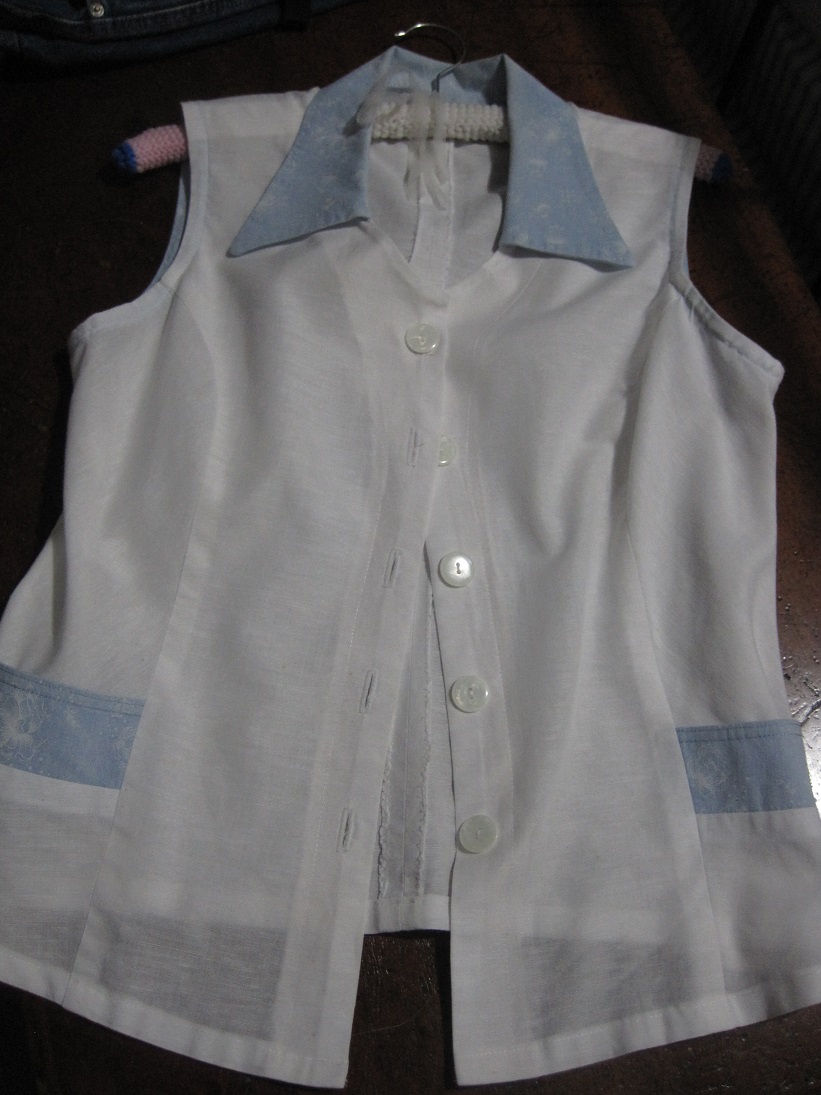
Skirt and 2 tops – given to op shop
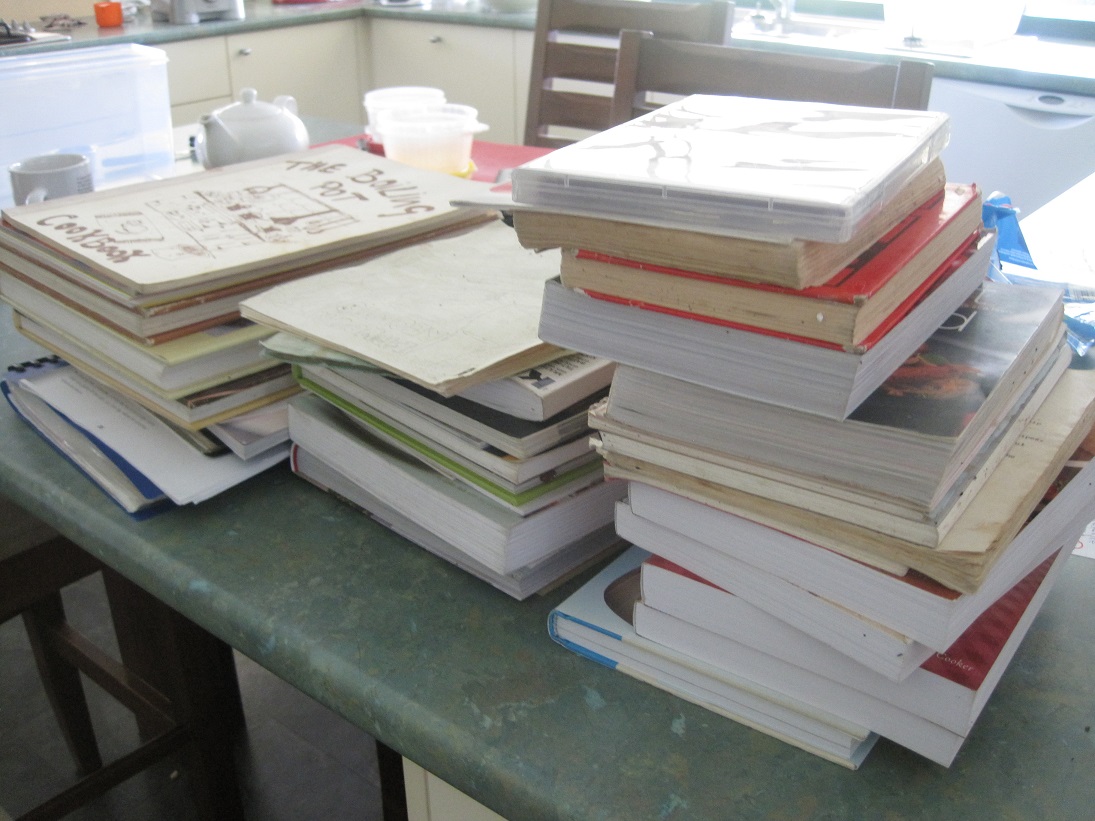
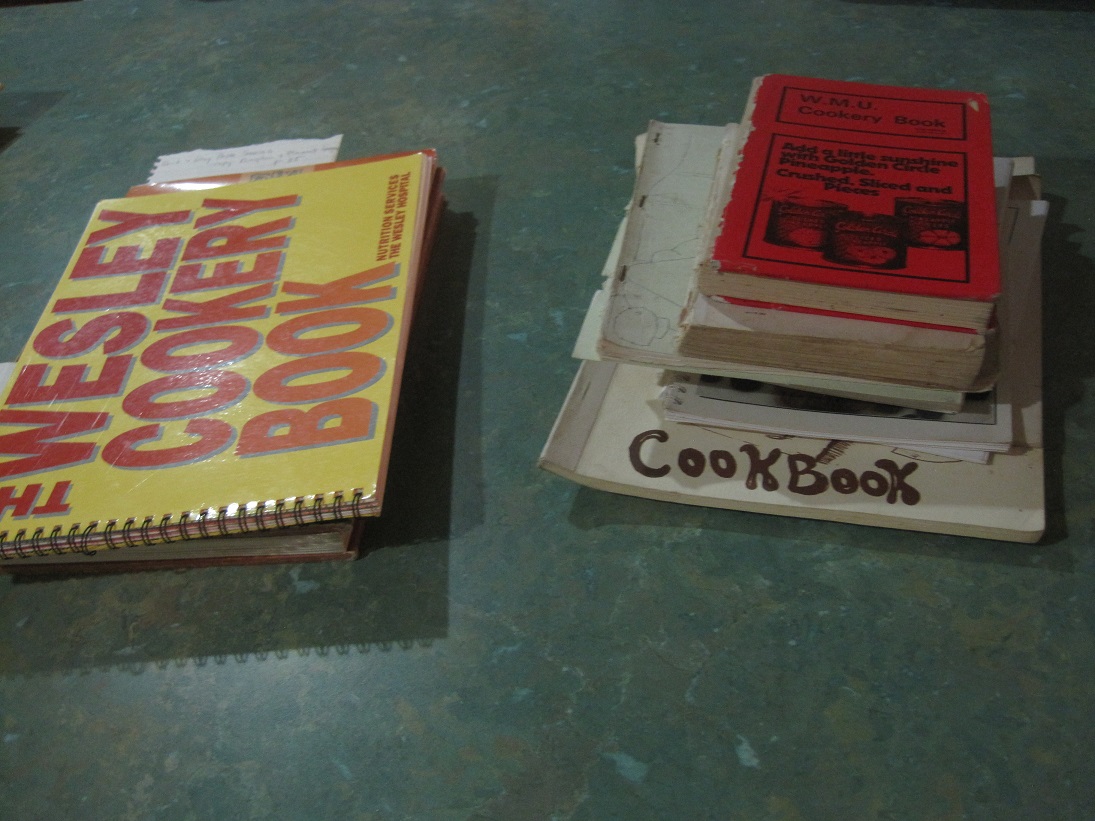
4 cookbooks – given to op shop

What have you decluttered recently?

Downsizing the Drawers

6 Comments

Last week I showed you some of our furniture restoration projects.  Like everything we do they did not come to fruition quickly.  In fact, The Duke found the receipt for the new hardware for the drawers which was dated May 2012!!

The drawers are finally finished (apart from the mirror) and have been moved into our bedroom.

This is what they have replaced.

Chest of drawers
The first step was to remove the contents from the existing chest of drawers.
As per any good decluttering guide, the first step is to remove everything from its existing location.  Even though it was completely necessary to do it in this instance,it is certainly sobering to see the entire contents piled on the floor.  I was amazed at the things that I ‘found’ that had not been worn for some time.  After carefully sorting the items I managed to toss 2 pairs of socks  and an old t-shirt.  There probably should have been more but it is a case of small steps.

My clothes
I also removed the drawer liners and cut the pieces to size to re-use in the new drawers.

Drawer liners
It took a bit of judicious re-arranging but the clothes all fitted in.  This was mainly because the drawers in the new dressing table are somewhat deeper than in the previous chest of drawers even though there are less drawers.

Dressing table
This is my new dressing table/clothes storage which is silky oak timber.  The silky oak tree is native to the local area in which we live.  We bought this about 2 years ago and The Duke stripped all of the paint from it, sanded and stained the piece of furniture.  All of the drawer handles are new reproductions of a style similar to what would have been on the drawers originally.  All that is left to do is to get a new mirror cut and place in the oval frame which will be suspended between the 2 timber uprights that you can see in the photo.  We are taking the old mirror to town tomorrow to get it done.

I am really pleased with how this has turned out.  There is a huge degree of satisfaction in restoring old pieces of furniture and bringing them back to life.

Project 333 – Packing

2 Comments

For those of you who may be new to reading this blog, it is probably timely to explain about Project 333.  It is a concept developed by Courtney Carver in which you commit to wearing a maximum of 33 items for 3 months.  You can read all about it at her blog, Be More With Less.

I first discovered Project 333 in April 2012 and followed the guidelines carefully for the next 3 months.  Since then, I have continued to streamline the contents of my wardrobe.  I am constantly striving to create a small but effective selection of pieces which work for me.  For ease of searching, I have used “Project 333” in the title of all of my clothes-related posts.  If you have not read them all you can search all posts under this topic to gain a broad understanding of what I am doing.

I have been in Sydney for the past 2 days for work.  I needed to be appropriately dressed on Tuesday when I arrived as well as yesterday and today.  I was meeting friends for dinner on Tuesday evening and attending a work-related dinner last night.  The constraints were that I planned to only take carry-on luggage as well as staying in a hotel and no opportunity to wash clothes.

Here is what I packed.

Trousers
Green jeans, denim jeans and white 3/4 trousers.

Tops
Floral cardigan, teal top, red/white striped tee and black pullover.  These all have 3/4 sleeves.  I find these very practical for a range of weather and they can be worn in a variety of ways.

Extras
I also packed a black camisole, black/white checked short sleeved shirt and leopard print scarf.

Shoes
2 pairs of flat shoes completed the selection.  I try not to wear the same shoes every day.

I chose the items with a specific plan in mind but sufficient versatility to change the choices if my mood or the weather dictated it.  The plan (which I adhered to) was:

Denim jeans, red/white tee and red flats on Tuesday flight.
Green jeans, black pullover and scarf with pewter flats for dinner on Tuesday.
Green jeans, black camisole, floral cardigan and red flats – work on Wednesday
Denim jeans, black camisole, teal top and pewter flats – dinner on Wednesday.
White trousers, checked shirt with black pullover (if needed) and flats – work on Thursday and flight home.

I really only wore each item once , however, the combinations are almost endless.  The only ‘no go zones’ as far as I can see were the green jeans with the teal top, the red flats with the teal top or the the striped top and floral cardigan together!  My maths is not good enough to be able to calculate all of the possible permutations but I know there were plenty of choices.  All of this confirms what I have often said, “You need almost as many clothes for a couple of days as for a few weeks”.

How do you decide what to pack? Have you ever travelled for an extended period of time with only one bag?

Culling the Cookbooks

6 Comments

Today I decided that it was time to bite the bullet and seriously consider what cookbooks I really needed to keep.  I did not have a large collection but I knew that there were some that had survived previous attempts to reduce the collection.

CookbooksI did not photograph the shelf before I removed all of the books but here they all are on the kitchen bench.

I sorted through and recycled lots of loose sheets of paper – scribbled recipes or ripped out of magazines.  If I had not made them up till now it is unlikely that I will.  Most did not fit with our current eating plan which is mostly gluten-free.  Quite a number of the books were very easy to let go of as they were quite dated and the recipes are simply not to our taste any more.

Ready to go
The pile on the right are ready for the op shop bag.  The 3 books on the left each have 1 or 2 recipes which I would like to try, so rather than keeping the whole book, I am going to type them into my recipe file on the computer and then the books will be added to the op shop pile.

I keep two binders with plastic sleeves which are for loose recipe sheets but even these had go a bit out of hand so I spent some time refiling them into the plastic sleeves.

The remaining cookbooks have been returned to the shelf.

Cookbook shelf
Some of these books have barely been opened, let alone actually used so I have promised myself that I will use them.  In order to achieve my goal, I am going through each book and making a list of the recipes that I would like to try and the relevant page number.  I plan to create a spreadsheet of all of the recipes with a reference back to where I can find it.  Today I went through 4 of the books but still have quite a number to go.  It will be an ongoing project.

The Duke suggested that I just scan the recipes that I want to keep and then get rid of the books completely.  That may be an option for the future but at the moment my goal is to actually try out some of the recipes instead of having a shelf full of books that I do not use.

I have a new cookbook on my Christmas wishlist.  It is a gluten-free cookbook.  I have made a couple of recipes from it and if the rest are as good it will be a worthy addition to my pared-down bookshelf.

Project 333 – Making it Work 3

2 Comments

As promised, here are the next 3 outfits based on the black camisole.  This is the one from yesterday where I teamed the camisole with an overshirt and white 3/4 trousers.

Striped shirt 3
Outfit 2 – a completely different look by teaming the black camisole with a black/white check skirt, lacy gold bolero and metallic sandals.

Black camisole 2

Outfit 3 – a simple, summery combination with the addition of a lightweight Hawaiin-print skirt and black slides.

Black camisole 3
I made the Hawaiin-print skirt from fabric that was given to me.  I love the skirt but it is very different to most items in my wardrobe so I have really set myself up for a challenge by choosing it as my base item for tomorrow.

Will I meet my goal of 3 different ways to wear it?

Project 333 – Making it Work 2

6 Comments

Now for the next instalment, using the striped shirt as the base for 3 outfits.

Here is the one from yesterday which I will call Outfit 1.

Green jeans2
Outfit 2 – black trousers, teal/black/white striped collared shirt with 3/4 sleeve and zip front, turquoise cardigan and black mary janes.

Striped shirt 2
Outfit 3 – white 3/4 pants, black camisole, teal/black/white striped collared shirt with 3/4 sleeve and black leather slides.

Striped shirt 3

Because we live in a temperate climate I have the luxury of being able to wear some of the more versatile items in all seasons.  This shirt is a perfect example.

Tomorrow I will show you 2 more ways I wear the black camisole.  There are many options for this piece but I will use the opportunity to introduce a couple of the more challenging items.

Project 333 – Making it Work

Leave a comment

As promised the other day, here is the first of a series about my small selection of clothes and how I make them work.

I read recently that someone expected that every item of clothing needed to be able to be incorporated into 3 different outfits to justify having the item in her cupboard.  I decided to test this theory and here are some of the results.

The first item I chose was my green jeans.

Green jeans1
Outfit 1 – green jeans, red/white striped 3/4 sleeve tee and red flats.

Green jeans2
Outfit 2 – green jeans, teal/black/white striped collared shirt with 3/4 sleeve and zip front plus pewter flats.

Green jeans3
Outfit 3 – green jeans, white camisole, charcoal denim jacket and black mary janes.

The great thing about this exercise is that it actually makes you think outside the box.  I have actually worn outfits 1 and 2 but outfit 3 was created purely as a result of this exercise.  I like the look of it and will definitely try it out.

Some items will easily give you 3 or more options while others will be a bit more of a challenge.  I am not just going to showcase the easy choices.  Each day I will select one of the pieces I used as my next base.  Tomorrow will be 2 more ways of wearing the striped shirt which you saw in Outfit 2 today.

I look forward to hearing your comments on my choices and if you have any strategies for making sure that your wardrobe items earn their keep.

Finally, I want to thank you all for your thoughts and prayers for my sister-in-law.  Her condition remains very serious and we continue to pray for her.

Make & Mend – Shelving

4 Comments

My latest project is something completely different.  I designed and made a piece of furniture.  ‘Furniture’ is probably a slightly too grand to use as a description for the rustic shelving unit which is made from vintage wooden crates and lengths of undressed pine.

Shelving
This creation is the culmination of much discussion over a number of years.  When we first moved into our home in a country town in South Australia we discovered that the large shed held numerous old treasures that had been collected, perhaps even hoarded by previous owners.  Amongst these items were 5 solid wooden crates which had been used to hold explosives.  This was evident from the markings on them.

Box detail
Over the years we have moved house twice, downsized and decluttered many things but the crates, which were someone else’s cast off stuff always managed to make the cut.  The Duke would vaguely suggest that we could use them for shelving and they have often been simply stacked one on top of the other and used to store various things in the workshop.  I had always had a rough idea of a design for shelving which would make the best use of the boxes that we had.  After (yet another) clean-up in the workshop the other weekend my plan finally became clear.  I found 2 identical pieces of undressed pine in amongst the odds and ends of wood. The Duke said that they were part of the packaging on the roll of fencing wire we had bought when we were building the chicken run.  I needed 8 matching pieces for my planned shelving so I asked at the local farm supplier from whom we had bought the wire.  He was happy to give me 6 more pieces that were sitting on a bench out the back of the shop.  The pieces of pine would make the ends and legs for the unit.

Shelving showing the legs
The Duke trimmed the pine to the length required and we then set about assembling the shelving unit using my design which I had roughly sketched on a piece of paper to convince him that it was feasible.

The only cost was $7.00 for some screws. Some were from our stash but we needed to buy more to complete the project.

The shelves will provide some additional storage in the workshop and were a practical way to use the boxes which had been deemed as too good to throw out.  By the way, I checked on eBay and found that similar ones were for sale at between $20 and $60 each.  What is my designer original shelving unit worth?  I would say that it is priceless!


Make & Mend – Cot Quilt

2 Comments

As promised here is another of the things I have been working on.

On one of my many attempts to sort/tidy/declutter my sewing room I found some offcuts of material.  It is calico with blue teddy bears.  I also had some plain calico.

Material
With no-one particular in mind I decided to make a quilt.  I discovered that I could make enough blocks to make a cot quilt if I added some plain navy blocks.

Patchwork quilt top
The batting and backing were added and the quilting was a simple ‘stitch in the ditch’ where the blocks were joined.

Then it just sat waiting to be bound and finished.  I finally got inspired and completed the quilt.  Handsewing the binding took a little time but I set myself a goal to get it done and here is the finished product.

Cot quilt
I am planning to send it to a friend whose patchwork group are busily making quilts for those who lost their homes in the recent NSW bushfires.  I hope it will help a family in need.

I am very gradually decluttering my sewing room.  It is a gradual process because I do not want to get rid of stuff but rather to use it up.  I plan to make things from the fabric that I have and donate them through various avenues so that others can benefit.

Project 333 – Wardrobe Orphans

2 Comments

While I have been busily writing about some of the strategies you can use to reduce your stuff, I have been reviewing the contents of my wardrobe.

Wardrobe

As I have said before, I do not have a bulging closet.  Nevertheless, there are still items that get overlooked when I am planning an outfit to wear.  Why?  They fit and there is no good reason but they just tend to get overlooked.  They are the wardrobe orphans.

Blouse

This sleeveless shirt is an identical style to others that I wear regularly but although I like it the top it does not really work with other pieces.  My skirts are all patterned and therefore I wear plain tops with them.  My shorts are white, black, red and khaki.  I don’t get excited about any of those combinations.  I think it needs denim or navy shorts or skirt.  I don’t have either nor am I planning on adding them to my wardrobe.  The final straw is that it obviously requires a white or nude bra and the 2 white bras that I have are too big and really past their use-by date.  So, the shirt has to go.

Shirt

Another white shirt.  This time it is a 3/4 sleeve one with light blue metallic pinstripes.  Unlike the other one I have never really loved it.  I bought this when I needed another ‘business’ shirt but it generally gets cast aside in favour of others that I prefer.  It is just not right for me.

I am going to move both of the shirts out of my wardrobe and was planning on putting them in the op shop bag.  However, my first option is to offer them to any of my readers who are interested.  You may have one or both if you wish.  I am giving them away on the understanding that you will pay for any postage costs.  I am willing to post overseas if required.  They are best described as an Australian size 10 – 12.  The sleeveless shirt was made by me and is cotton.  The 3/4 sleeve one is Jacqui E cotton/nylon/elastane.

If you are interested please email me.  gandy79atgmaildotcom

Are there any orphans lurking in your wardrobe?