Organised Kids

2 Comments

On Friday afternoon The Duke and I picked up Miss O as she was coming to stay for the night and most of Saturday before meeting up with her Mum at a family BBQ late on Saturday afternoon.

Whenever either of the grandchildren come to stay something invariably gets forgotten and it is often a toothbrush so we reminded Miss O when we arrived.  This time it was spare underwear that was left behind and then when it was bedtime she announced, “Mum forgot to pack any toys”.  I pointed out to her that it was not actually her mother’s responsibility to pack toys – after all Miss O is nearly 6.

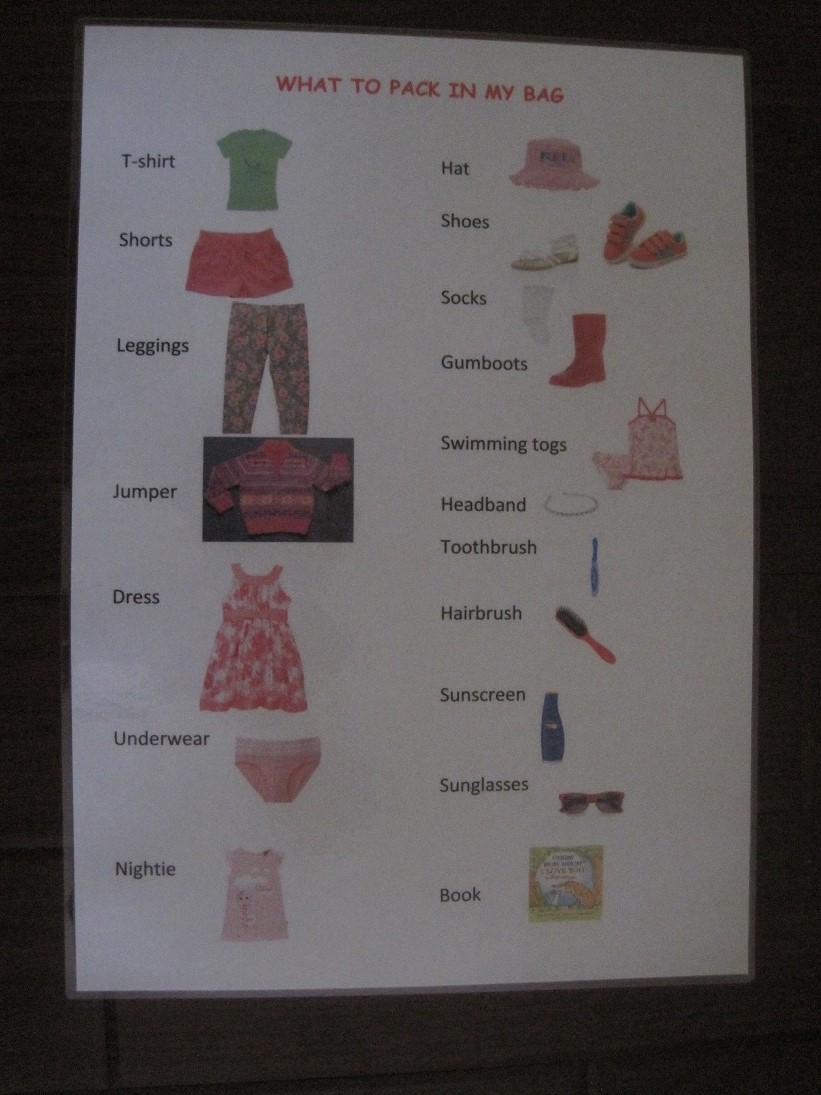
I decided to help Miss O to try to overcome things being forgotten so we made a packing list.

Packing list
This is what we created.  Miss O decided what needed to be on the list and with the aid of Google we found images to go with each item.  Naturally, there will be seasonal variations and not everything will be required each time she packs to go somewhere but I am hoping it will be a useful prompt.

We did not get it quite finished on Saturday but it is all done now, laminated and posted to Miss O as promised.

The picture prompts will also encourage her reading skills.

Woodshed – Finished

2 Comments

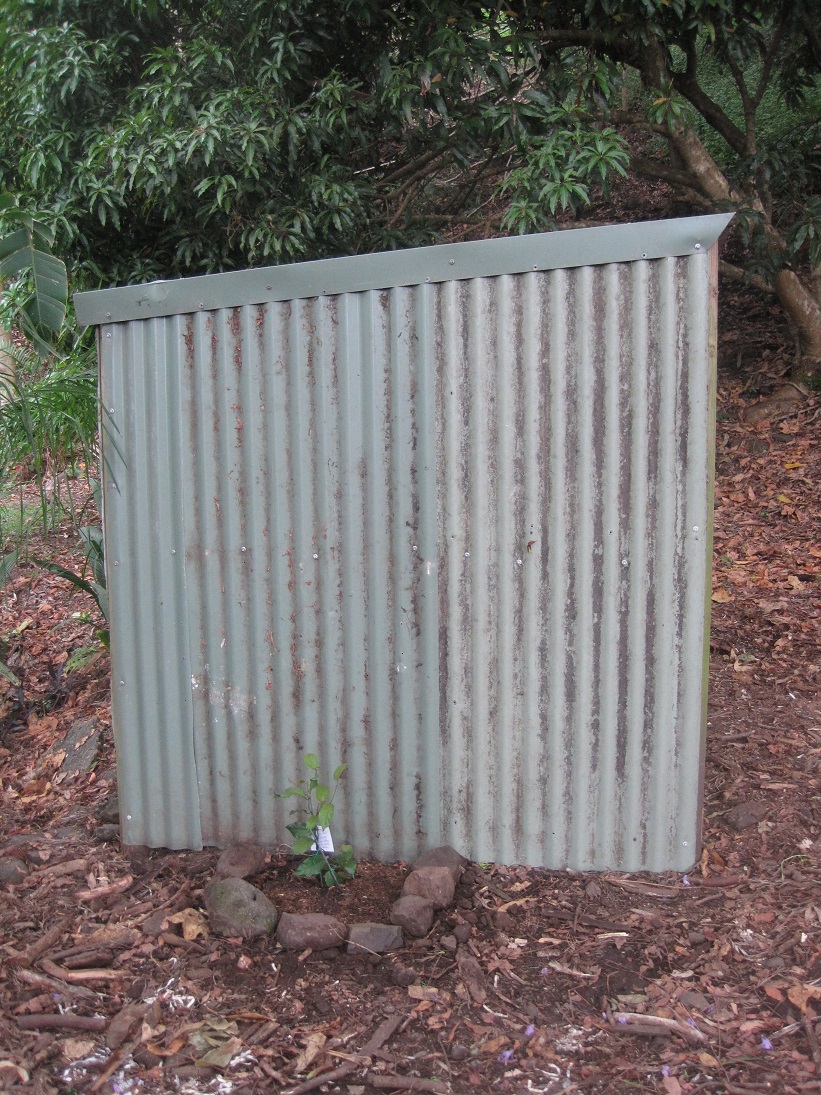
As you know, we demolished the old chicken run a couple of months ago but left the woodshed which was attached to the end of the run.  There was only chain wire between the coop and the woodshed and this was removed during the demolition process, leaving the woodshed without a side wall.  We had plenty of Colorbond sheeting which we salvaged from the demolition and yesterday The Duke created a side wall.  We also had to add a narrow strip to the roof and then finished it off with some metal angle, also salvaged.

Side of woodshed
The finishing touch was to plant a climbing vine that we bought yesterday.  It is a Richmond Birdwing Butterfly Vine.  I have been meaning to plant one for ages but have not really had the right spot.

Woodshed
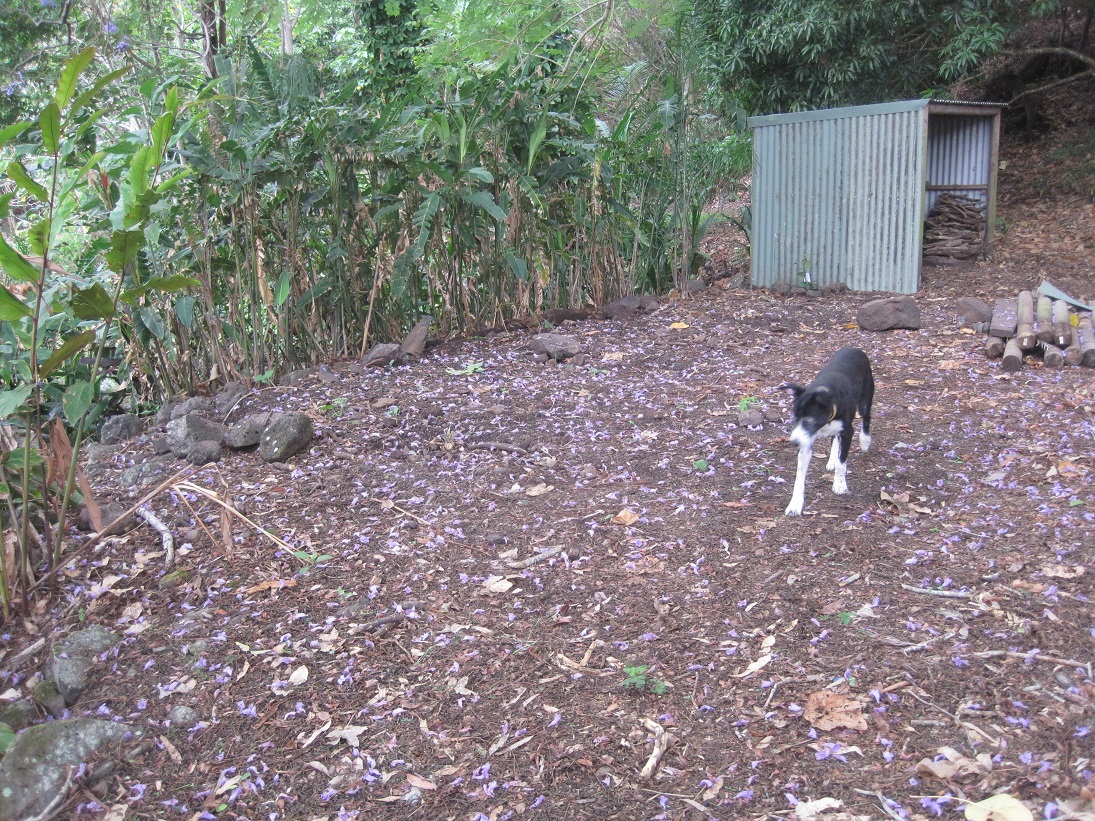
I finally finished tidying and sorting all of the wood in the shed.  The wheelie bin is also full of kindling.  All of the wood is now in one place instead of various spots around the garage and under the house as well as the woodshed.

Space
This is the area where the chicken run was so we are planning on extending the area which is planted with heliconias, gingers and bromeliads.  These are currently on the embankment to the left of the photo and we will extend it into the vacant space.  I plan to move some rocks to create a defined edge to the area .  The ground has lots of leaf litter as well as chicken manure and composted vegetable scraps so I don’t think we will have any trouble getting them to grow.

Just to let you know that starting from tomorrow I will be doing a series of posts about the practical applications of having a smaller selection of clothes.  Please join me then.

Furniture Restoration

3 Comments

I do not have photos of each piece but The Duke and I have been busy today, working on 3 different pieces of furniture.

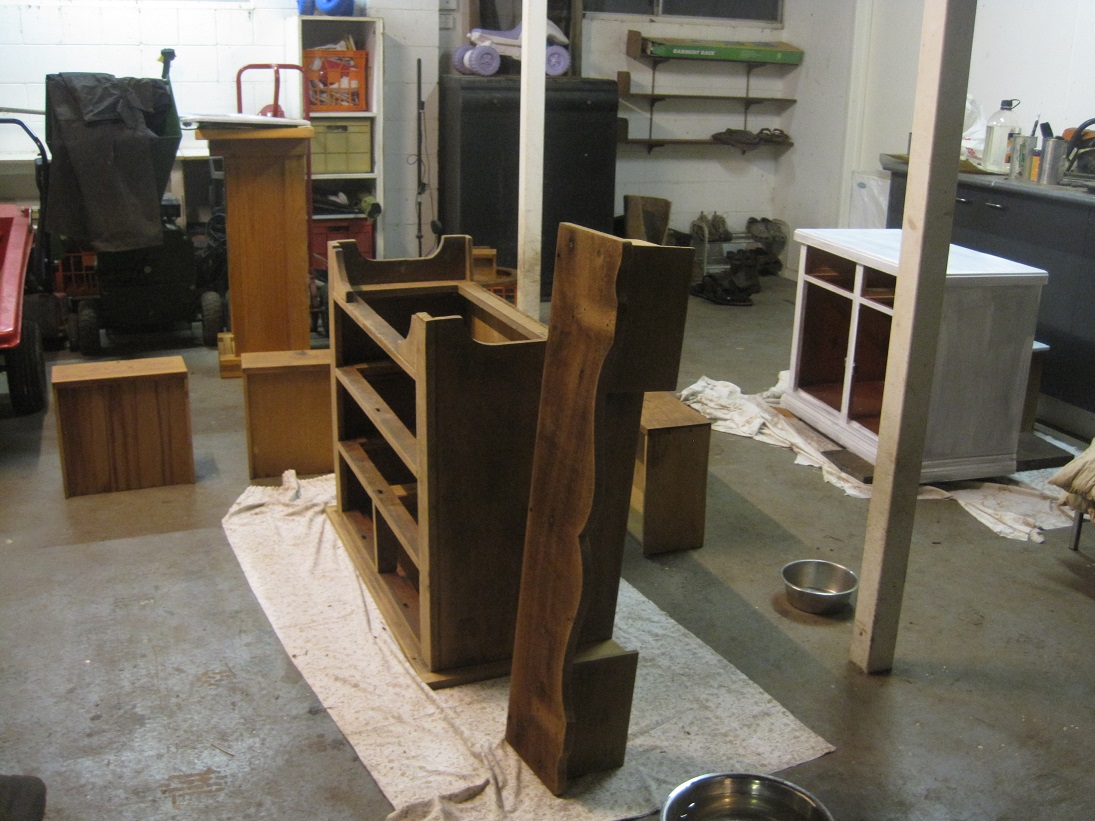
Furniture restoration

The main piece is a silky oak chest of drawers/dressing table which we finally got around to beginning to stain.  We bought it unrestored a couple of years ago and the Duke worked hard to strip all of the paint and sand the individual pieces.  The oval mirror which attaches to the top has been dismantled and that was what was holding us back.  We needed to have it resilvered and there always seemed to be something more pressing to do.  The Duke searched on the internet and found that a large glass and mirror business in the city no longer do resilvering as it is cheaper, easier and more accurate to cut a new one, no matter what the shape or if there are bevelled edges.  We will have the frame stained and take it with the old mirror next week to get a new mirror cut and fitted into the frame.  Once it is finished it will replace the current pine chest of drawers that I am using.

On the left-hand side of the photo is what was originally our TV cabinet which was used by our daughter for a few years and then found its way back home.  Today we have sanded and undercoated it and the finish will be gloss white enamel and it will go in the guest (Air BnB) bedroom instead of the small decoupage desk which is there at the moment.

Finally, there is a pine blanket box standing on its end in the background.  We plan to use this as a storage box on the verandah.  It will hold BBQ supplies and tools and will be painted ‘Woodland Grey’ which is the colour that we will be using for a lot of the exterior trim as well as all of the fenceposts.  We have had this box for over 30 years but it has been superseded in our bedroom by an antique cedar chest.  It had heavy rope handles which we removed and are replacing with metal handles.  We bought them some time ago from Paddington Hardware along with all the new handles for the chest of drawers.  The holes where the rope was attached needed to be filled so I sanded a piece of an old broomstick and cut it into pices to plug the holes.  We overfilled them with Plastibond and tomorrow will sand the box including the Plastibond.

It may take us a couple of weekends to finish them all but I am looking forward to taking photos of the finished articles to show you.

Make & Mend – Shelving

4 Comments

My latest project is something completely different.  I designed and made a piece of furniture.  ‘Furniture’ is probably a slightly too grand to use as a description for the rustic shelving unit which is made from vintage wooden crates and lengths of undressed pine.

Shelving
This creation is the culmination of much discussion over a number of years.  When we first moved into our home in a country town in South Australia we discovered that the large shed held numerous old treasures that had been collected, perhaps even hoarded by previous owners.  Amongst these items were 5 solid wooden crates which had been used to hold explosives.  This was evident from the markings on them.

Box detail
Over the years we have moved house twice, downsized and decluttered many things but the crates, which were someone else’s cast off stuff always managed to make the cut.  The Duke would vaguely suggest that we could use them for shelving and they have often been simply stacked one on top of the other and used to store various things in the workshop.  I had always had a rough idea of a design for shelving which would make the best use of the boxes that we had.  After (yet another) clean-up in the workshop the other weekend my plan finally became clear.  I found 2 identical pieces of undressed pine in amongst the odds and ends of wood. The Duke said that they were part of the packaging on the roll of fencing wire we had bought when we were building the chicken run.  I needed 8 matching pieces for my planned shelving so I asked at the local farm supplier from whom we had bought the wire.  He was happy to give me 6 more pieces that were sitting on a bench out the back of the shop.  The pieces of pine would make the ends and legs for the unit.

Shelving showing the legs
The Duke trimmed the pine to the length required and we then set about assembling the shelving unit using my design which I had roughly sketched on a piece of paper to convince him that it was feasible.

The only cost was $7.00 for some screws. Some were from our stash but we needed to buy more to complete the project.

The shelves will provide some additional storage in the workshop and were a practical way to use the boxes which had been deemed as too good to throw out.  By the way, I checked on eBay and found that similar ones were for sale at between $20 and $60 each.  What is my designer original shelving unit worth?  I would say that it is priceless!


Make & Mend – A New Garden

Leave a comment

Today I made a garden bed, or more accurately refreshed an old one.  Unlike most of my gardening posts this one does not include growing food.

This is an area between the side of the garage and the front steps which originally had a selection of fairly unappealing shrubs and plants.  They had been cleared out some time ago and the space badly needed revitalising.  I did have a before photo, however, it is on the desktop computer which seems to have some issues so I took it to be looked at/repaired today.

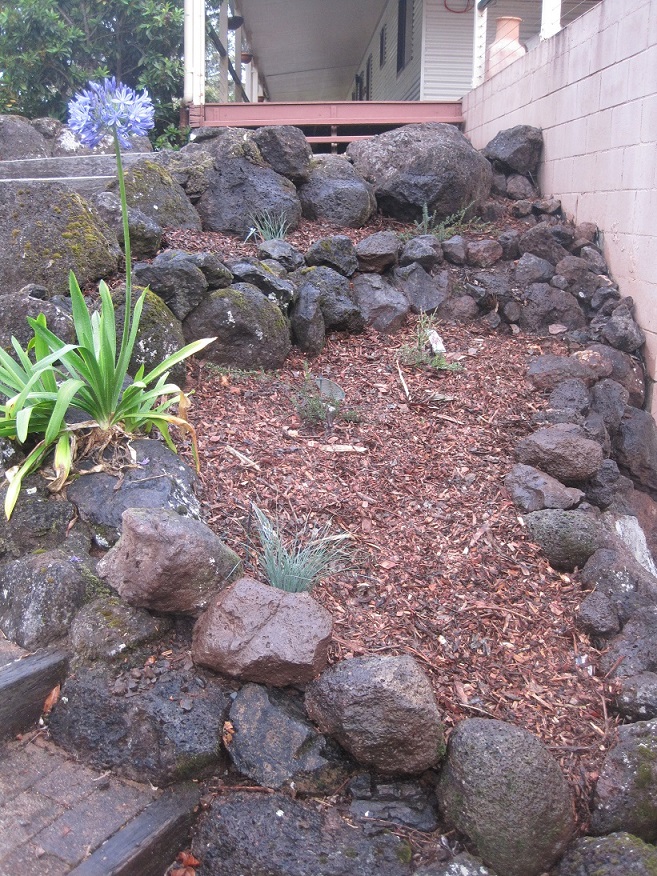
Front garden
We bought the plants at a local garden centre on the weekend.  They are Australian natives – low-growing shrubs and ground covers.  The area has quite a considerable slope so I move some more rocks to build up the edges to prevent the mulch washing away in the first heavy shower of rain.  We were lucky to be offered a large pile of mulch by our neighbours who had several large trees lopped and mulched.  We moved 3 loads in the back of the ute last weekend so some of it was used on this garden with several layers of newspaper underneath to help suppress any weeds.

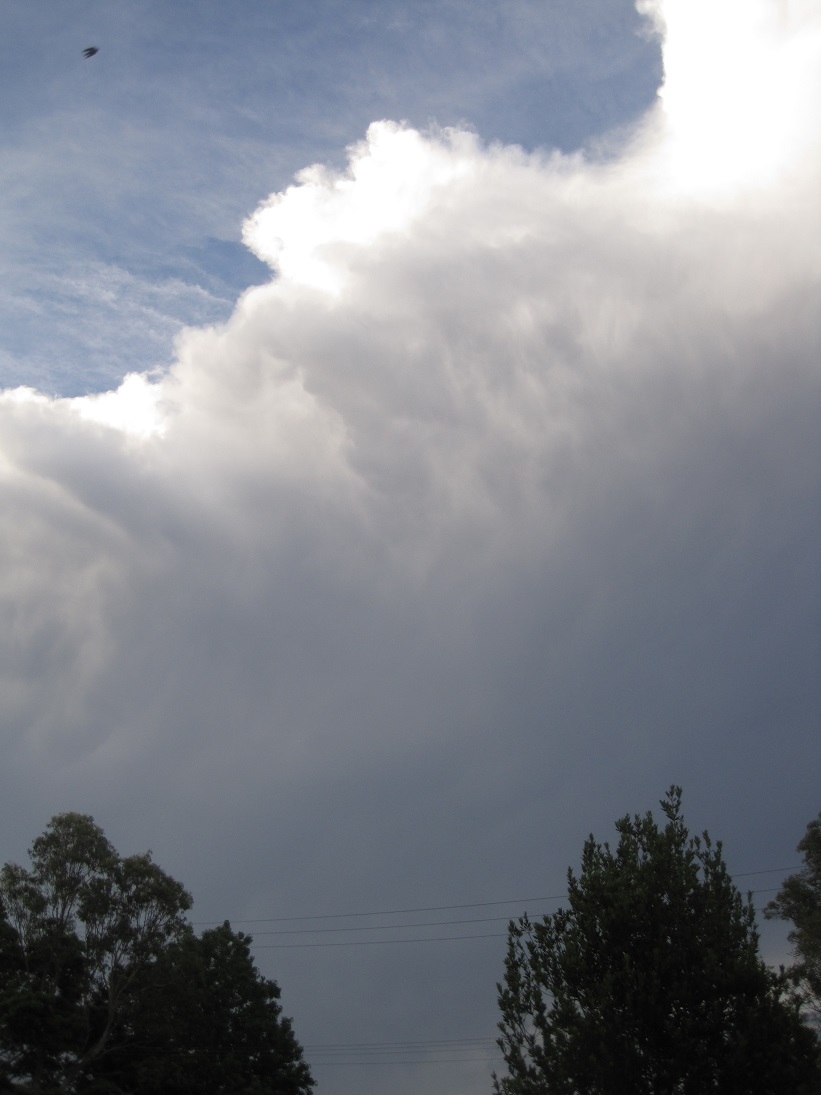
I thought we may have had some rain late this afternoon as the storm clouds were building rapidly and the thunder was rumbling in the distance as I put the finishing touches to my new garden.

Storm clouds

The threatening weather dissipated quickly and we have been left with a warm, humid night.

Make & Mend – Cot Quilt

2 Comments

As promised here is another of the things I have been working on.

On one of my many attempts to sort/tidy/declutter my sewing room I found some offcuts of material.  It is calico with blue teddy bears.  I also had some plain calico.

Material
With no-one particular in mind I decided to make a quilt.  I discovered that I could make enough blocks to make a cot quilt if I added some plain navy blocks.

Patchwork quilt top
The batting and backing were added and the quilting was a simple ‘stitch in the ditch’ where the blocks were joined.

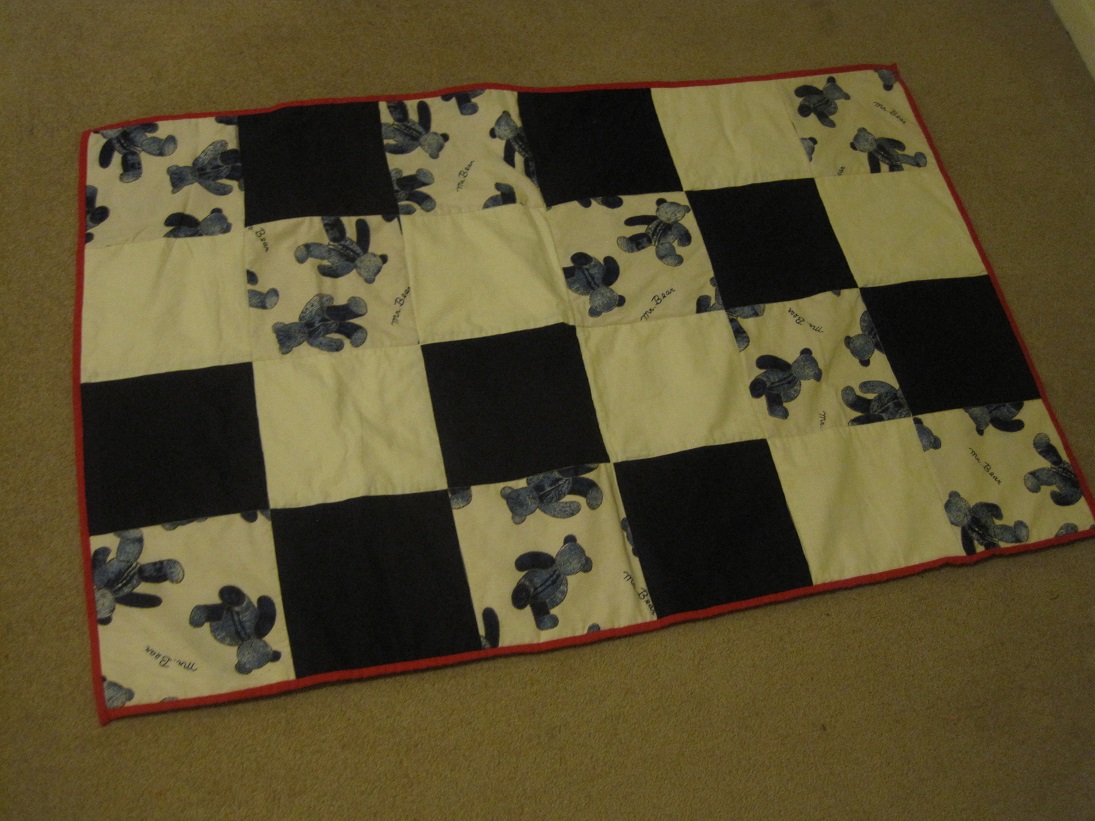
Then it just sat waiting to be bound and finished.  I finally got inspired and completed the quilt.  Handsewing the binding took a little time but I set myself a goal to get it done and here is the finished product.

Cot quilt
I am planning to send it to a friend whose patchwork group are busily making quilts for those who lost their homes in the recent NSW bushfires.  I hope it will help a family in need.

I am very gradually decluttering my sewing room.  It is a gradual process because I do not want to get rid of stuff but rather to use it up.  I plan to make things from the fabric that I have and donate them through various avenues so that others can benefit.

Make & Mend – Picture Frame

4 Comments

This week I want to share a few of the projects I have been working on recently.

First up is the picture frames.  These are 2 large timber frames which belong to my mother.  They have family photographs in them and usually stand on her sideboard.  The problem is that the stand is actually very heavy cardboard.  After several years of very wet and humid weather the cardboard has absorbed moisture and now has flexed and will not stand and support the frame.

Picture frame with stand
I brought these home with the idea of repairing them and this is what I did.

I made a pattern from the stand on each frame and then marked it out on a sheet of plywood.

Pattern
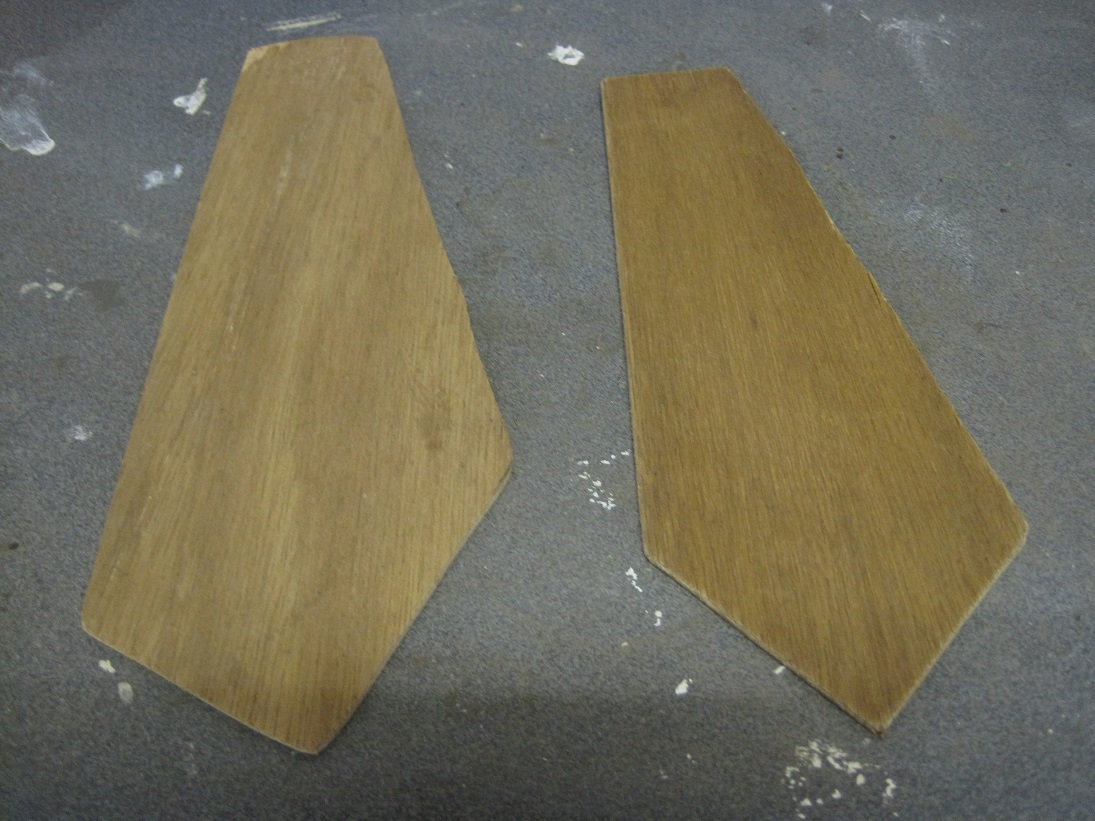
The pieces of plywood were cut using a jigsaw.

Plywood
I then spread the glue (Aquadhere) over the plywood and placed it on the cardboard stand.  I used several clamps to make sure firm contact was maintained between the surfaces.  I left the clamps in place for 24 hours.

There are no photos of the clamps as my camera battery was flat.

Tonight I removed the clamps and the repair has been successful.  Now I need to finish the other frame then return them to my mother.

Repaired
Tune in again tomorrow for the next project.

STREAMLINE – Starting Over

6 Comments

As promised, here is the first in my decluttering series based on “The Joy of Less” by Francine Jay.

Whether it is a whole room or a single drawer, the principle of this step is to start from scratch.  That is, you need to get the space back to how it was when you moved into the house.

If you leave things in place this activity becomes one of cleaning around items rather than seriously questioning the value of every single piece.  As Francine says, “Nothing gets a free ride”.

Are you about to give up before you even get started?  Does the prospect of removing everything fill you with terror?  Or are you thinking that you have nowhere to put the stuff until the next step of “Trash, treasure or transfer”?  You have made it this far so I expect that you have some very good reasons for wanting to declutter.

Perhaps you could start small and tackle one drawer.  Empty the entire contents onto the kitchen bench.  Don’t focus on what is on the bench.  Give the drawer your entire attention.  Clean it inside and out.  Replace it and feast your eyes on the space.  Space to hold the things you really need and love.  Now, close the drawer and turn your attention to the pile on the bench.  Would you simply toss all of this back in the clean drawer?  Now it is time for “T” – “Trash, treasure or transfer” but more of that tomorrow.

There is no specific order in which to tackle the decluttering.  You could try the most-used room, or the least.  Perhaps the worst area or one that causes you the most personal angst.  It could be you bedroom so that you have a calm and peaceful retreat from the chaos around you or the entry area so that you are thrilled to greet visitors.  Whatever you decide, it is your choice.

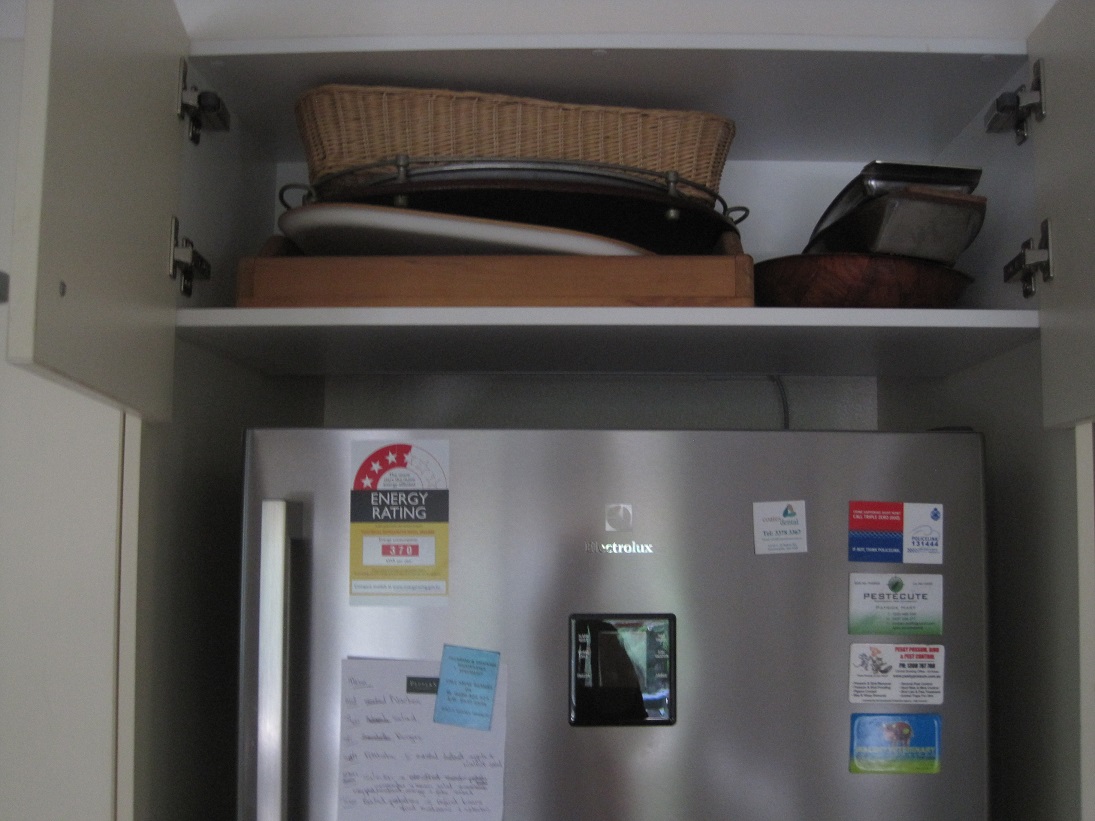
I have chosen a small space – the cupboard above the refrigerator.  This sees very little activity usually but it has been opened several times a day over the past week.  You see, we have a new refrigerator which fits easily in the available space, however, the doors on the overhead cupboard were custom-made to suit the old refrigerator so they need to be opened every time we go to the refrigerator at the moment.  The cabinetmaker is coming on Friday to remove and modify the doors.  Having this cupboard opened regularly has reminded me of what I have stashed in there and how infrequently it is used so I have decided it is time to take everything out and have a serious look at why it is there.

Overhead cupboard

What are you going to tackle first?  I am looking forward to hearing of your choices, successes and challenges.

Tomorrow,  we will get right into it.
Holiday Fun

2 Comments

No organising happening here today as we are too busy having fun.  Miss O and Izz are staying for a couple of nights as it is school holidays here.

It has been a full day which included picking strawberries at a local farm as well as buying some fruit and vegetables and getting hair cut.  That was just this morning!

Then it was time for lunch.

Lunch
A platter which included freshly picked carrots and avocadoes plus some cracker biscuits.  A cup of water and some strawberries rounded off a healthy lunch.

The weather has been really quite hot the past few days but even though it was much cooler today it was still warm enough to play in the pool.

004
Climbing ‘mountains’, hide and seek and racing around the yard used up some excess energy.

055
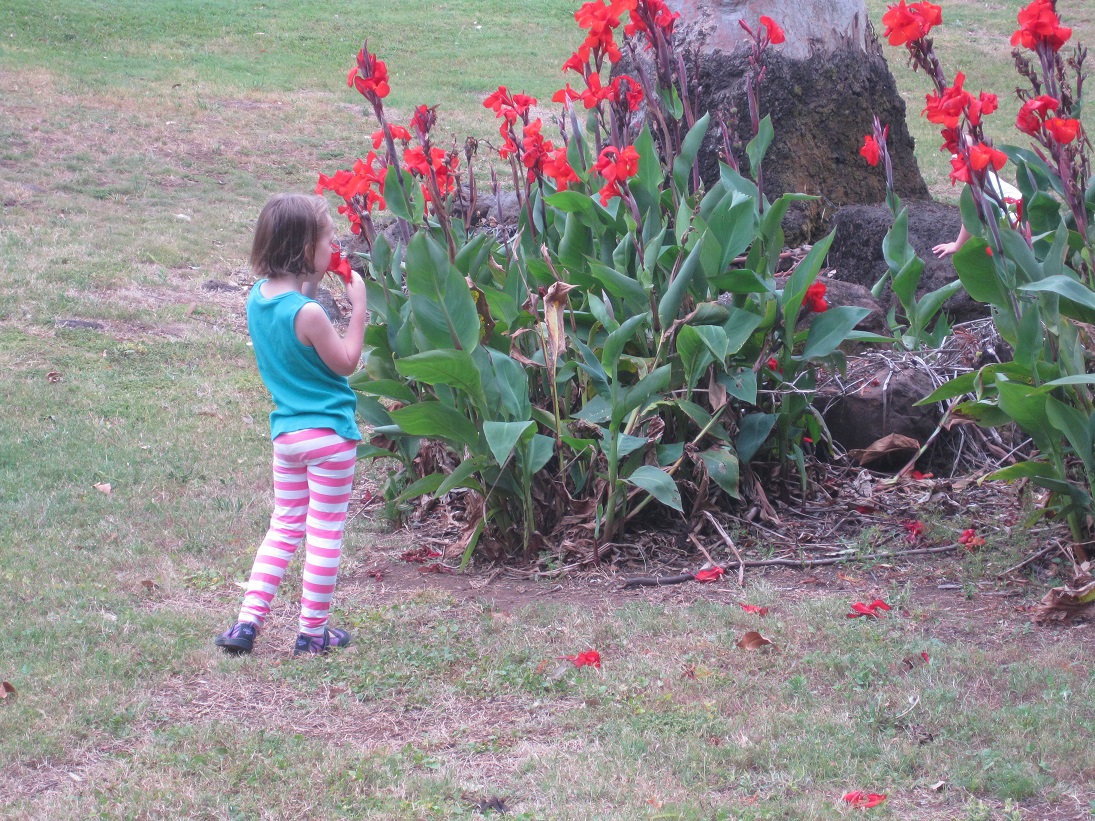
And taking a moment to smell the roses AKA cannas.

056

Going, Going………Not Quite Gone

1 Comment

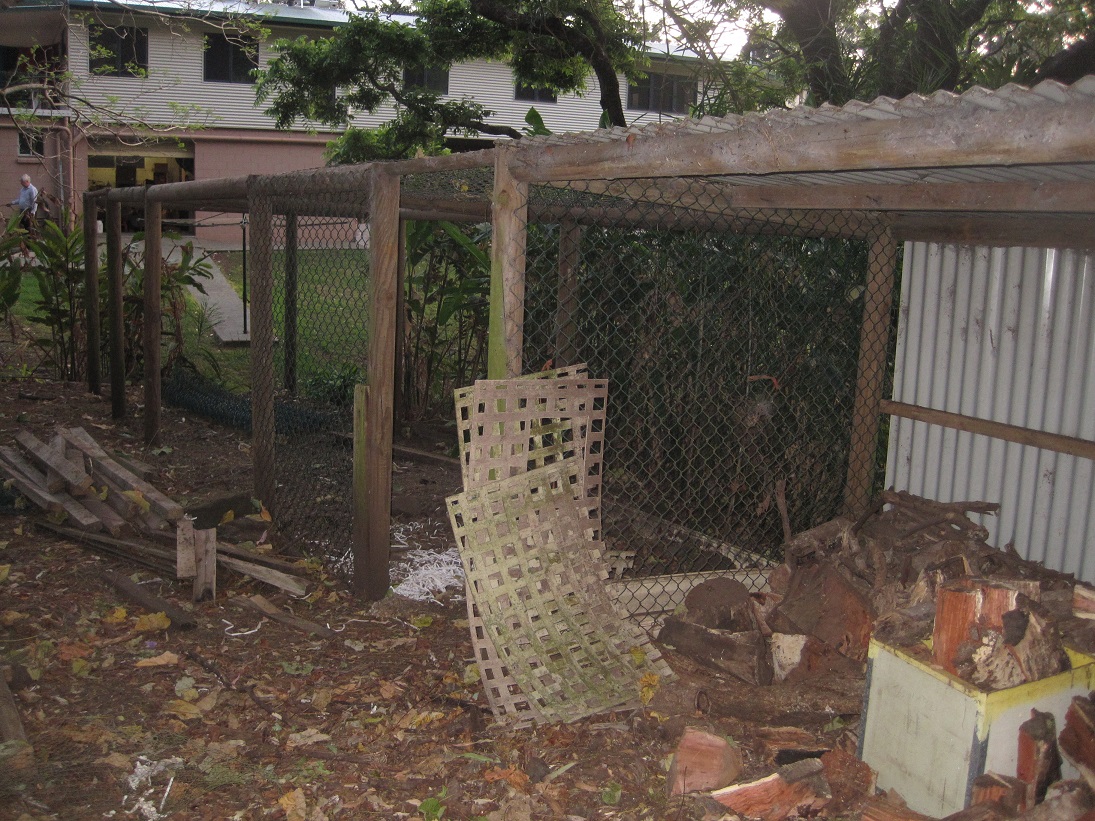
Last weekend we did some more demolition work on the old chicken coop.  We have been fairly careful in how we went about it because it was our goal to salvage most of the materials for use in future projects.  There is now only one piece of chain wire to remove and then the posts.

IMG_4088

The Colorbond sheeting from the roof and walls will come in handy for some of the remaining raised garden beds that we are planning to construct.  The posts have been earmarked for use in building the perimeter fence of the vegetable garden.  That was the reason that we fenced the new chicken run before the vegetable garden as the posts for the run were taller so had to be purchased.

The woodshed which is in the foreground of the photo will be retained and some minor modifications made to it.

IMG_4089

I will also be making some changes to how the wood is stored.  Although it cannot be seen in this photo, I had wood stacked quite high against the side wall.  I use the past tense of ‘had’ as recently there was a tremendous crash during the night and we have now discovered that my carefully stacked wood has collapsed and is now a disorganised jumble on the ground.  I suspect that some of the local wildlife was instrumental in this event.

As always, there is always another project lurking in the background, even if it is only in our minds at this stage.  Once the structure is completely removed this will open up the possibility of having at least one large limb lopped from one of the jacaranda trees.  There is also a very large boulder which has dislodged from higher up the mountain and is resting against part of the old fence at the top of the block.  We may remove the fencing to allow the rock to roll to the bottom of the garden (another ‘meteorite feature?) before repairing the fence.

Then there are the possibilities of what to do with the area where the chicken run was but I will save that discussion for another day.