Kitchen Upgrade

Leave a comment

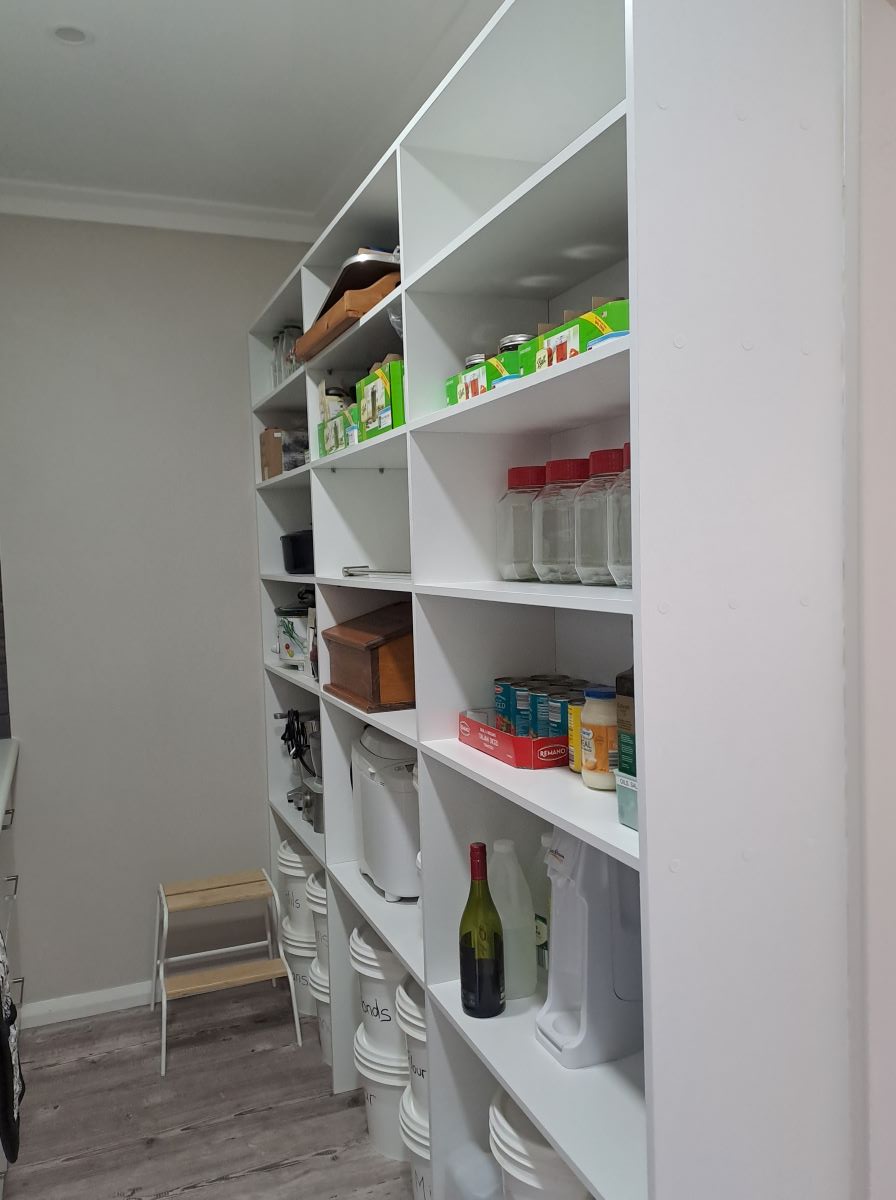
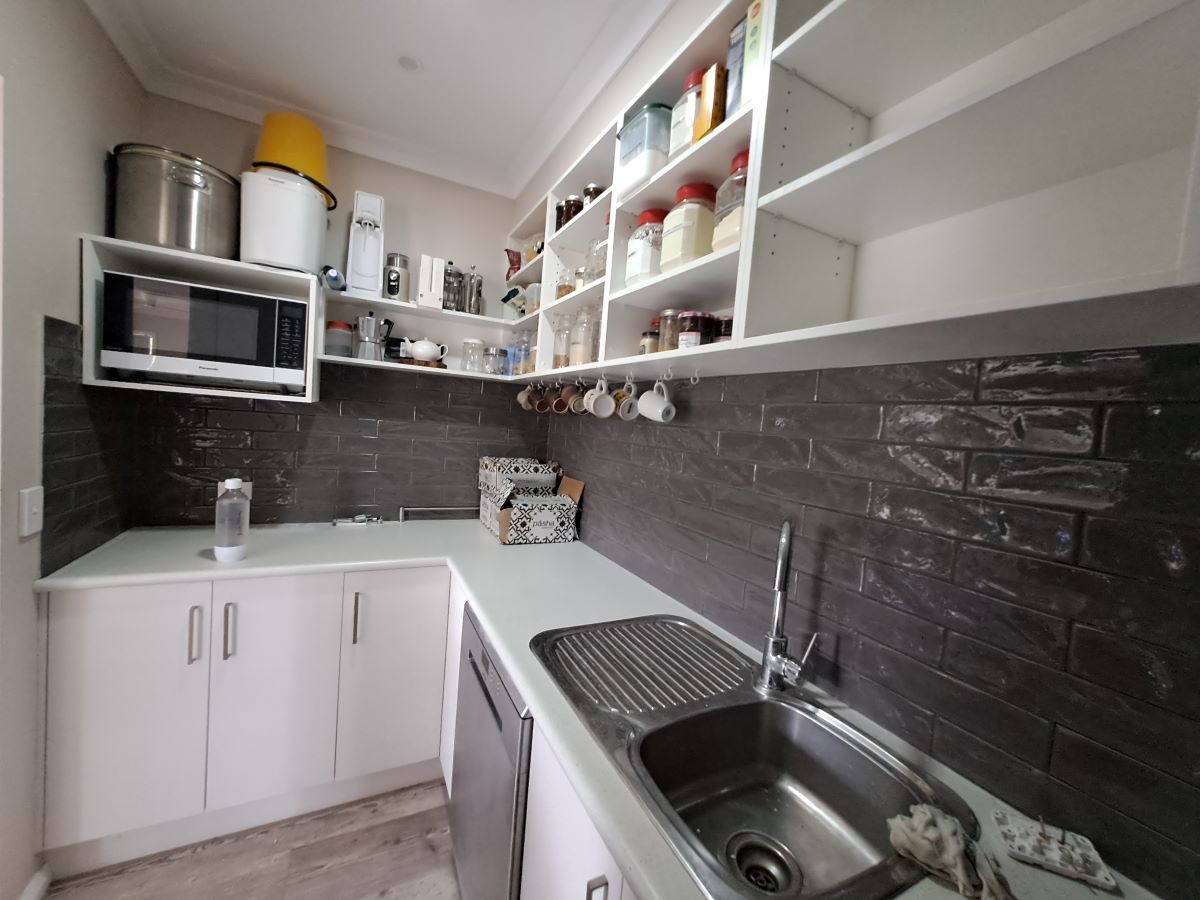
Our home is only 4 years old and we have lived here for a little over 2 years. While it was in almost pristine condition when we bought it, there were a few things that we wanted to change.

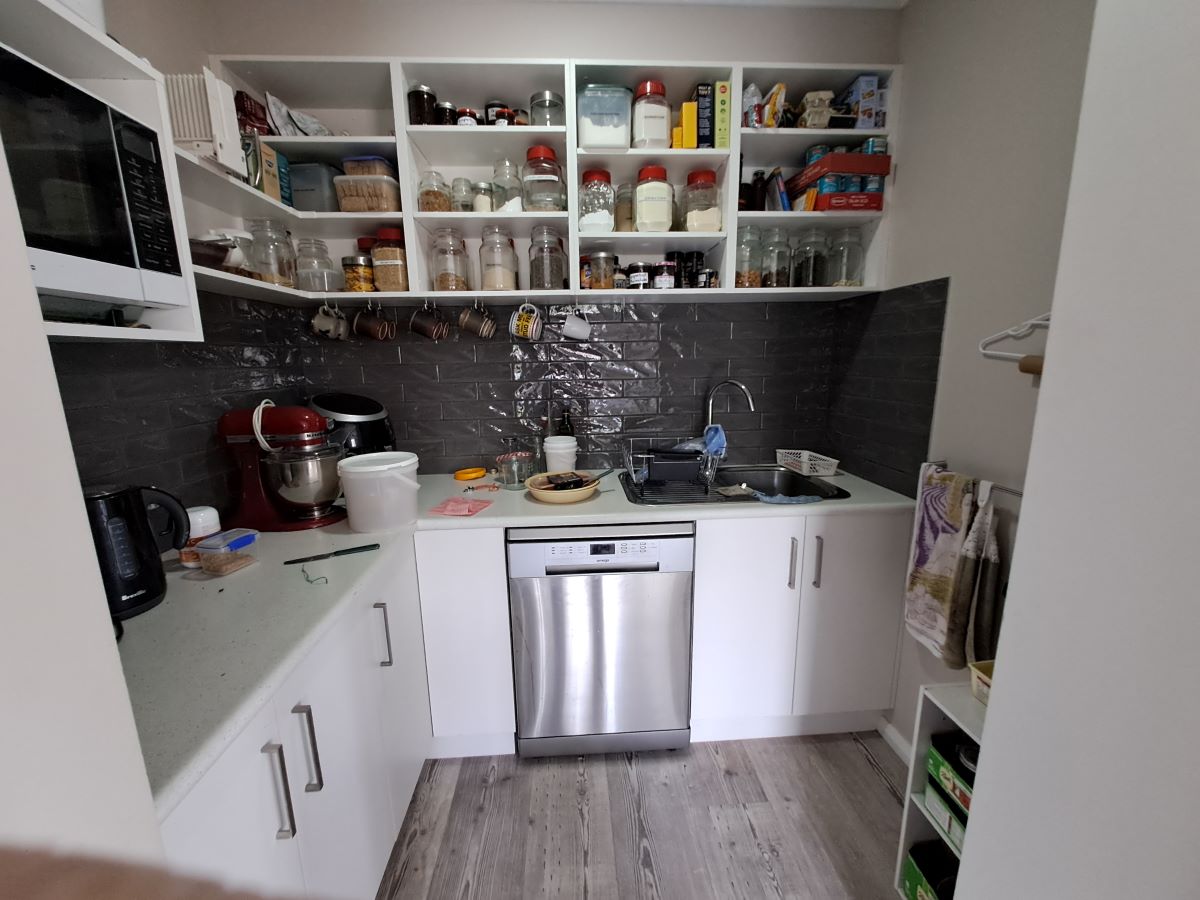
One was to extend the pantry which we did and you can read about it here. The other change which we wanted to make to the kitchen was to replace the freestanding stove which included a gas cooktop with a built in oven and induction cooktop.

The original stove was 900mm wide which is really much too big for our needs and drew an enormous amount of power to heat it for GMan’s breadmaking adventures. Additionally, we were keen to eliminate the only gas appliance from the house for both environmental and health considerations. One of the complicating factors was the engineered stone benchtop which was going to need to be replaced and it is no longer in use in Australia. We chose to match the bench to the Laminex bench in the pantry and keep the engineered stone on the island bench.

This is what it looked like before.

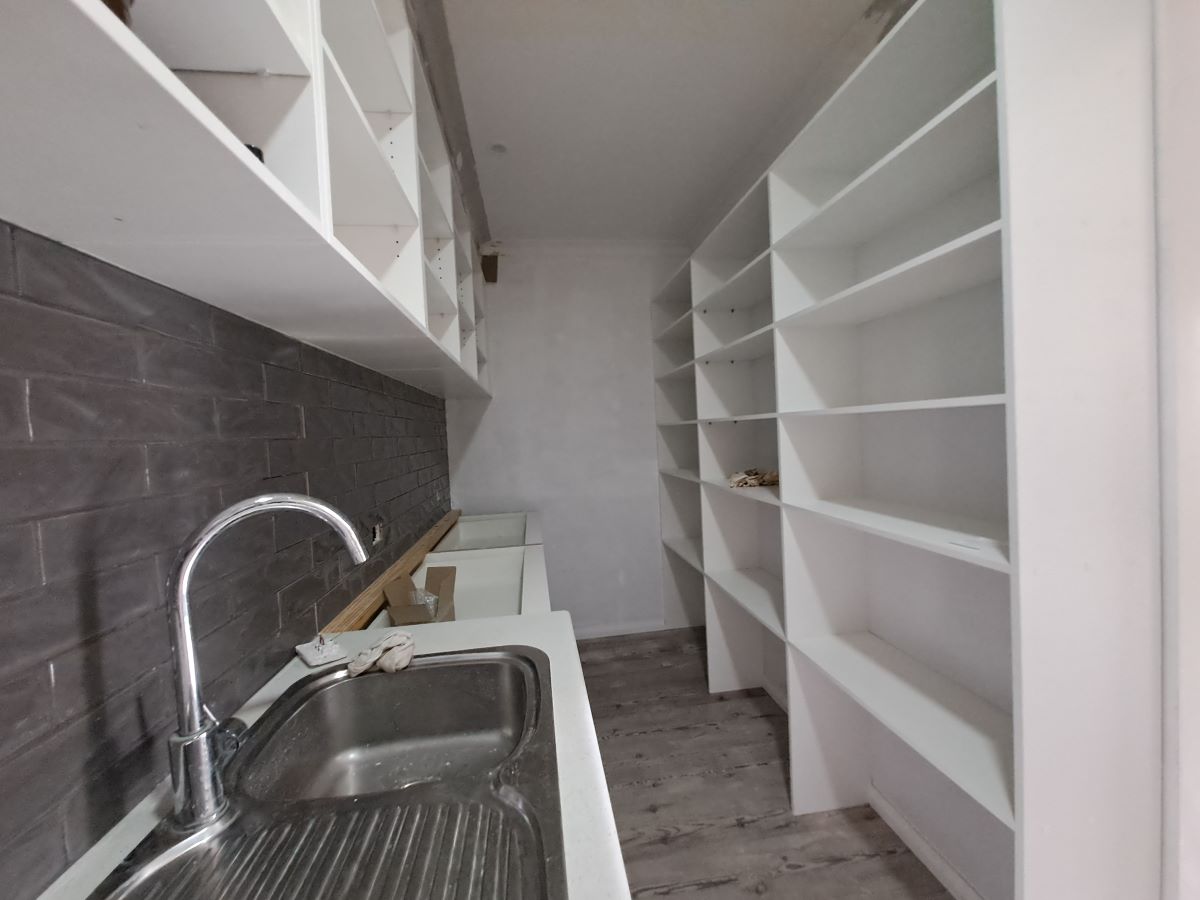
Work in progress. The drawers were all removed and the kickboard made slightly narrower the compensate for the additional thickness of the benchtop or otherwise the splashback tiles would have been disrupted.

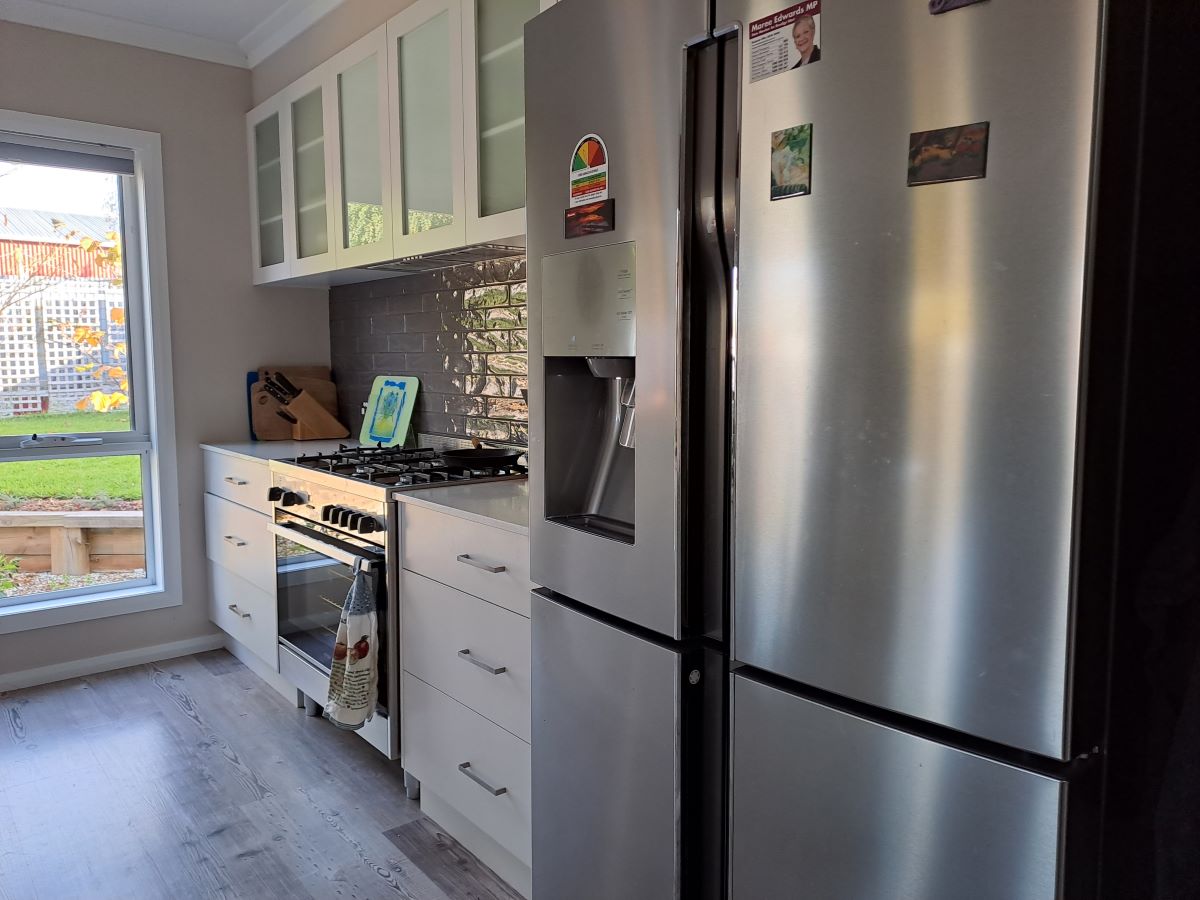
And in a matter of a week it was all done.

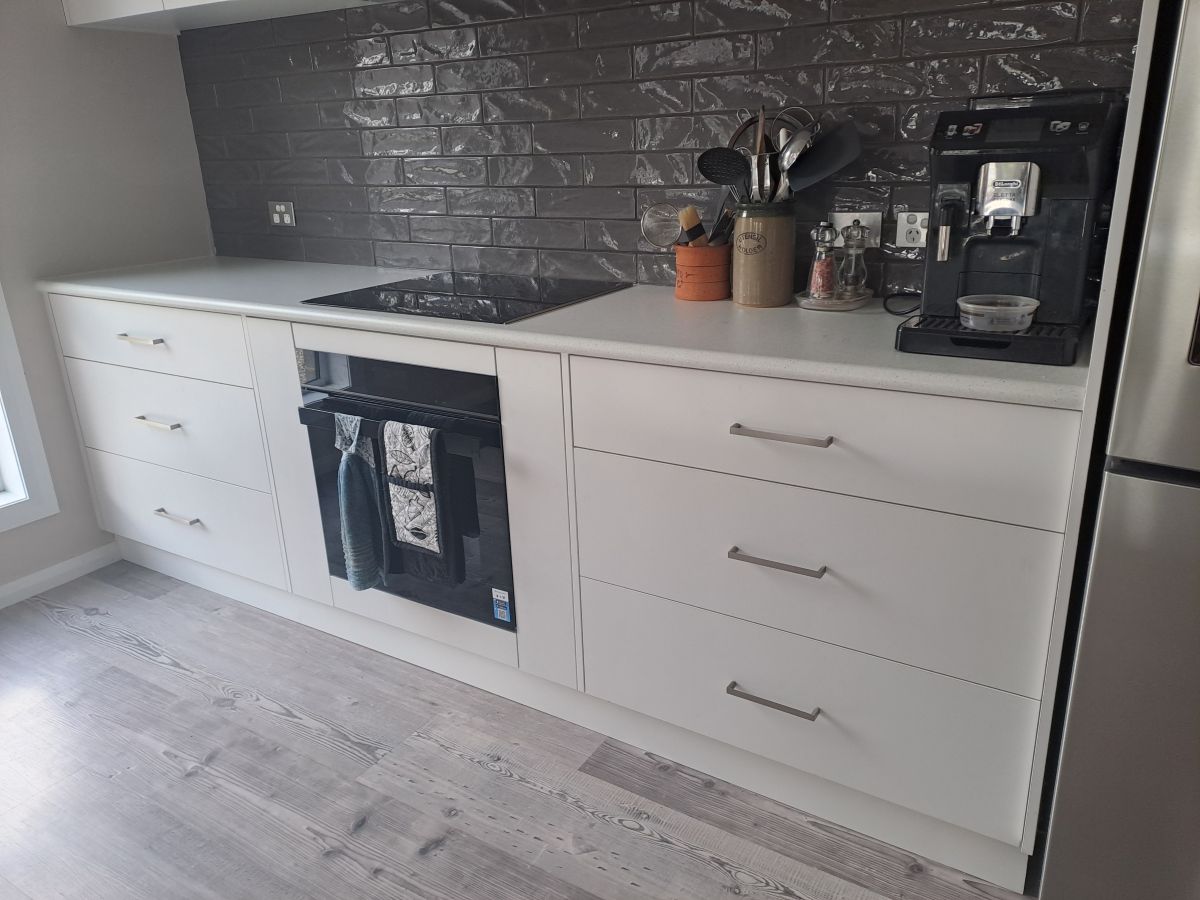
The cabinetmaker cleverly made 2 narrow cupboards on either side of the new oven which is 600mm wide. This means that the oven and cooktop remain centred under the exhaust fan. We are just awaiting the arrival and installation of the door handles but in the meantime you can see how useful they are going to be.

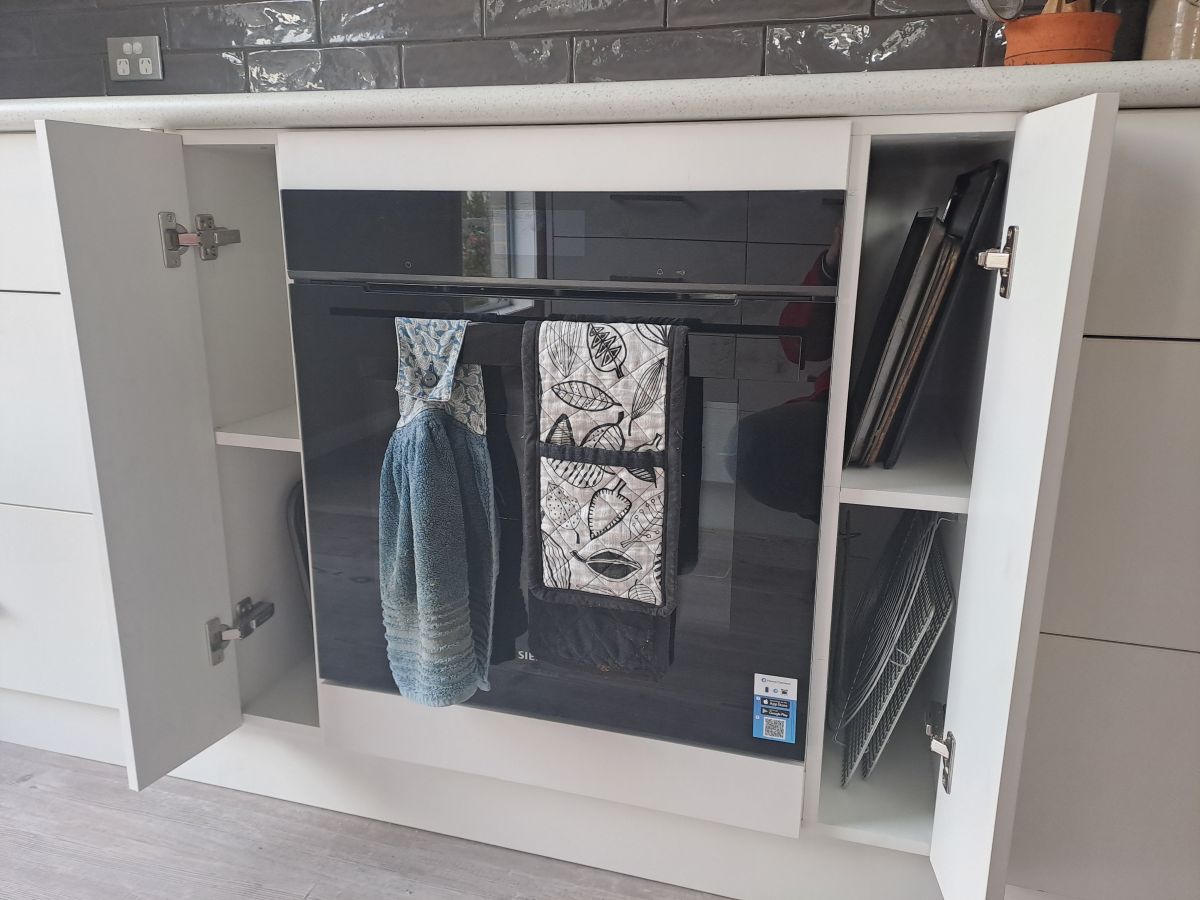
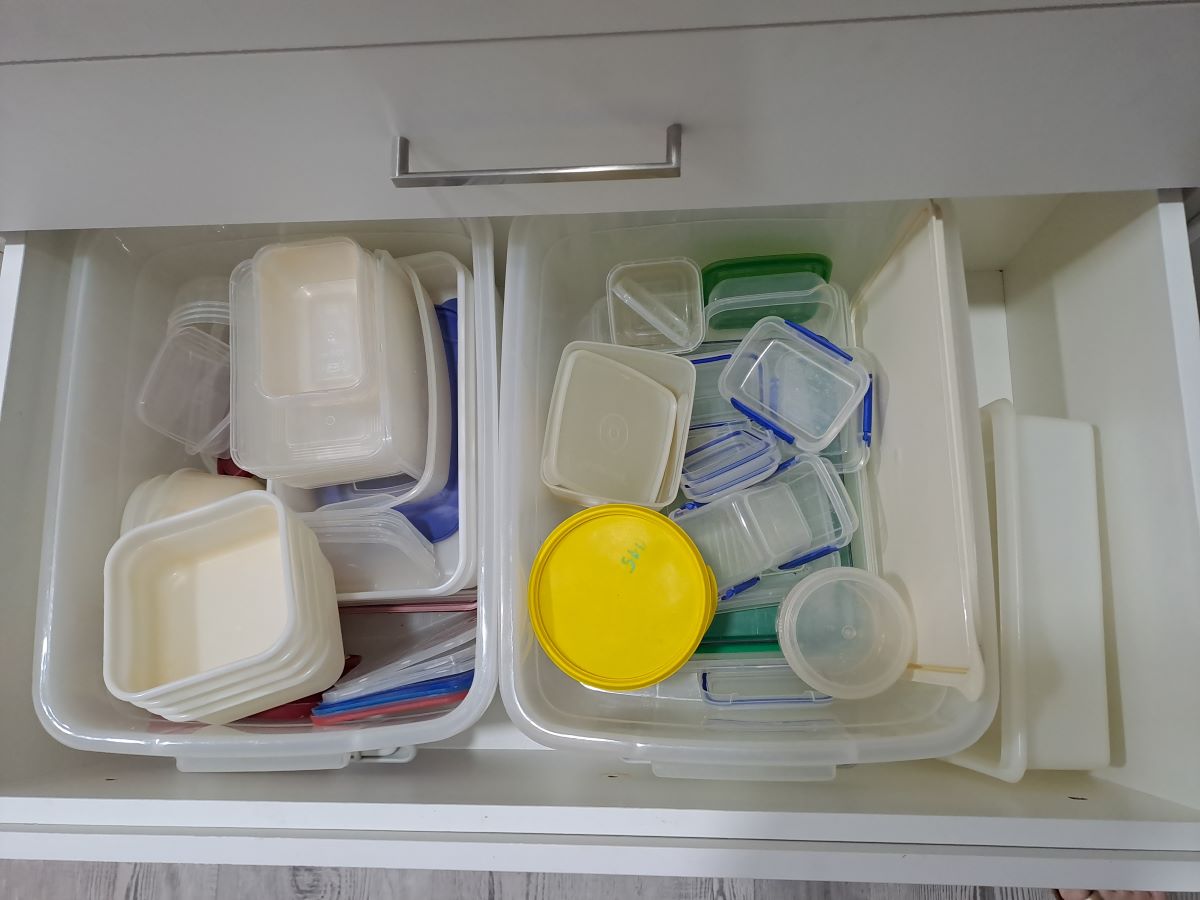
I no longer have to rifle through a jumble of baking trays in the bottom drawer.

The whole process went extremely smoothly in less than a week and I am very happy with the result. I am loving the instantaneous heat from the induction cooktop.

Unveiled

Leave a comment

Last week I was watching as the builder was putting the finishing touches to the pantry. Then there was some final sanding and painting to do.

The final step was to rearrange things. It was a big job and I took my time and there is still some more tweaking as usage patterns develop. Now it is time for the big reveal.

Since it is a long, narrow space it is impossible to photograph an overall view.

The extended benchtop, drawers and overhead shelving. Note the LED strip lighting under the open shelving.

The full wall of open shelving on the other side. The height placement of the shelves was specifically determined according to the height of what I wanted to store.

Since well before the pantry renovation began I have been dreaming of how I would organise the new, improved version.

Let me show you a few closer details.

I previously had these plastic tubs full of plastic storage containers in the corner cupboard. It was a reasonable solution but having them in a deep drawer is even better.

I spotted these 3 cute glass jars in an op shop recently and immediately decided that they would be perfect for GMan’s collection of teas – black, Earl Grey and green tea. All ready for making tea and coffee. The mugs are hanging just out of sight to the right of this photo.

I have reinstated the ‘breakfast corner’ with the kettle and toaster together near the entrance to the pantry.

The far end of the extended bench is home to the Kitchen Aid stand mixer and airfryer, both of which are used frequently.

Other regularly used appliances are stored on the open shelves. I have placed them at a height which makes them within easy reach and simple to access.

The storage buckets of bulk dry goods stand on the floor.

There is space to store the empty glass jars and bottles.

Teatowels and aprons in a drawer close to where they are used.

The addition looks completely seamless as we were able to match all of the components with the original. I am beyond ecstatic to see this all come together and I am really looking forward to the increased functionality of my kitchen and pantry.

Time Out

Leave a comment

Apologies for radio silence as it is over 2 weeks since my last post. There has been plenty happening but it has not been suitable material for blog posts.

We enjoyed a short break in Melbourne last week and spent time with both of our adult daughters and teenage granddaughters. A highlight was a shared family dinner at an excellent suburban Mexican restaurant.

Meanwhile work has been continuing on both the new front fence and the pantry extension.

The fence is complete apart from painting the pickets and the gates. They are already finished with a white undercoat so the overall look will not really change as the finished colour of them will be white. The large gates have been hung but it will be a couple of weeks before the mechanism is installed and electricity is connected. I am really looking forward to having the whole property fenced and secured.

The view from the other side of the road.

Looking from near the front door.

The pantry is coming along nicely. Here is a progress photo taken today. There is a bit of a delay until the benchtop and drawer fronts are ready but you can get a sense of the final result.

Looking at the other end which was the original pantry area.

It will be very exciting to rearrange things so that they are more accessible. Watch this space…………..

Work is Underway

Leave a comment

After almost 18 months of debating, wondering, planning and trying to find a suitable tradesman, the changes to the butlers pantry and walk-in wardrobe are now underway.

After one day this was the view.

Looking from the existing pantry you can see where the wall has been removed exposing the end of the walk-in wardrobe. The pantry extension will go right through to the wall in the background.

Looking from the door of the walk-in wardrobe.

Day 2 and things have started to take shape. The framing for the new wall is in place and I can start to imagine how things will look.

We now have a clear idea of the wardrobe space. It will be plenty for our needs.

I managed to buy matching tiles for the splashback in the pantry and today I sourced some more vinyl planking for the floor covering in the pantry. The particular colour/pattern I needed has been discontinued but thankfully there was some in the warehouse. The builder has matched the cupboard fronts, handles and benchtops so I am confident that it will all match up seamlessly when it is complete.

Planned Changes

Leave a comment

We have now been living here for 17 months so have well and truly experienced the full range of seasons. Despite having some basic ideas of changes we wanted to make to the house and garden from the time we moved in, we feel that it is good to be informed by the experience of actually living in the house for a full year.

There will be a number of changes over the next 6 months or so but the first one begins next week. I think this is the one I am most excited about.

The butlers pantry and the walk-in wardrobe share a common wall and make an L-shape on the relevant section of the floor plan below.

The wall between the pantry and the walk-in wardrobe will be removed and the wall behind the sink in the pantry will be extended. This will effectively double the size of the pantry and halve the size of the walk-in wardrobe.

The extended pantry will have a long bench on one side with 2 sets of deep drawers below it and the other side will consist of open shelving.

These are a couple of views of the current pantry. It is good but more space will be wonderful.

Looking from the kitchen directly into the pantry. None of this will functionally change. The extension will be on the right-hand side of the sink.

This is the wall that will be removed. The bench and shelving above will continue as will the floor-to-ceiling shelving on the other side.

I cannot wait to have more space and I will be able to rehome the storage buckets of bulk flour, seeds, nuts and dried fruit that are currently in the wardrobe of the spare room.

Of course, there is a trade-off. A smaller walk-in wardrobe is not an issue. The existing space is huge and could almost be regarded as a dressing room although we do not use it as such.

We have managed to spread things out to almost fill the space but we know that we can utilise the smaller space much more effectively as we will install modular hanging rails and shelving to easily accommodate our clothes. Additionally, there are 2 other bedrooms with wardrobes if we find that we need to hang out-of-season coats and jackets. The mirror will go and the shelving/hanging rails will be fitted on the side (about half the length) where the existing rails are as well across the end where the mirror is currently positioned. We have a full-length mirror in the hall near the front entrance so do not really need the second one.

During the next week we will need to move everything out of the wardrobe so that it does not get covered in plaster dust. The wardrobe and bed in the guest bedroom will accommodate most of it.

The pantry is not as much of an issue as everything on the open shelves is in sealed packets or containers but some of the things at the end near the wall removal will need to be moved out of the way. The builder has estimated about 10 days for the work so I am prepared for a bit of disruption. I am confident that it will be worth it when the job is completed.

At Last

1 Comment

I think it is about 3 years since we first contacted our builder with a view to having our downstairs bathroom renovated as well as some additional cabinets and cupboards in the garage and adjacent workshop.

He was busy (as usual) and we were not in a mad rush but somewhere in between Covid19 threw an additional spanner in the works. The work was finally begun about 3 months ago and the finishing touches completed the job today.

Here is the result.

A very small bathroom off the garage with shower, hand basin and toilet.

A large floor-to-ceiling storage cupboard in an unused alcove next to the bathroom.

A utility bench with sink and cupboards in the workshop. This will primarily be for GMan to use when setting up his home brew but will also be useful when entertaining downstairs.

We are delighted to have this work finished. I have been hanging out to move various items to the new cupboards which will allow better organisation in several other existing cupboards.

There will be several future posts as we do some re-organising.

The Plan Becomes Reality

2 Comments

Sometimes I feel as though I have spent so long planning a project that it almost becomes real in my mind. That is a bit of how I feel about the long awaited drying rack/hanging rail for the laundry. I have been dreaming, planning and researching this for close to 5 years.

I wrote about my plans 3 years ago in this post. The options were quite expensive ($250 – $400) and mostly imported as ceiling mounted drying racks are not a big thing here in Australia. However, the biggest stumbling block was the installation as the fixing points would not line up with the beams above the ceiling sheeting and I realised that the window was where the holder for the pulley rope would need to be attached. In the end I decided that the installation issues were really insurmountable so I began searching for other option.

Imagine my surprise when I found an alternative close to home. It was this DIY Bunnings video which sent me off in a somewhat different direction. I know it is not a hanging airing rack but I realised that being able to hang clothes was my main requirement.

Why would I want to hang clothes in the laundry rather than the wardrobe?

I can dry them using the dehumidifier, either straight from the washing machine or to finish off in the cooler months.
Somewhere to hang the clothes when I bring them in from the clothesline.
To air clothes after ironing and before putting them in a closed wardrobe.

Once I convinced GMan that this was a feasible option and a doable DIY project, we bought the various pieces of piping and screws and set about assembling it.

Here is the basic construct.

Naturally, I wanted it painted.

After several coats of paint it was finally ready to install. I had worked out a way to place additional timber supports in the ceiling space to ensure the stability of the fixation. This entailed accessing the roof space which is fairly shallow in our house and I am the smaller of the 2 of us so I ended up spending a considerable amount of time clambering in and out of the roof space and lying spreadeagled in order to achieve my plan.

It proved to definitely be worthwhile as this is the result.

Some of the washing from today was brought directly from the clothesline to hang on the rail.

Since the rail extends above the laundry tub, I also intend to have a hanger like this to hang above the sink.

We have lived in this house for 15 years and there have been several additions and modifications in order to make the laundry more functional. This one is an excellent addition.

The total cost was about $70 for the pipe, fittings and screws. The paint and timber bracing were sourced from our stash at home. The only other cost was our labour, time and sweat (it is hot in that roof space).

Why Did We Wait?

1 Comment

We have lived in this house for almost 14 years and made various changes to both the interior and exterior of the house.  The kitchen, laundry and bathroom have had major upgrades.  Windows, external cladding, verandah railings and flooring have all been replaced as well as the outdoor staircase.  The entire interior of the house has been painted, floor coverings replaced and built-in wardrobes added.

But apart from buying timber venetian blinds for 2 of the front windows we have never had any window coverings.  It has not really been a necessity from a privacy point of view since we live on a small acreage with no close neighbours.

However, the combined lounge/dining room has quite a large expanse of windows and we do find that it makes the room quite cold on winter evenings and I would love to be able to draw the curtains to cover the glass and make it feel more cosy.

We did not do anything about it initially as we knew that we would replace the old windows.  The upgraded windows are louvres and one section of them is quite close to the slow-combustion heater so I was unsure as to what sort of window treatments would work best.  Hence, winter would come and go each year and still the inertia and indecision remained.  This is a post on the same subject from 2011.

The combination of a few cold nights and some free time once I had finished work meant that I decided to check out a relatively local business, Custom Curtains and Shade at Beerwah.  It is barely a month since we first ventured to the showroom where we discussed a couple of different fabric and colour options  A few days later we had a measure and quote, decided on our choice of fabric and today the finished products were installed.

Here is the result and I really do not know why we procrastinated for so long before deciding to get the Roman blinds for this room.

2019-08-12 01

2019-08-12 02

After almost 14 years the living area now looks ‘complete’ to my satisfaction.

The Grand Staircase

1 Comment

I have always regarded these steps as simply the steps from the driveway to the verandah but last weekend my cousin referred to it as ‘the grand staircase’ which has a rather nice ring to it.

This project has been several years in the planning and some weeks in the execution but the entrance stairway has been replaced and is now completed.

This post shows the demolition of the old steps and creation of the replacement.

We have waited several weeks for the finishing touches which were done this week.  Instead of a swathe of fresh, grey concrete we now have a textured Covercrete finish in our chosen colours.  It provides a durable, non-slip surface which tones with the surrounding landscaping and painted wall.

The addition of the railing is primarily a safety feature but also adds to the overall effect of a grand entrance.

2018-07-29 01

A closer look.

2018-07-29 02

Looking down.

2018-07-29 03

It has taken a number of years but I feel like the entrance to our home is finally completed.

Fruits of Our Labours

2 Comments

Sometimes you seem to spend ages beavering away in the background with not a lot to show for it.  Then it finally comes together.  Yesterday was one of those days.

After about 5 weeks without a door on the dining room, it is finally finished and re-hung.  However, it was much more than a 5 week job if you take into account all of the time (years) that it remained unpainted and the agonising debate over what colour to use. We are both extremely happy with the result so it was worth the wait.

2018-07-15 01

And the view when it is closed.

2018-07-15 02

Of course, GMan has identified a couple of minor touch-ups which require a steady hand so I have been seconded to do those and the glass needs a final clean as there are a spots of paint on it.

Whilst not completely finished, here are some progress photos of the entrance walkway/arbour that has been in progress for a few months.

2018-07-15 03

Yesterday we added the final cross rail as well as the wire of the lower sections.

Here is a close-up of one of the mandevilla creepers that we planted. I hope that in time they will cover most of structure.  We have planted 3 and need to buy one more.

2018-07-15 04

The lawn has been dug up from beneath the walkway and will be paved.  We also need to work our exactly what size and spacing we want for the slatted roof.