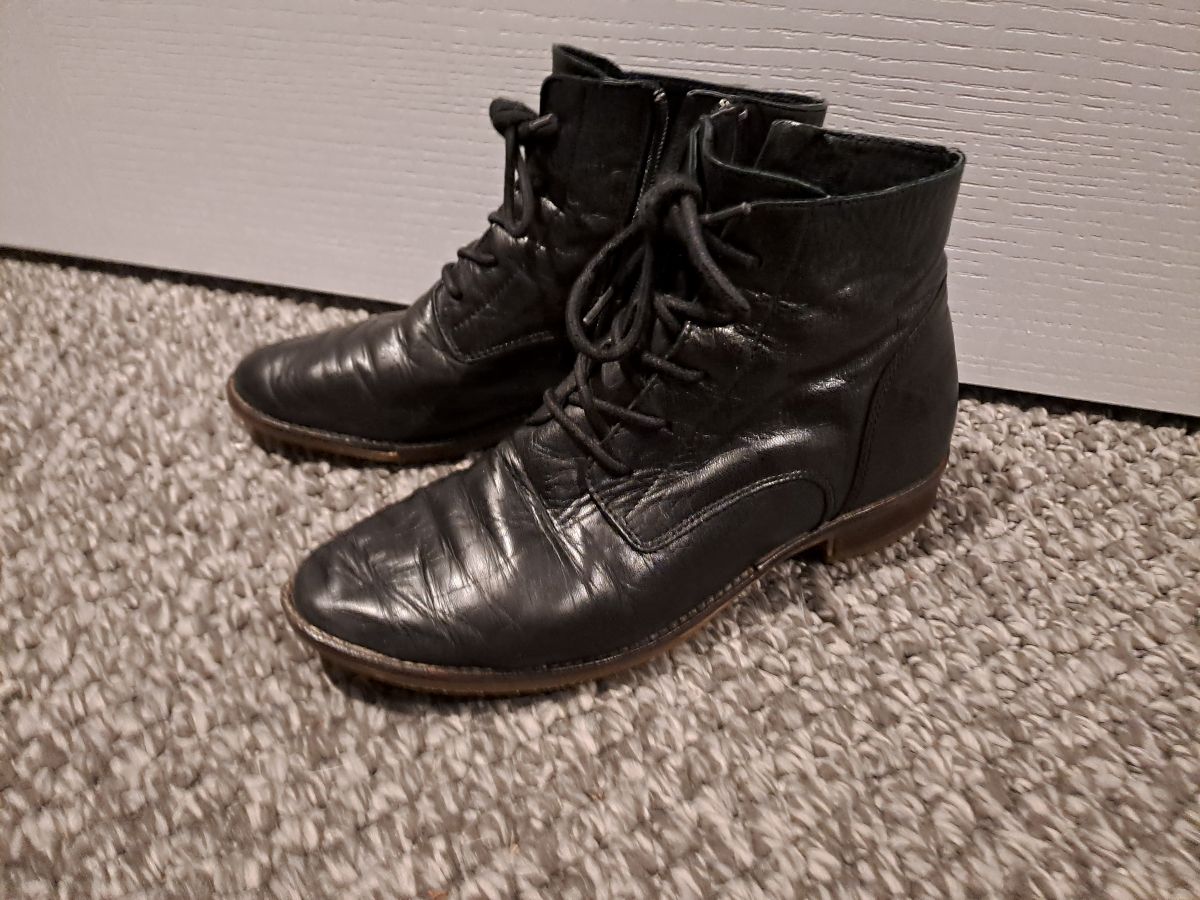
A couple of weeks ago I wrote this post about the ‘new to me’ boots I had purchased.
Well, I did take the old ones to a cobbler in Melbourne to see if they might be able to be repaired. He assured me that he could and that the cost would be $60. This seemed like a very reasonable price to restore an unwearable pair of boots that had seen 6 years of constant winter wear.
Today we were on another jaunt to Melbourne and I picked them up. They are as good as new so I am looking forward to several more years of wear out of these favourites. While buying secondhand is a sustainable option, it is important not to forget about taking care of what you have to ensure that it lasts as well as considering repairing items where possible.
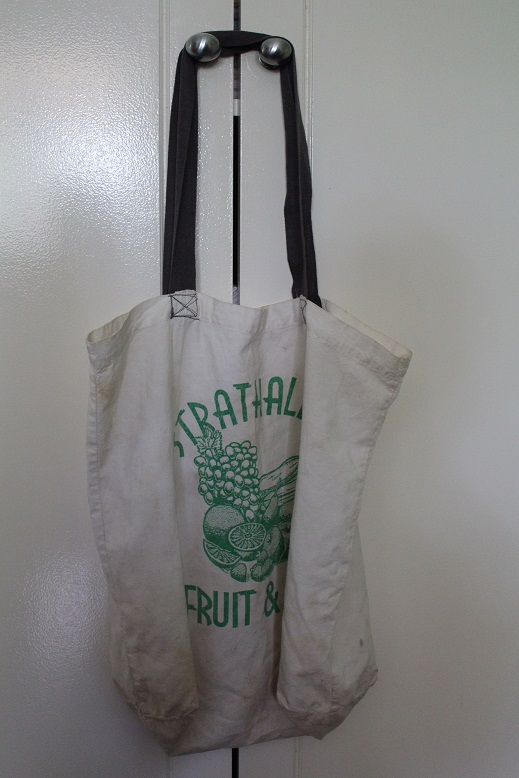
I was also able to drop off the donation of towels which I mentioned the other day. They were very gratefully received and I am pleased that they will be put to good use. I also gave them the two carry bags which I had made as I am sure that someone will appreciate those, too.

After lunch we headed over the river to The Sumner theatre to see ‘Mother Play’. It was both funny and tragic but most all, very moving and certainly not one for the faint-hearted. I enjoy live theatre and this was no exception and it was particularly exciting to witness Sigrid Thornton’s superb talent on stage.