Although I have a clothes dryer and do use it from time to time, I tend to pick and choose the days that I do the washing so that I can dry it on the clothesline outdoors as much as possible. This is generally more of an isue in winter when there can be rainy days as well as cold and overcast days which preclude much in the way of drying.
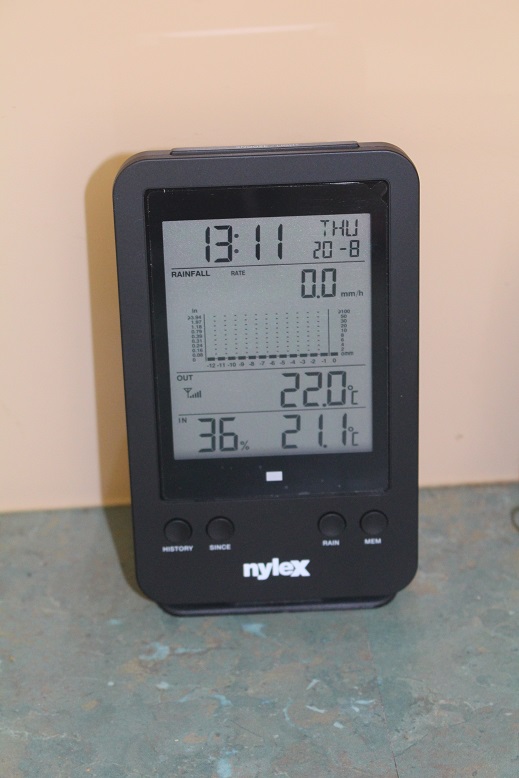
However, a few days ago I was confronted with entirely the opposite dilemma. The temperature in the sun outside was in excess of 45C and the prospect of standing outside to hang out washing was not a pleasant one.
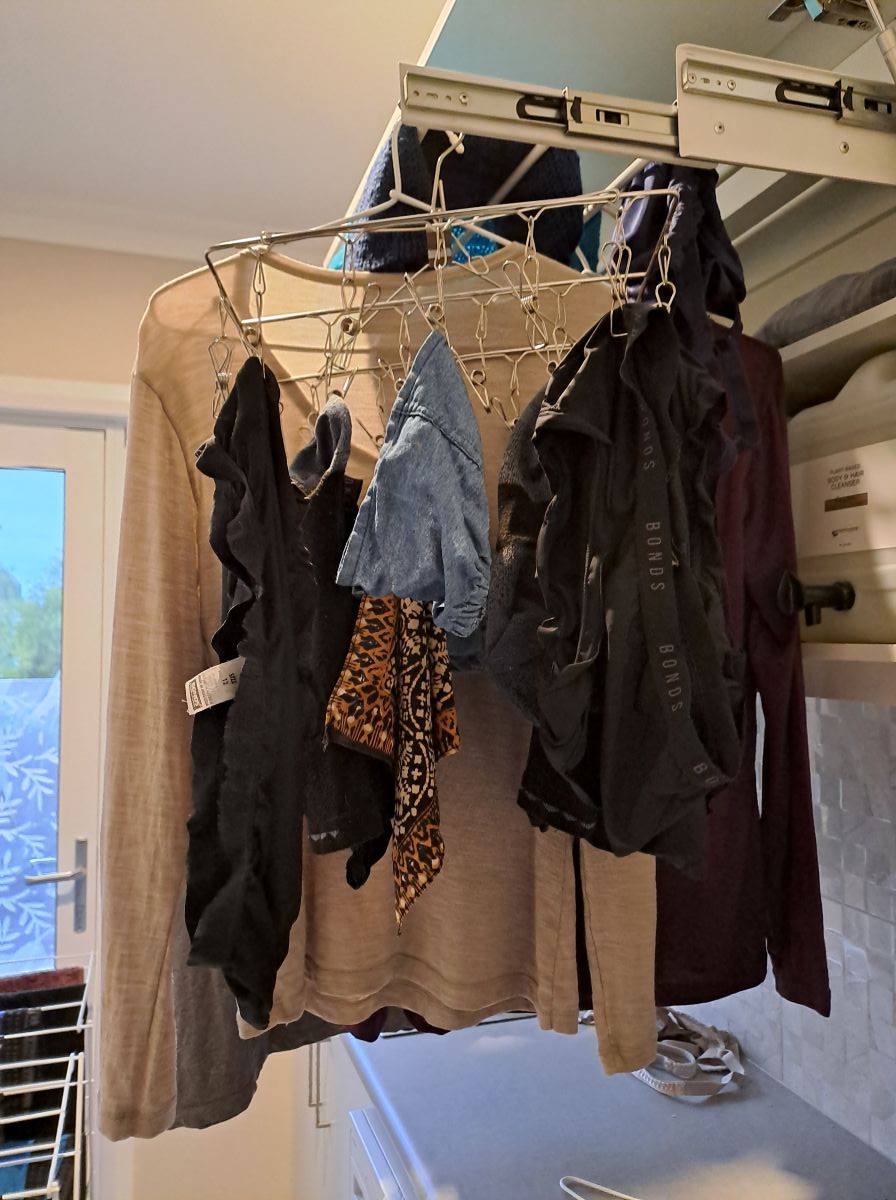
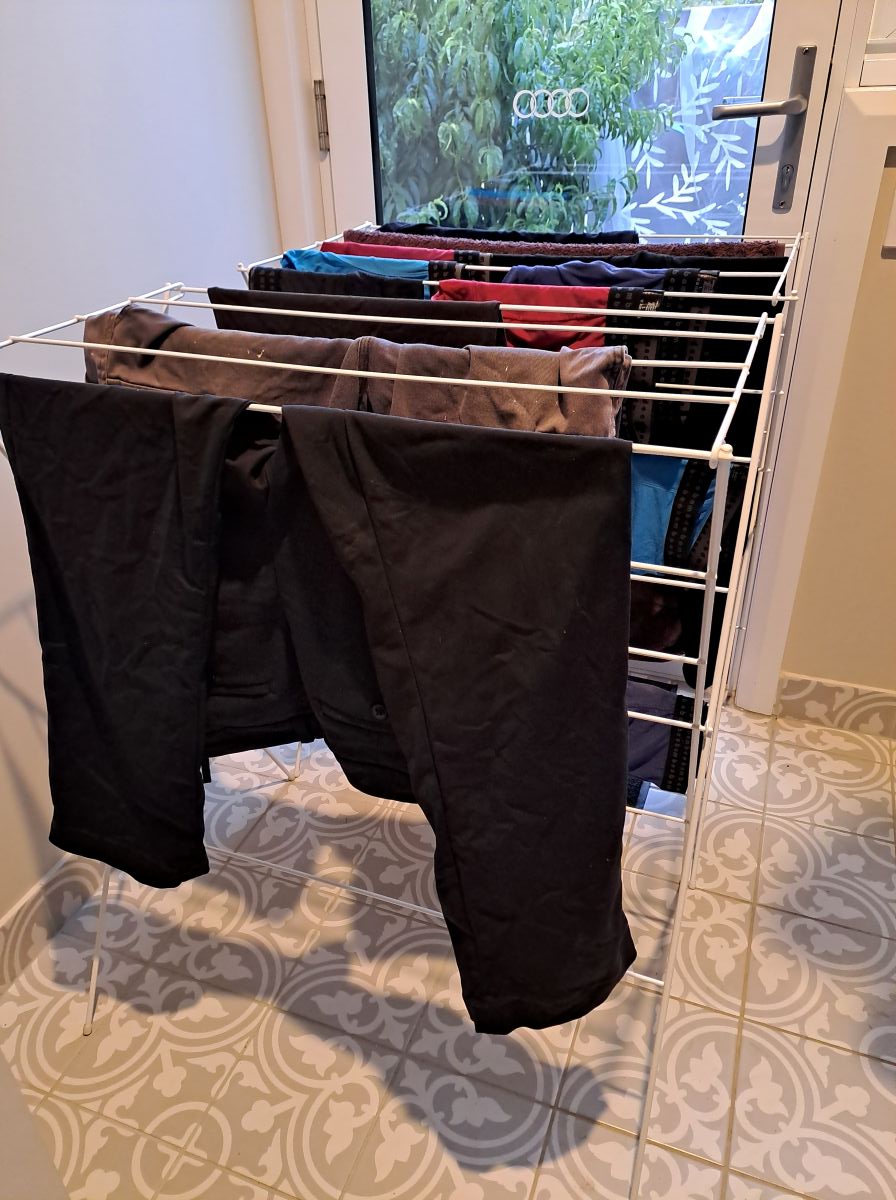
So, I simply hung the clothes in the laundry were the sun was already blazing in through the window and glass door. I used the pull-out rack and a couple of airers and the entire load of washing was dry within a few hours.
One of the benefits of line-drying is not only the sunshine but breeze and fresh air but I has happy to forgo those on this particular occasion.