It is almost a week since my last post and in that time I feel as though I barely managed to keep my head above water, let alone write or publish any blog posts. As well as running a home and holding down a full-time job I have been caring for my 2 granddaughters, aged 5 and almost 7. By the time I cook meals, pack lunches, wash clothes, supervise homework etc I am pretty well exhausted. Luckily, my stint is for 10 days so I can see the end in sight.
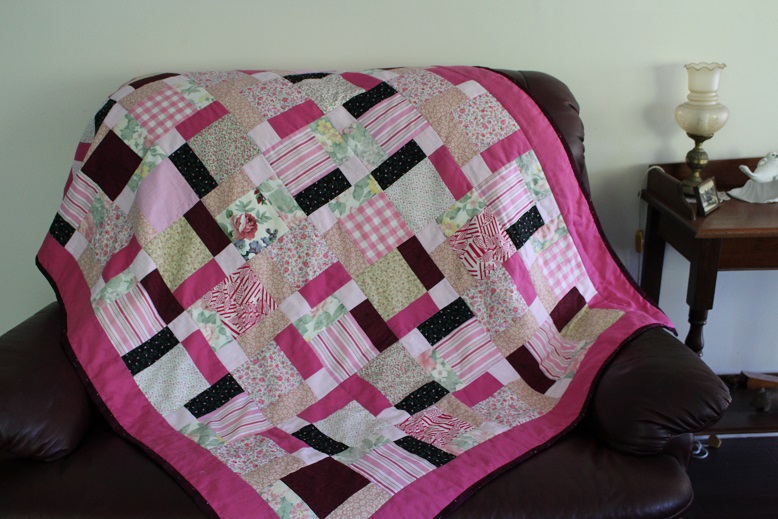
I had almost finished a patchwork project before things got busy and I have now finished hand-sewing the binding.

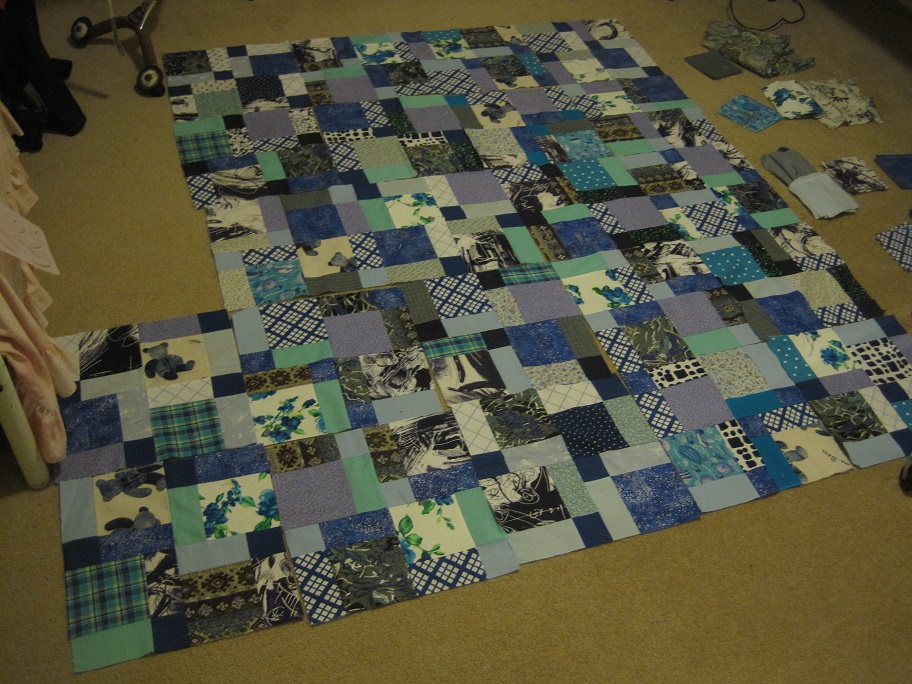
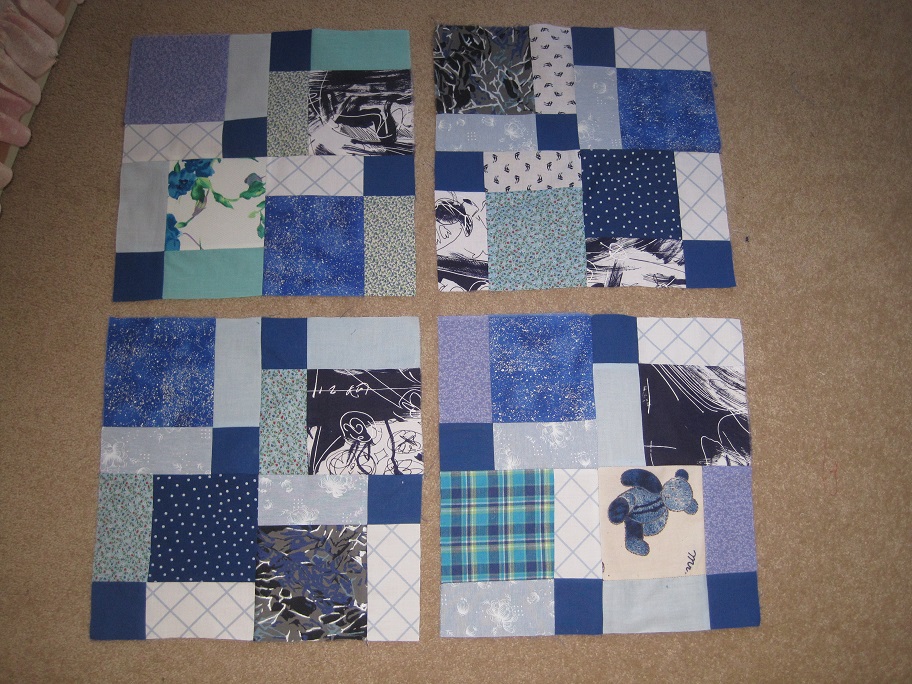
This is a knee rug which I have made for my mother for her birthday. Like the other work I have shown you, it is based on a disappearing 9 patch block.

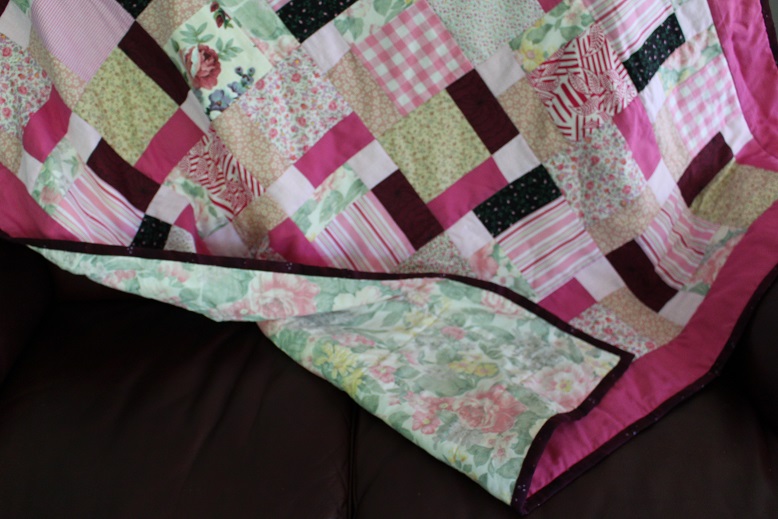
This photo shows the backing which is from a sheet that I bought some time ago from the local op shop. In fact, all of the fabric is either salvaged from unpicked garments or offcuts from other sewing projects. It is all cotton or poly/cotton but of varying weights. In my opinion, this rug represents the true essence of patchwork – using up what you have.

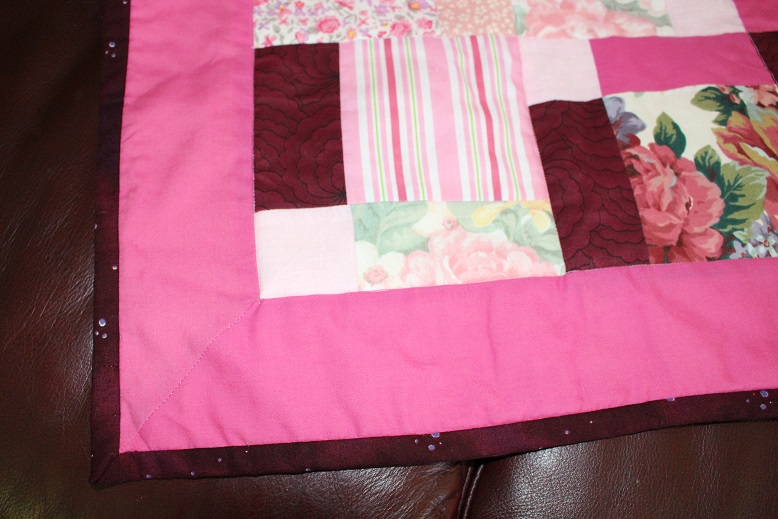
A close-up shows the wide border with mitred corners and then the binding to finish it off.
This is my first completed patchwork so I am definitely no expert. If you were able to study the piece closely you would find that it is far from perfect. There are some joins in which the corners do not match precisely, it is possibly not as flat or smooth as it should be and there are the occasional wrinkle and pucker. However, I regard these as part of the love with which these was devised and assembled.

Finally, I wanted to show you that you do not need to spend a heap of money on a plethora of gadgets. I used my standard dressmaking scissors, tape measure and pins. In addition, I used a set square and 1 metre metal ruler which I had on hand. I also used a 1/4″ foot and a quilting foot for my sewing machine. The 1/4″ foot was a handy addition but not essential, whereas I could not have completed this rug without the quilting foot. I was lucky that both of these items had generously been given to me.
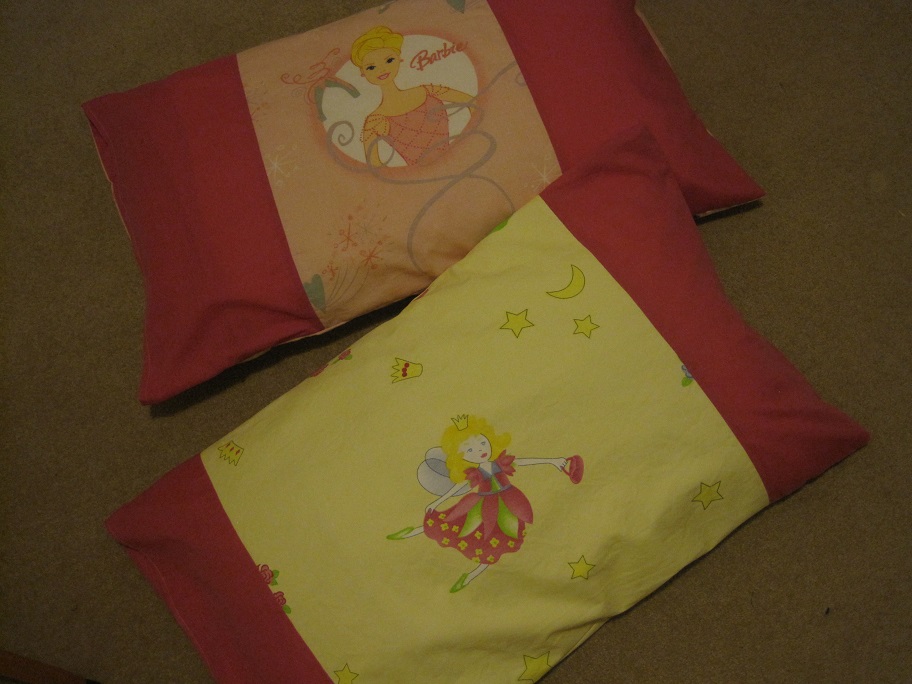
 One minute it seems OK and the next it has ripped to shreds.
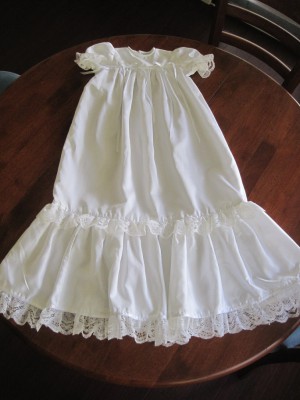
 This is the cover I made from a brand new cotton doona cover I bought from the op shop. It was the first time I had made one and I was very pleased with the result. You can read about it here.