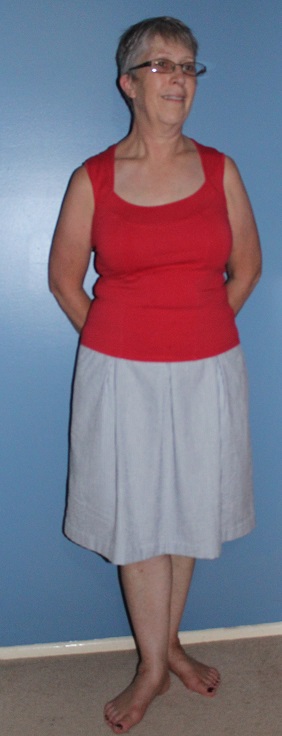
The only problem with having a commitment to a weekly series is that the weeks fly by incredibly quickly. This week has not been completely devoid of progress as I have cut out the mint green linen skirt.
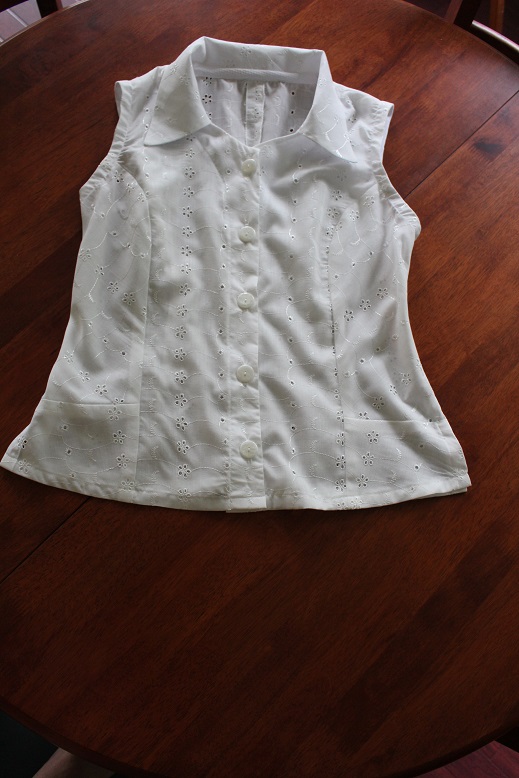
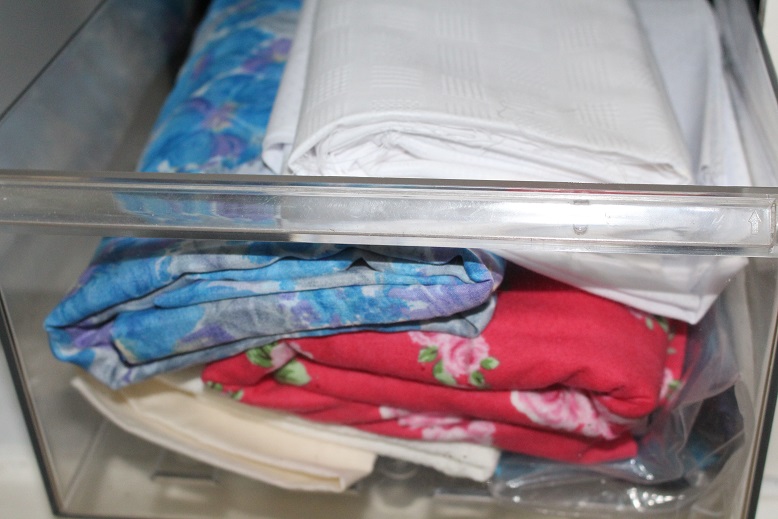
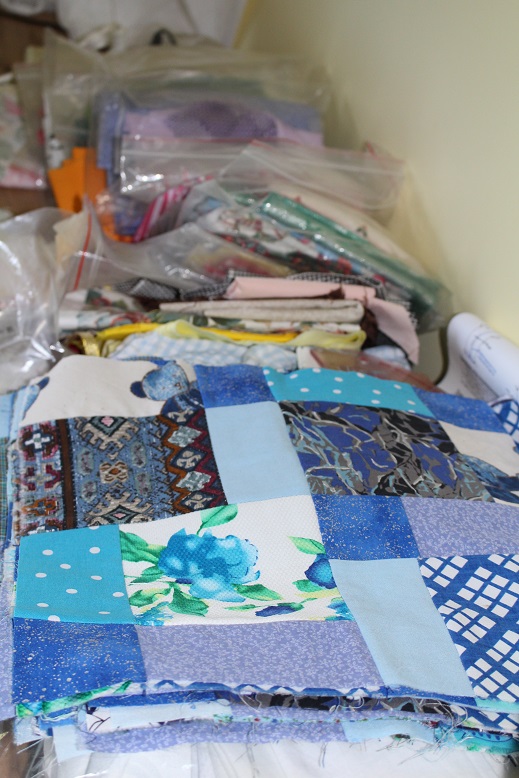
 Belle was here today and was most impressed with the skirt I had completed. I showed her the pattern drafting system and some of the pattern choices. She commented that she wanted some long-sleeved shirts for work but that she finds that the ready-made ones are not long enough to stay tucked in. We delved into the stash and found a piece of fabric which would be suitable and she has chosen a pattern so that has been added to the list.
 Meanwhile, I had a couple of bits of mending to do so I completed those jobs and can now get back to the skirt. I darned a sock for The Duke. There is nothing fancy about my ‘darning’. I use a zigzag stitch on the sewing machine which is not particularly pretty but is effective.
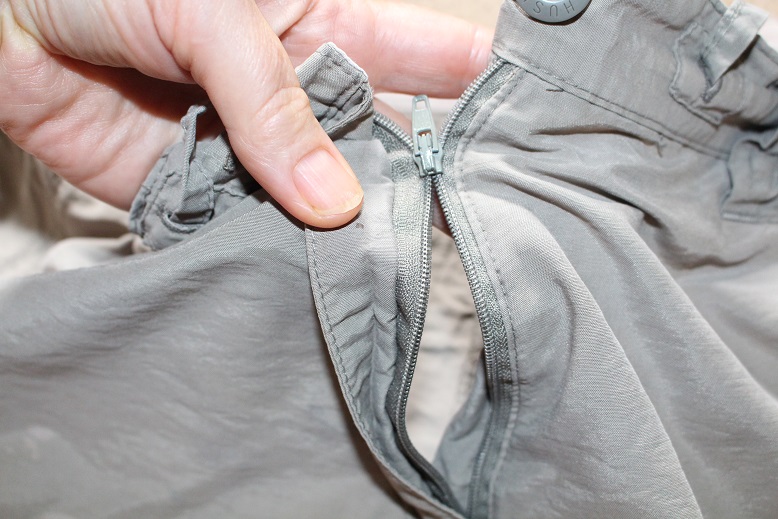
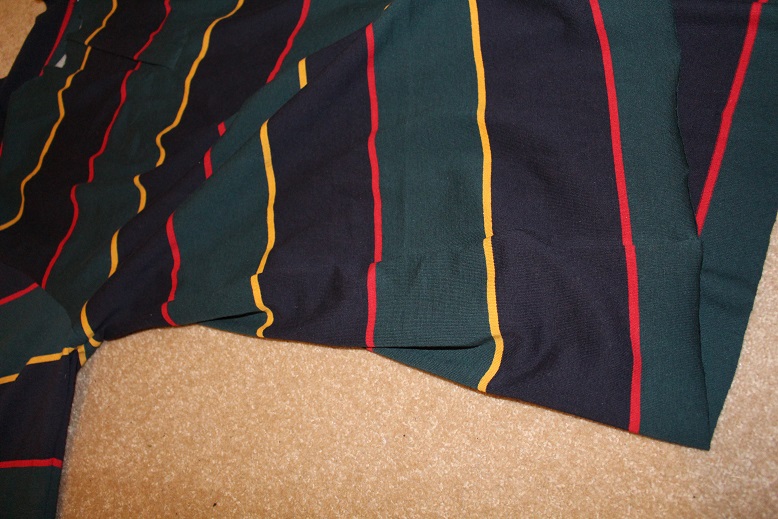
 Then I patched (yet again) a pair of his trousers. These are his stylish weekend wear when out in the yard and there are now patches on the patches!
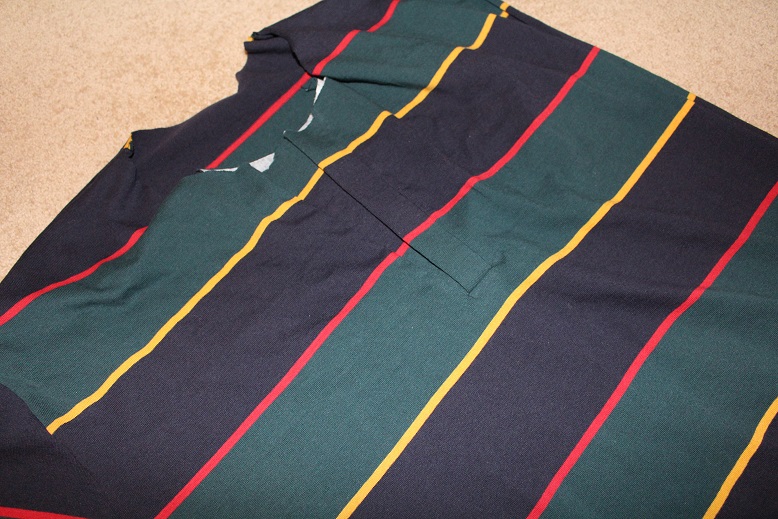
 This is the inside of one leg with no fewer than 3 patches! I guess there will come a time when they are more patches than trousers but in the meantime they remain perfectly serviceable.