Firstly, my apologies for no Project Streamline post this week. My busy day yesterday did not include photographing the next lot of clothes so tune in again next week when we hopefully reach the end of the wardrobe confessions.
Meanwhile, I wanted to tell you about some more clothes that I acquired last week. Don’t worry I am sticking to my plan of keeping a minimalist wardrobe. One of my work colleagues decided to get rid of a bag of clothes destined for the op shop which had been sitting under her desk for over a year. I am not sure why taking them to the op shop/donation bin was so difficult but I generously offered to drop them off for her. When handing over the bag she lightly suggested that I could check if there was anything I could use. Most of my work colleagues are aware that I sew and refashion clothes.
I selected the following items and so the clothes went directly from her to me without going via the op shop.
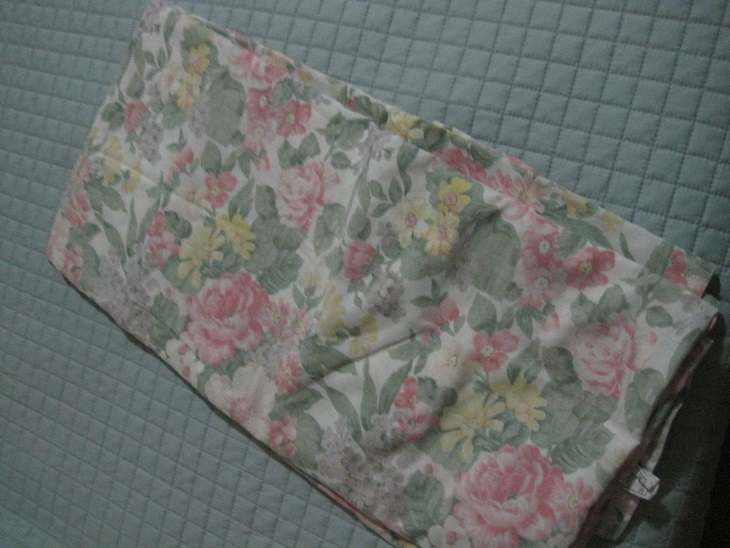
 This paisley cotton skirt is the first thing I have started unpicking. I intend to keep the fabric for either patchwork or a summer outfit for Miss O or Izz. It will depend on what they need.
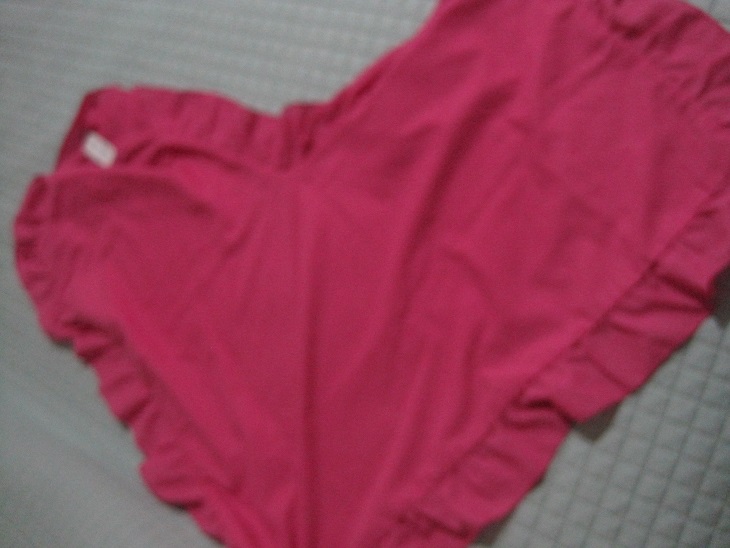
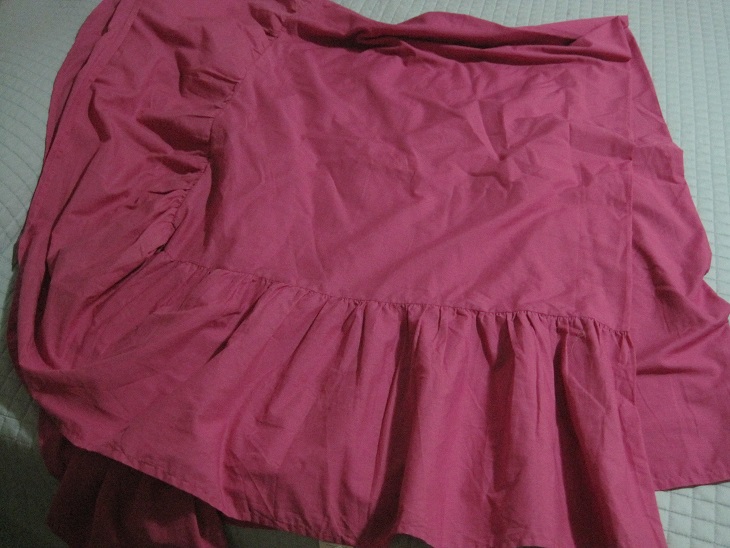
 The fabric from this pink top will go towards my current patchwork project. The cotton lace is worth saving for when I need it.
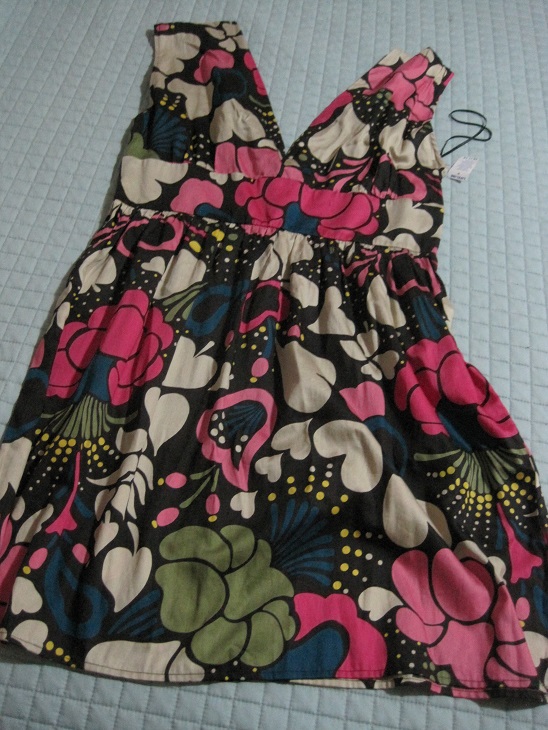
 I intend to use this pretty border print to make a summer skirt for Miss O. I love the cool, summery look of it.
 Finally, this black singlet top is a very soft, ribbed fabric and I will cut it down to make a singlet for Miss O.
I will post the results when the refashioning projects are completed.