A Bunch of Basil

Leave a comment

I grew a very successful crop of basil during the summer.

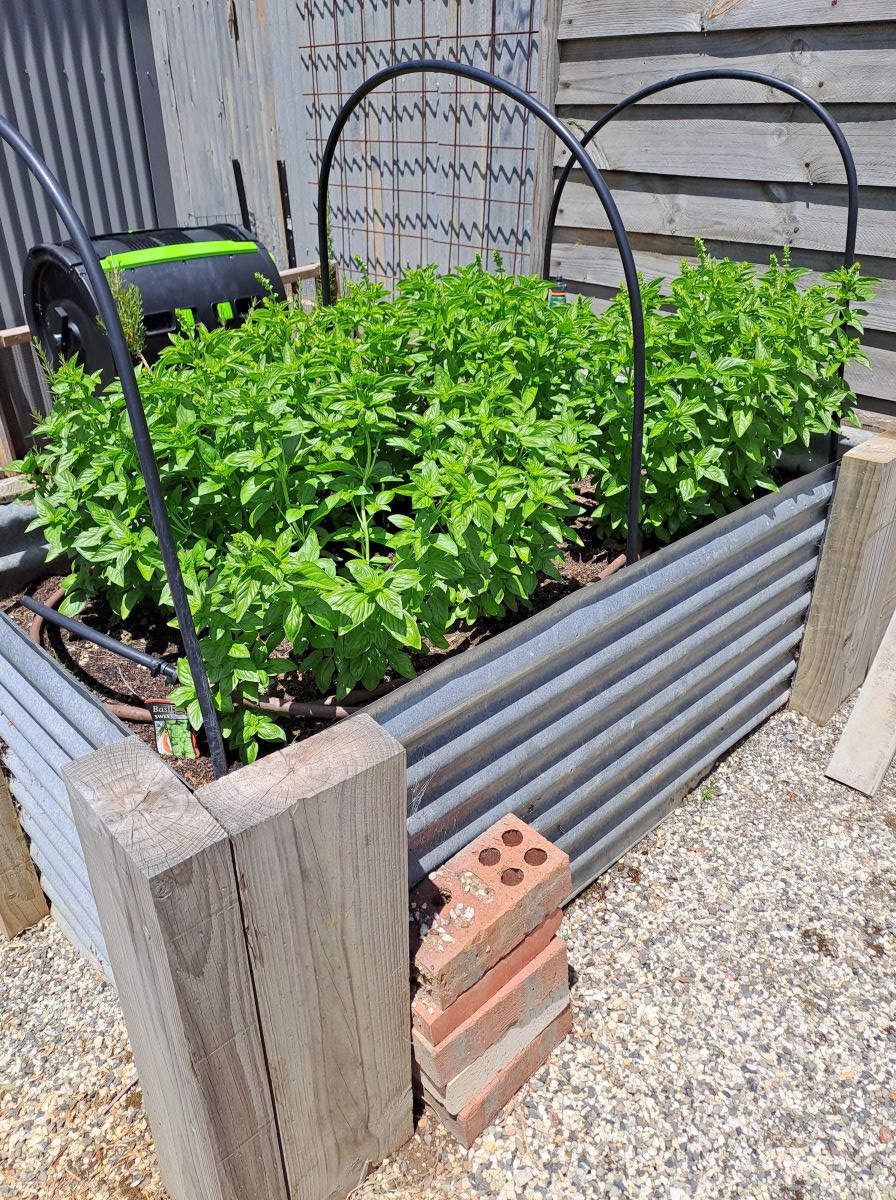
I made some pesto early in the season and also used some of it fresh. However, it is now going to seed and taking up space that I want to use for winter crops so it is really time for it to go. Yesterday I picked an armful of the younger shoots, stripped the leaves and rinsed them.

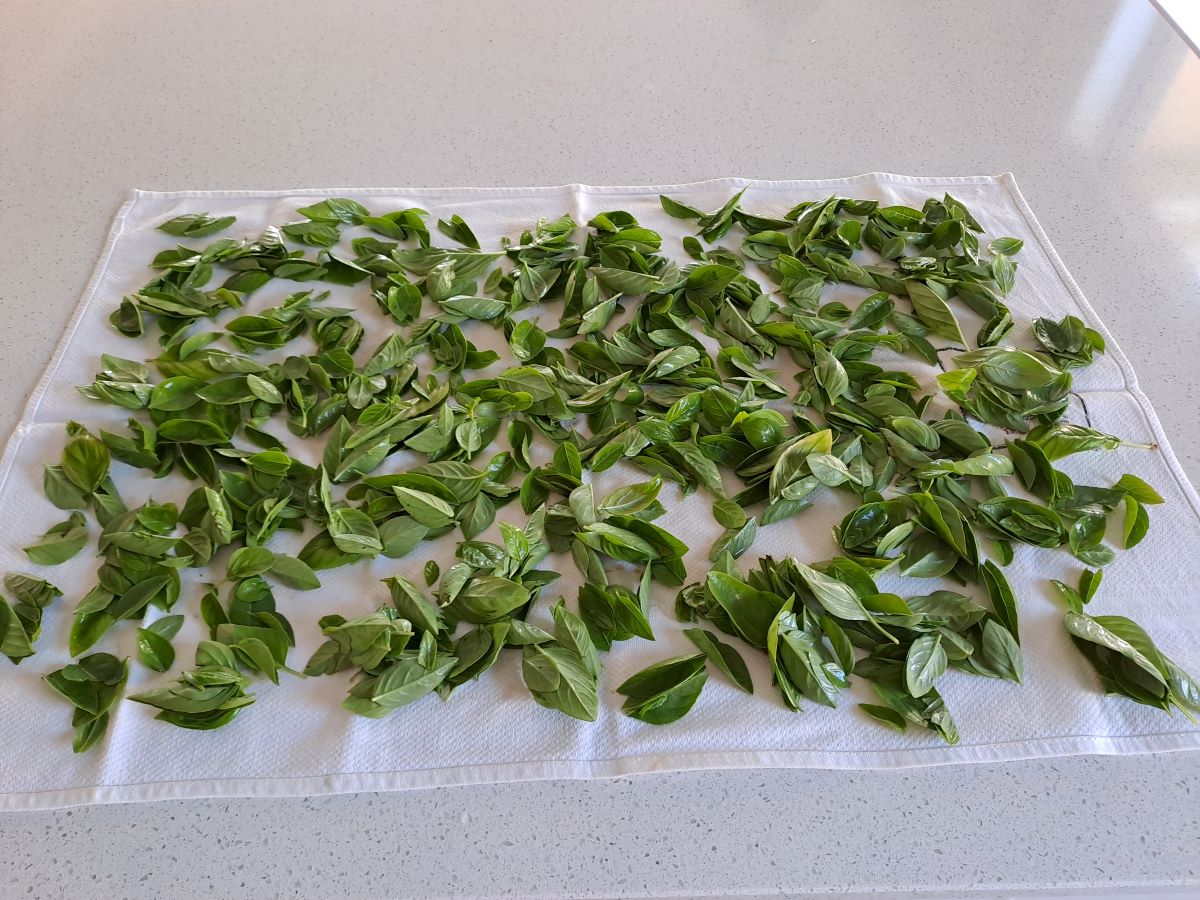
This haul was 4 tightly-packed cups of basil leaves so it was time to make more pesto.

Here is my recipe.

BASIL PESTO

4 cups basil leaves, tightly packed
7 tablespoons sunflower seeds
4 cloves garlic
1 lemon, juice and rind
5 tablespoons nutritional yeast
3-4 tablespoons olive oil
1/4 teaspoon salt
Freshly ground black pepper

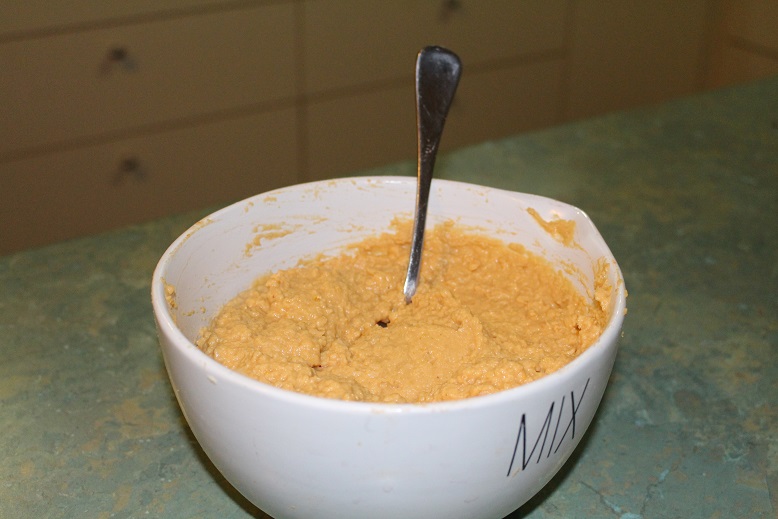
Place the basil, sunflower seeds and garlic in food processor and process until finely chopped and combined. Add the lemon juice, rind and nutritional yeast. Process until thoroughly combined. Gradually add the olive oil until desired consistency is reached. Add salt and pepper to taste.

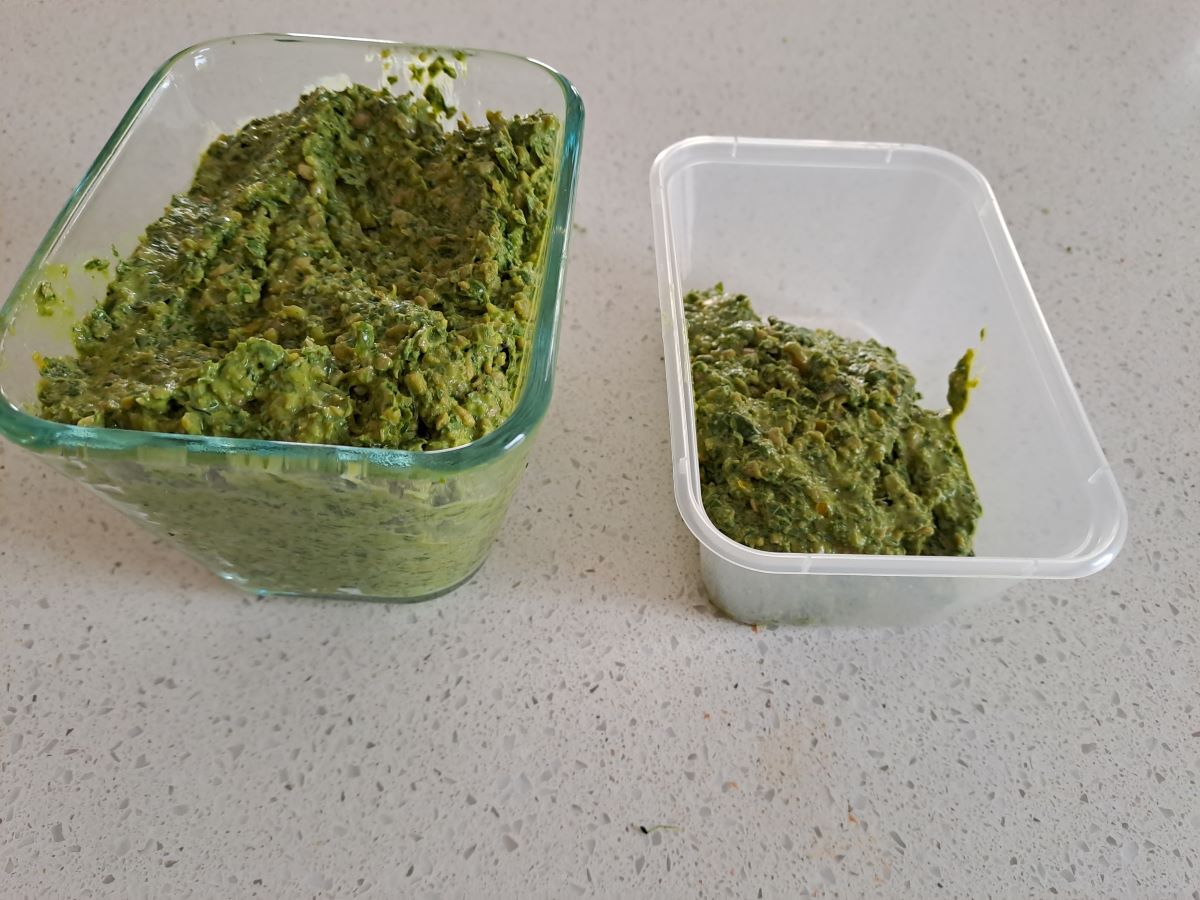
I have chosen to replace the traditional ingredients of cheese and pine nuts with nutritional yeast and sunflower seeds which makes this recipe not only gluten-free but also nut and dairy free.

It was rather exciting to know that I had used basil, lemon and garlic which I had grown as well as locally produced olive oil.

Another Recipe

Leave a comment

As promised in my last post, here is the recipe for the Eggplant Rolls which I made recently.

I have not included quantities as it depends on how many you want to make and personal taste.

EGGPLANT ROLLS

Ingredients

1 large eggplant
Ricotta cheese or drained plain yoghurt
Leafy greens, finely chopped – silverbeet, spinach, kale or similar
Seasoning of choice – salt, pepper, mixed herbs, smoky paprika
Can of tomatoes, diced
Flaxseed meal
Almond meal
Cheddar cheese, grated

Method

Thinly slice the eggplant. Lightly cook the slices in a pan or in airfryer.

Combine the ricotta, greens and seasoning.

Spread mixture onto eggplant slices.

Roll up eggplant and place in an ovenproof dish.

Top with tomatoes.

Combine almond meal, flaxseed meal and grated cheese. Sprinkle on top of the dish and then cook until thoroughly heated and crispy.

IMPORTANT NOTES:

If you look carefully at the photos you will note that I neglected to follow my own instructions and did not pre-cook the eggplant slices. The meal was still quite edible but it is definitely much better if they are pre-cooked.

For the final cooking I generally cook until hot in the microwave then finish off in the airfryer. You could also bake these in the oven.

The almond/flaxseed meal topping is so that this dish is gluten-free. If that is not an issue you may simply choose to use breadcrumbs.

I served this meal with steamed rice, carrots and peas.

The Ironing Makeover

Leave a comment

As I mentioned in my last post, the ironing board cover really needed replacing so I made that project a priority for today.

I do not have a ‘before’ photo but I can assure you that it was ripped in a couple of places, very thin and badly stained.

Here is the new version which I made from a sheet which was no longer being used.  The fabric is strong cotton that I bough and used to make a fitted sheet several years ago.  I cut two layers for extra strength.  The inside layer is cotton/bamboo batting.

2016-09-30-01

The straps, velcro and binding around the edge were all salvaged and re-used from the previous version.

2016-09-30-02

There are a couple of old layers from previous purchased covers which are under the new cover.  It is firm but well-padded so a great surface for ironing.

2016-09-30-03

I use 2 straps underneath the board to hold it firmly in place.  You can see one of them here.

With a new iron and fresh cover for the board I am ready to do the ironing.  Like most tasks, it is made easier with the right equipment.

Home-made Hummus

2 Comments

I was recently reading a discussion about home-made hummus and what constituted the perfect result.  I realised that I was unable to contribute very little to the discussion as I do not usually measure any of the ingredients as it is all done by taste.

When I made another batch I was careful to measure the ingredients and write down the method and here it is.

HUMMUS

1 1/2 cups dried chickpeas
3 cloves garlic (roasted)
1 large lemon (zest and juice)
60ml olive oil
1 teaspoon salt
1 teaspoon smoky paprika
1 teaspoon cumin
1/2 teaspoon chilli powder
1 heaped tablespoon peanut paste

Cover the chickpeas with 4 cups boiling water and soak for 4 hours.  Drain chickpeas, place in saucepan and add fresh water.  Bring to the boil and simmer for 2 hours or until tender.  Drain chickpeas and place in blender/food processor with garlic, lemon juice, lemon zest and oil and blend until smooth.  Add spices and peanut paste and blend.  If mixture is too thick add a little water or more oil/lemon juice if you prefer.

NOTES:  I always roast the garlic as I found the flavour is sweeter and more subtle.  I use about 1/4 cup lemon juice which is the yield from 1 of our lemons.  The peanut paste is used instead of tahini which I do not particularly like.  I use one made from freshly ground peanuts with no additives.  The salt is important to release the other flavours.  I use pink Himalayan salt.  Although I make my hummus using dried chickpeas you could also use canned chickpeas.  You would probably need 2 cans for the quantity in the recipe.

There is no right or wrong way to make hummus – it really is a matter of personal taste.

Dried chickpeas

001Chickpeas soaking

002Chickpeas ready to cook

005The final result

009This recipe makes a substantial quantity.  It keeps quite well in the fridge for a week or can be frozen.

Do you make hummus?  Any personal tips or tricks?