One of the very earliest posts I wrote for this blog was about folding plastic bags. It was back in 2011 and you can revisit the post here.
As part of my sustainability strategy, I reuse everything as many times as I possibly can. Even though we do not intentionally acquire any new plastic bags they do seem to accumulate. This is due to several factors, including other people giving me things in plastic bags, the longevity of the bags and finally, an enormous number of both new and used bags that have resulted from cleaning out my mother’s possessions.
Plastic bags are not the only ones that I seem to have. There are also paper bags. I know that these can be recycled and/or composted but it is still better to reuse them where possible. I give consideration to the resources that have been used to generate these bags and feel that they deserve to be used as many times as possible.
I seemed to have different types of bags stored in various locations in my home so I recently decided that there needed to be a better and more co-ordinated approach. Hopefully, this will assist in ensuring that what we have can be easily accessed and used as required.

Additionally, the bags I use every day are in the kitchen drawer – ziplock bags and reused bread bags as well as lightweight plastic bags hanging in a dispenser in the laundry cupboard.

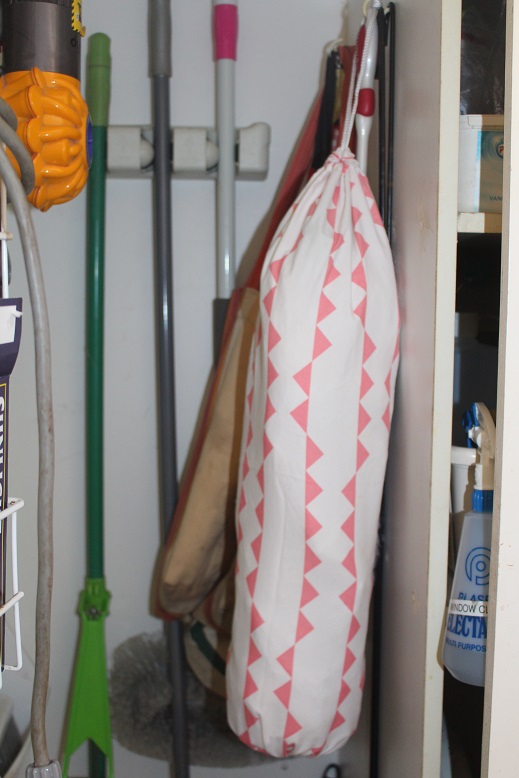
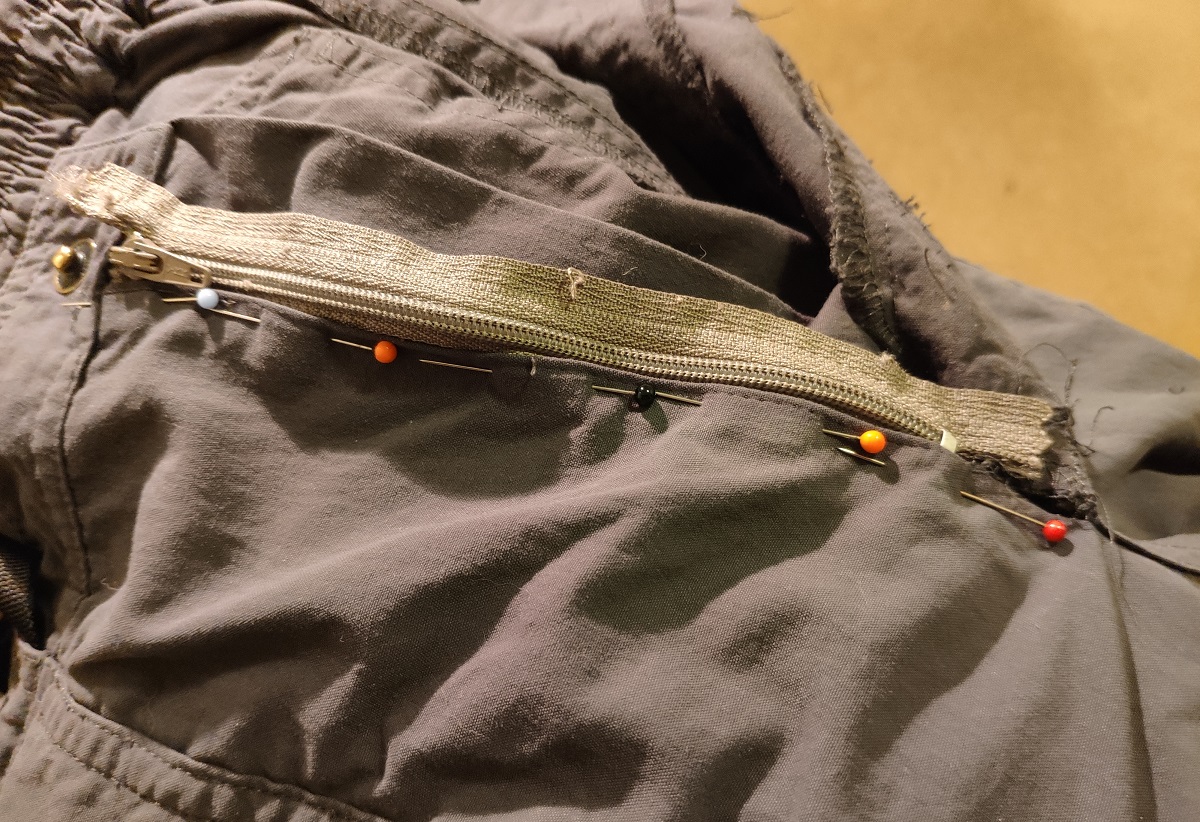
I made the new dispenser as the old one had really seen better days. All of the materials were recycled bits retrieved from my stash.

Finally, I created a small pack of bags for the glovebox of each car. A few small ziplock bags, paper bags, lightweight plastic bags and a small foldable carry bag all contained in a medium ziplock bag. The plan is that this will cover all possible unforeseen contingencies when we are out and about.

I am happy with my new arrangements and keen to gradually reduce the quantity of bags in the household through natural attrition rather than wholesale disposal or recycling.