In my last post I mentioned that we had ordered a garden shed. We have been debating the need for a shed for a number of years and have finally bitten the bullet.
It will be a very simple 3m X 3m structure with double opening doors at the front. There are no windows, no side door and no power. It is really no more than an oversized lawn locker to store the mowers, mulcher, brushcutter and possibly wheelbarrow as well as some storage shelving for accessories and fuel.
This will create some real workspace in the area known as the workshop.
It will probably be 3-4 weeks before the shed is ready to be installed but there was a bit of site preparation to be done beforehand.
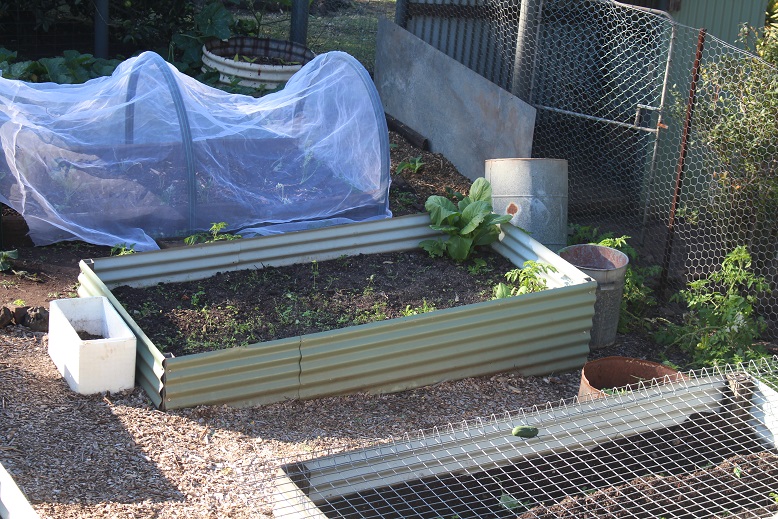
This is a view of the area where the shed is to be placed. There is no ‘before’ photo but it had become somewhat overgrown so we cut back shrubs and some heliconias as well as moving some logs which had been dumped there.
The impending construction is certainly motivation to clear up the area surrounding the new shed.
We have quite a large stand of heliconias so we removed a few that were encroaching on the access to the would-be shed as well as using the opportunity to clean out some of the spent ones. The edge of the clump is clearly visible on the left-hand side of the photo.

The shed will be in the centre foreground of the photo.
Looking slightly to the right you can see the area where we have almost finished moving what was a huge pile of mulch. We will be planting several shrubs once the mulch is cleared.

The shed site is not the only one we are preparing. Yesterday we moved all of the furniture from our verandah which extends around 2 sides of the house in preparation for the floor to be sanded and recoated. The sanding was supposed to happen today but it rained overnight and some of the flooring was wet so the start has been delayed.
This is the long side at the front of the house.

The shorter end which looks out towards the vegetable garden.

In other garden news, GMan planted clivias along the western edge of the driveway. These were sourced from multiple plants we had in pots. Most are orange but there are also some yellow ones. My $20 investment in a single orange clivia which I bout almost 20 years ago has paid handsome dividends. The yellow ones have also multiplied from a single plant which was a gift several years ago.
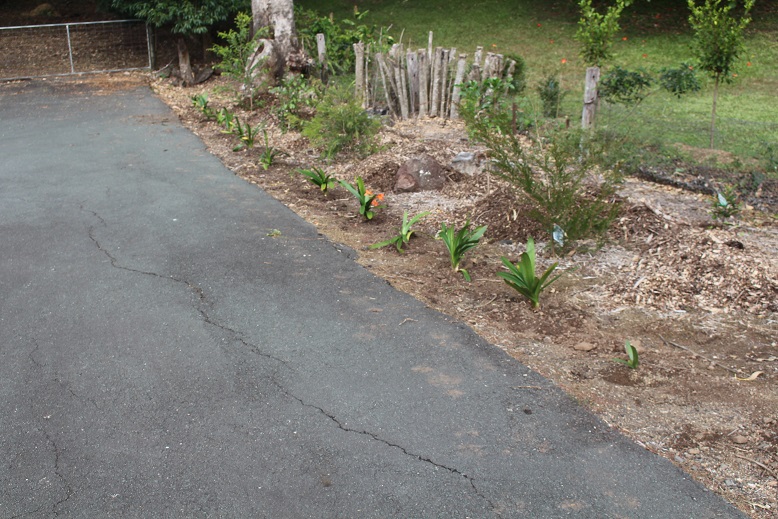
I think the clivia plants will make a nice border to the edge of the driveway. The area behind them is a work in progress. The shrubs were planted in mid-December and are growing quite well. You can see some of the piles of mulch which have been moved from the site near the shed. We plan to lay some sheets of cardboard to suppress the weeds then cover them with the mulch.