Yesterday I made a new discovery – the Bendigo Share and Repair Shed. I stumbled across this gem from a Facebook post advertising a destash sale of art and craft materials. When I arrived at the address I discovered that it was so much more than just a one-off event.
After perusing the various offerings I came home with a selection of goodies – most with a specific purpose in mind.
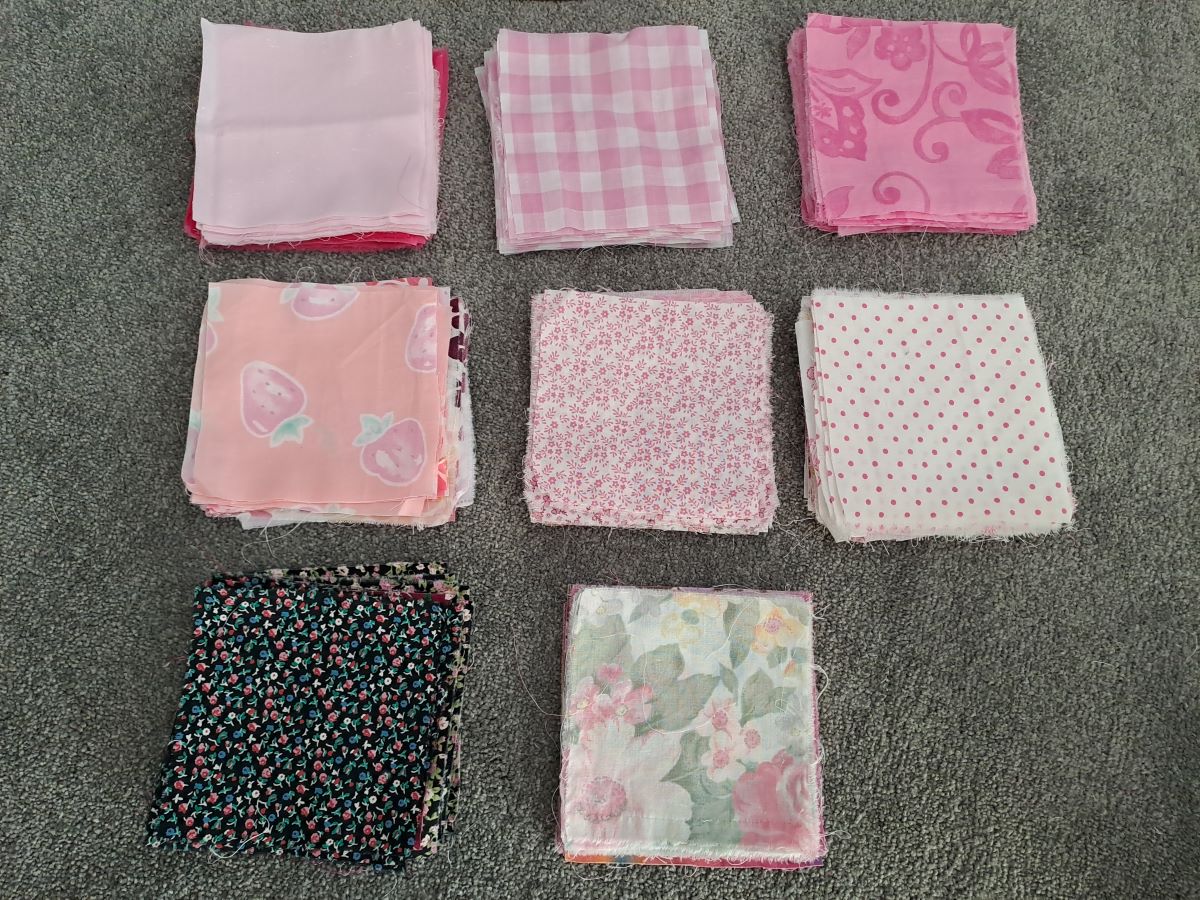
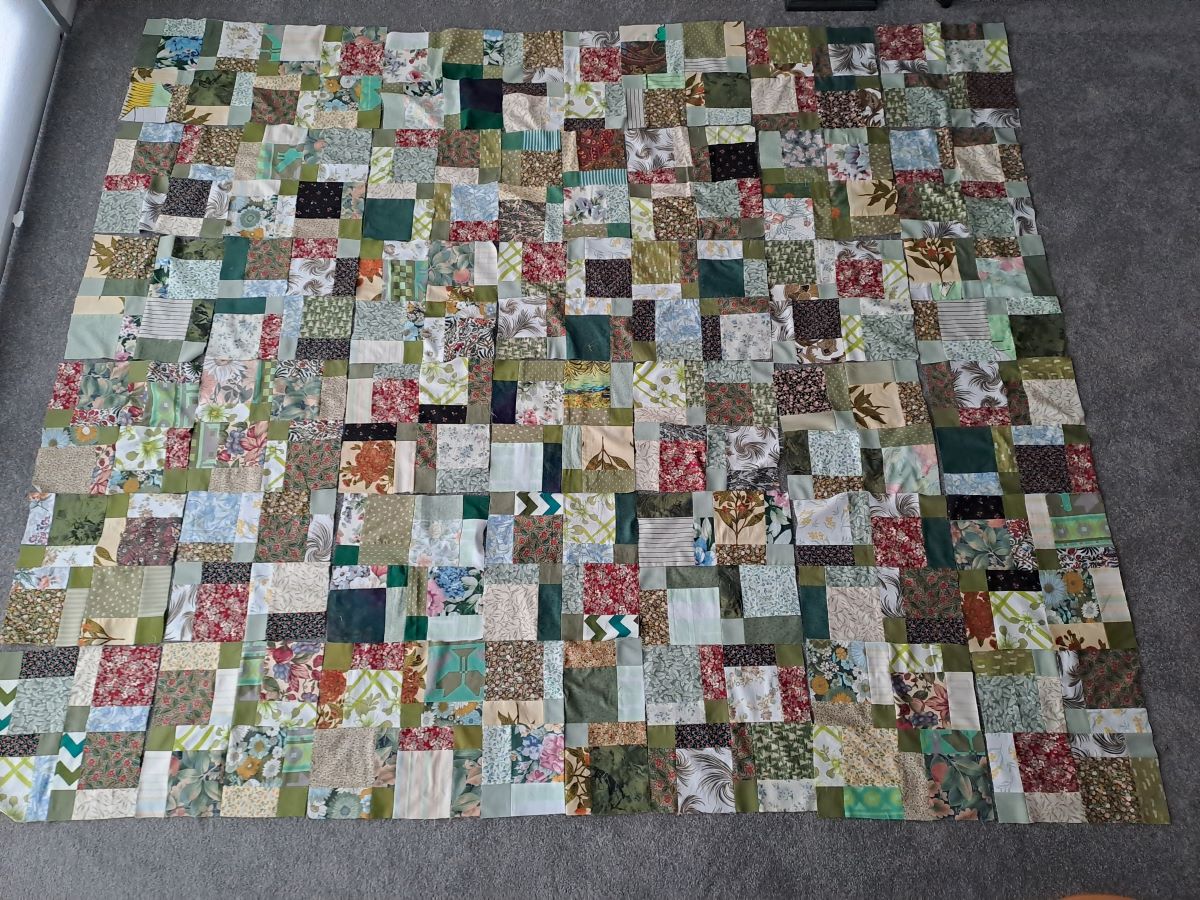
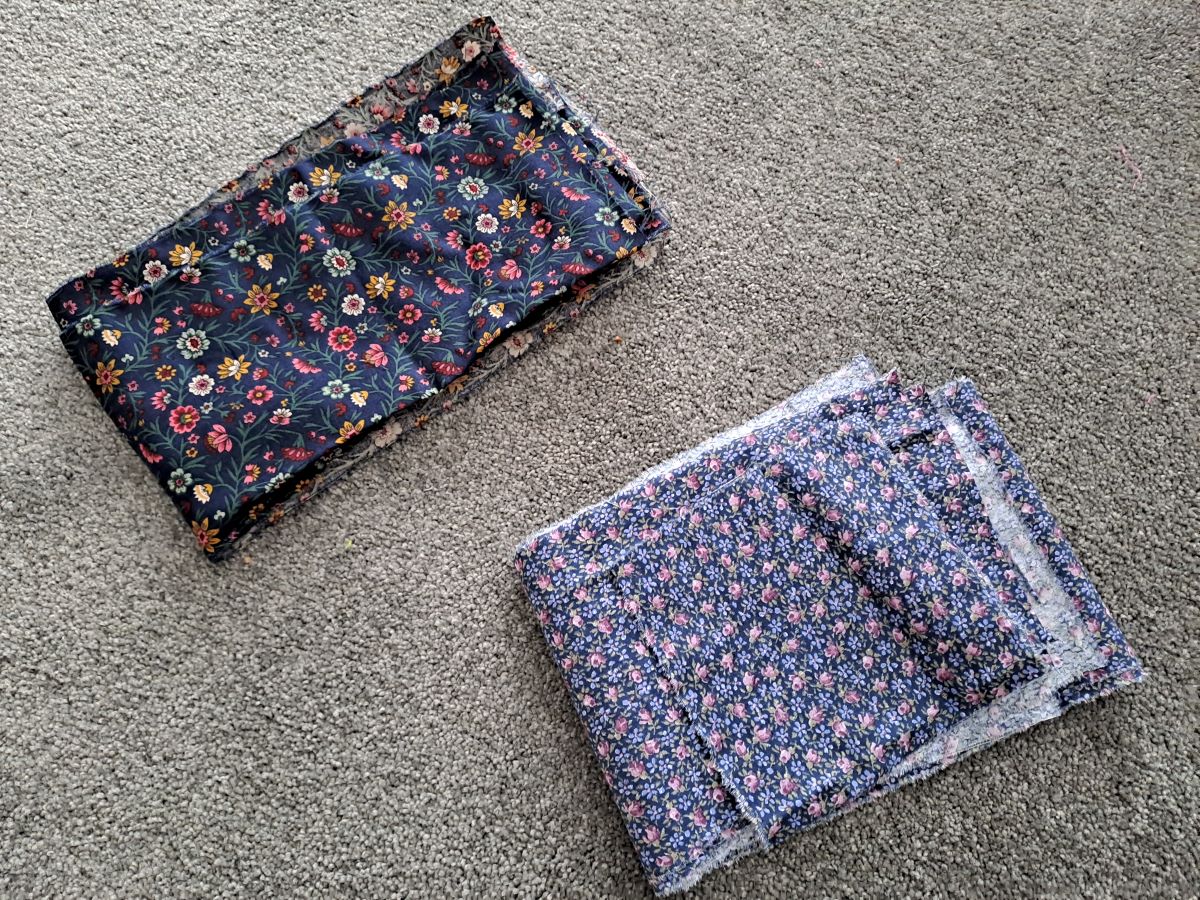
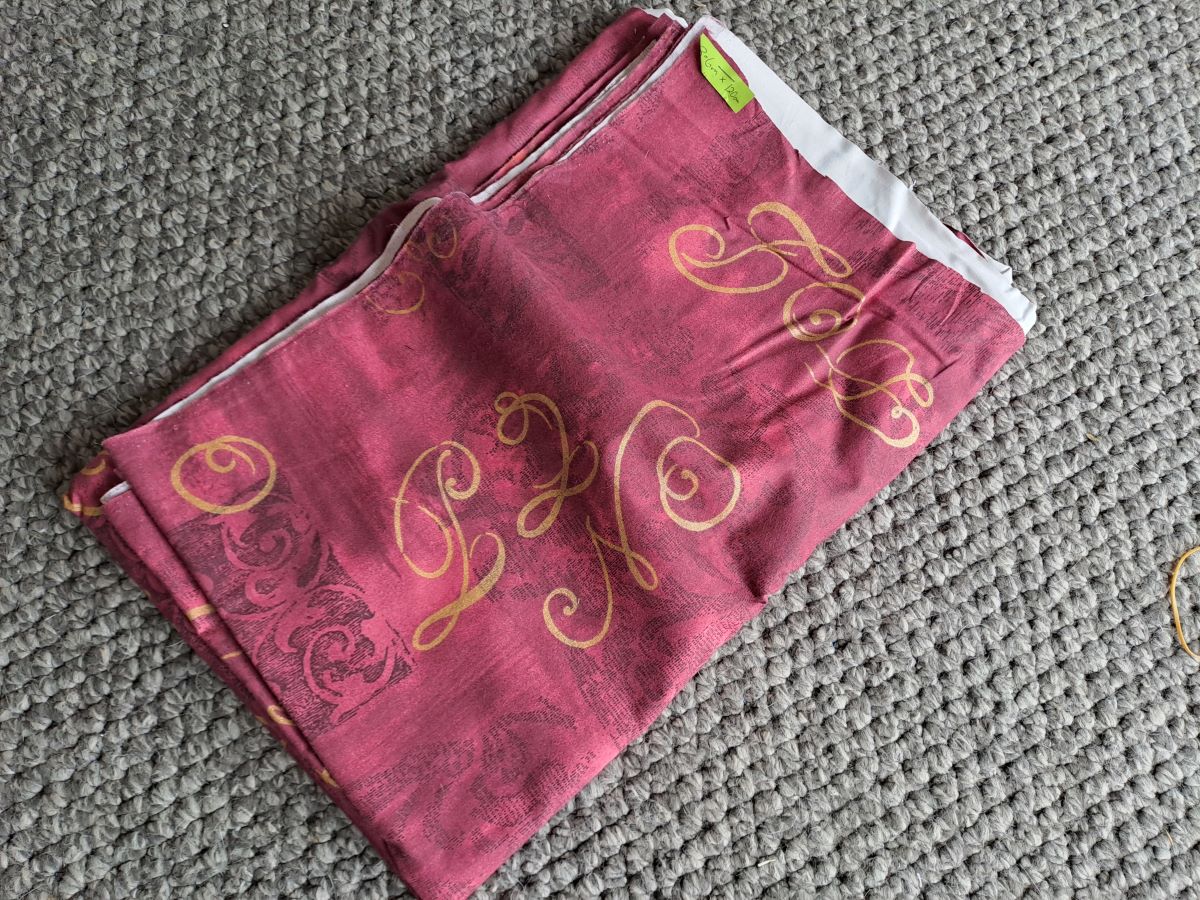
Two pieces of fabric which will yield a total of about 35 squares for the ‘pink’ quilt that I am preparing to make.
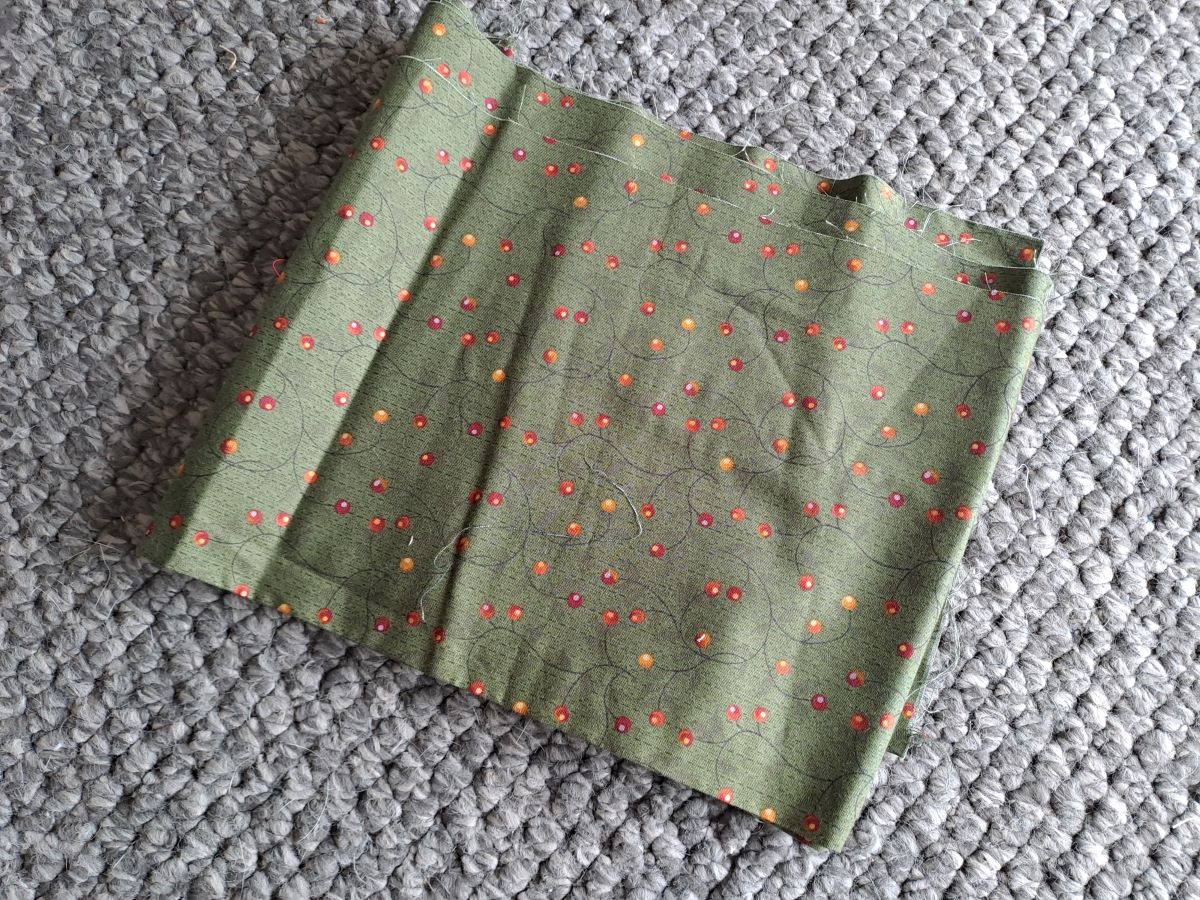
Another piece of fabric suitable for patchwork but no particular project in mind.
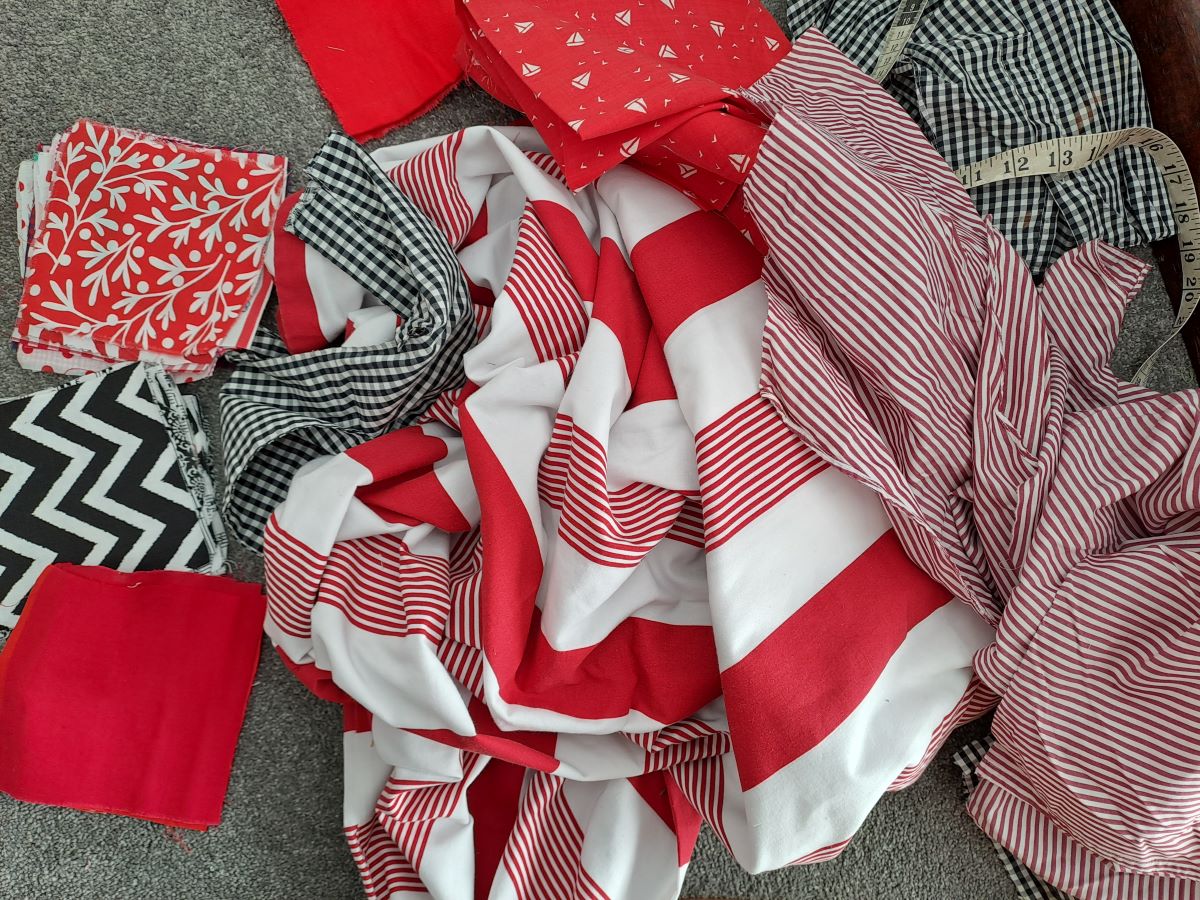
A large piece of curtain fabric which will make some great tote bags. I am planning to make some more to donate to the Community Pantry for people to use (and reuse) when collecting groceries.
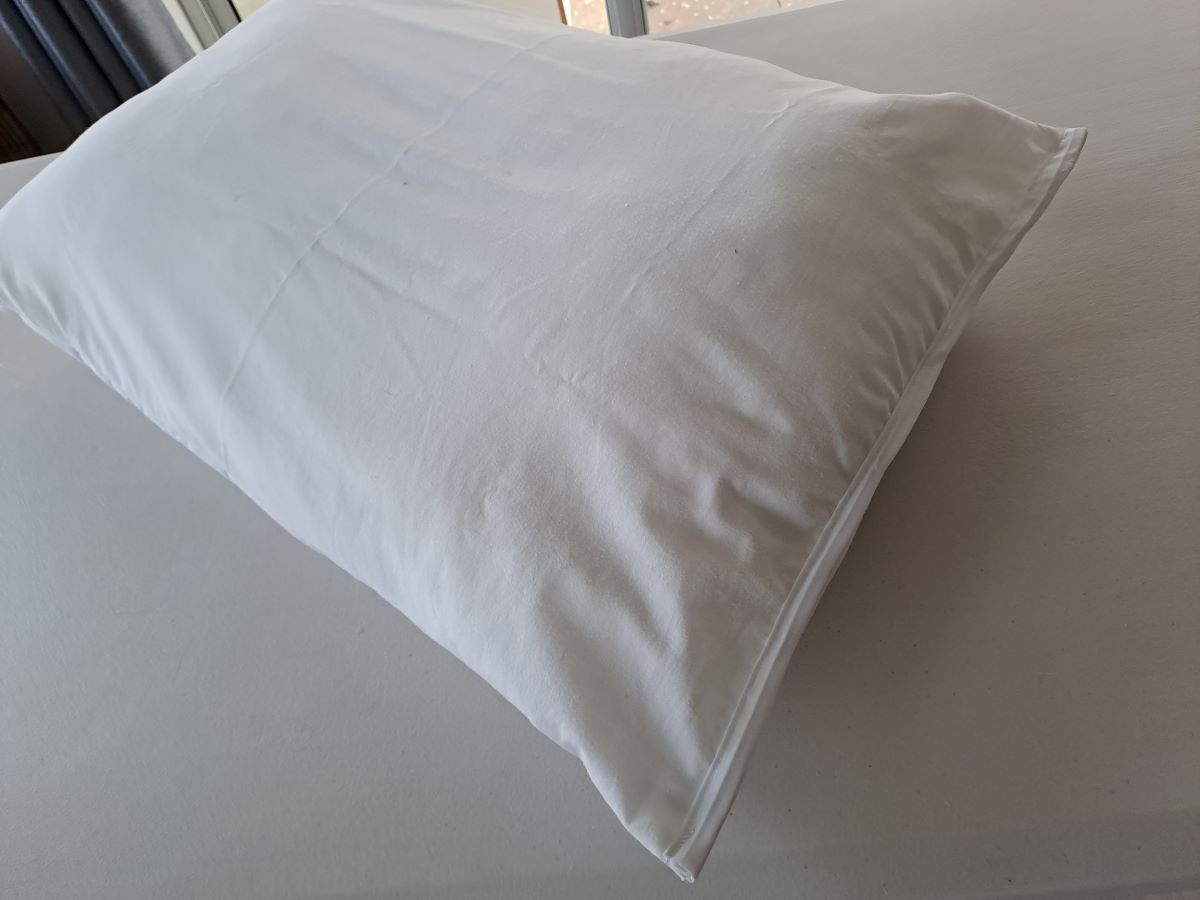
The final piece of fabric is this fine cotton fabric which is blue with a tiny white spot. I am thinking of making a summer dress for myself. I think this is probably quite old as it is less than 90cm (36 inch) wide. I will have enough as there is more than 2 metres of fabric.
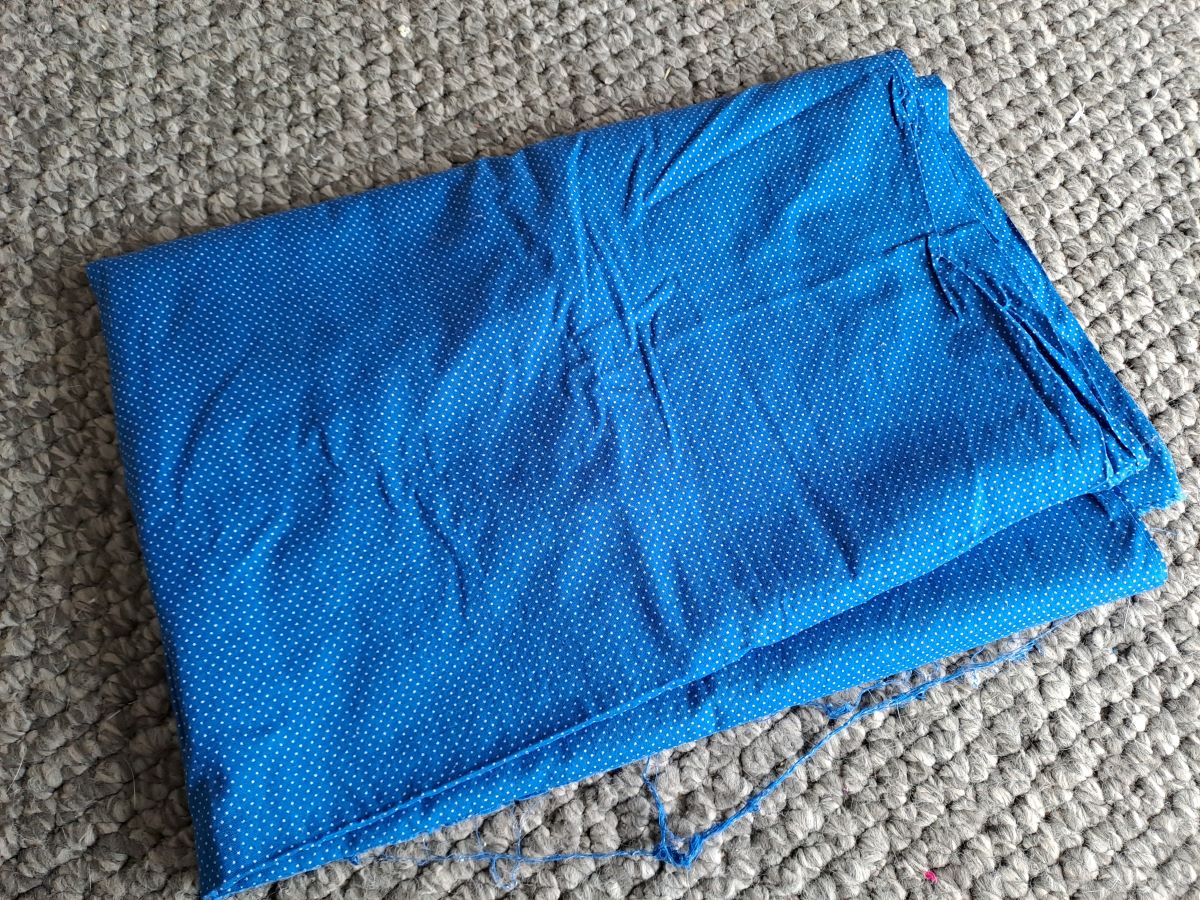
This close-up gives a better indication of the print.

The premise of the Share and Repair Shed is to make a donation/offer and I was happy to pick up all of these pieces for $9 as I will be able to give them new life in various projects.
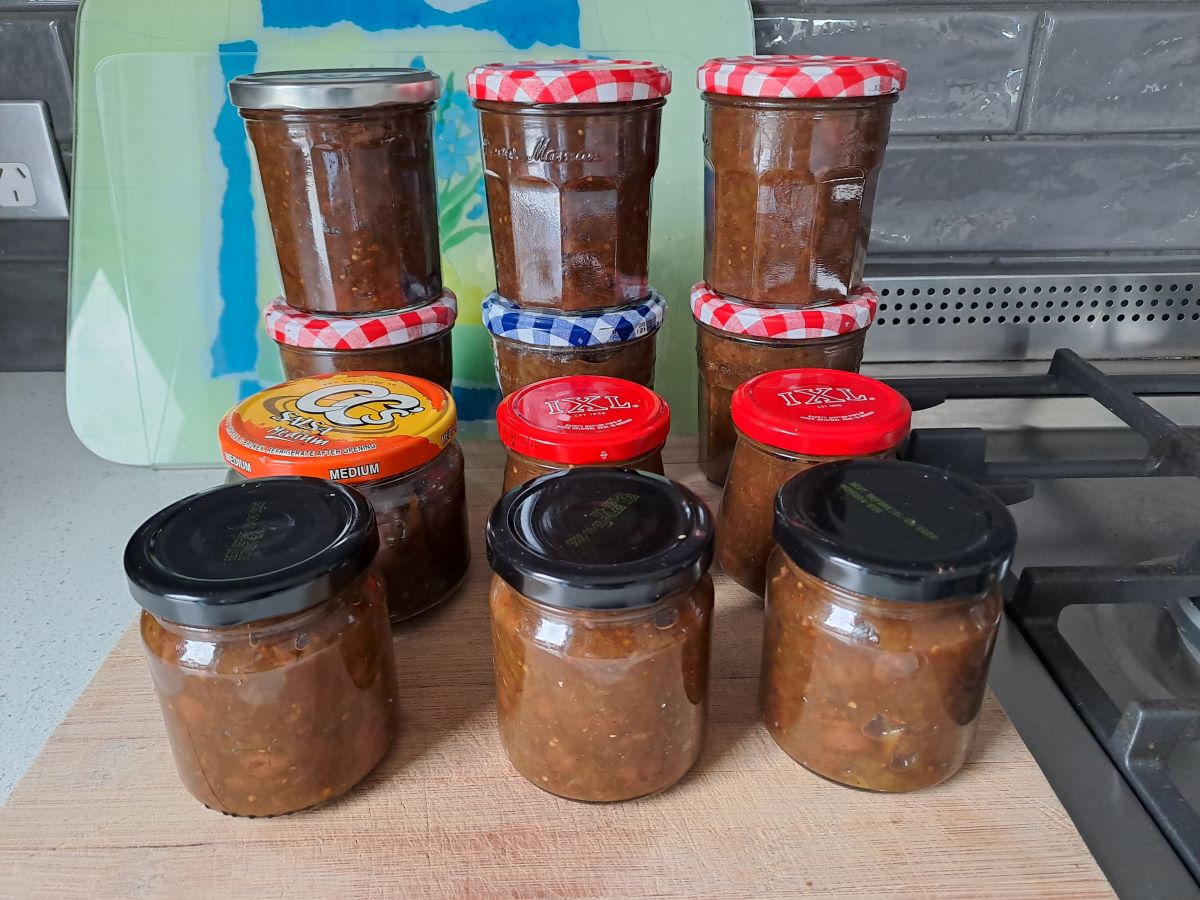
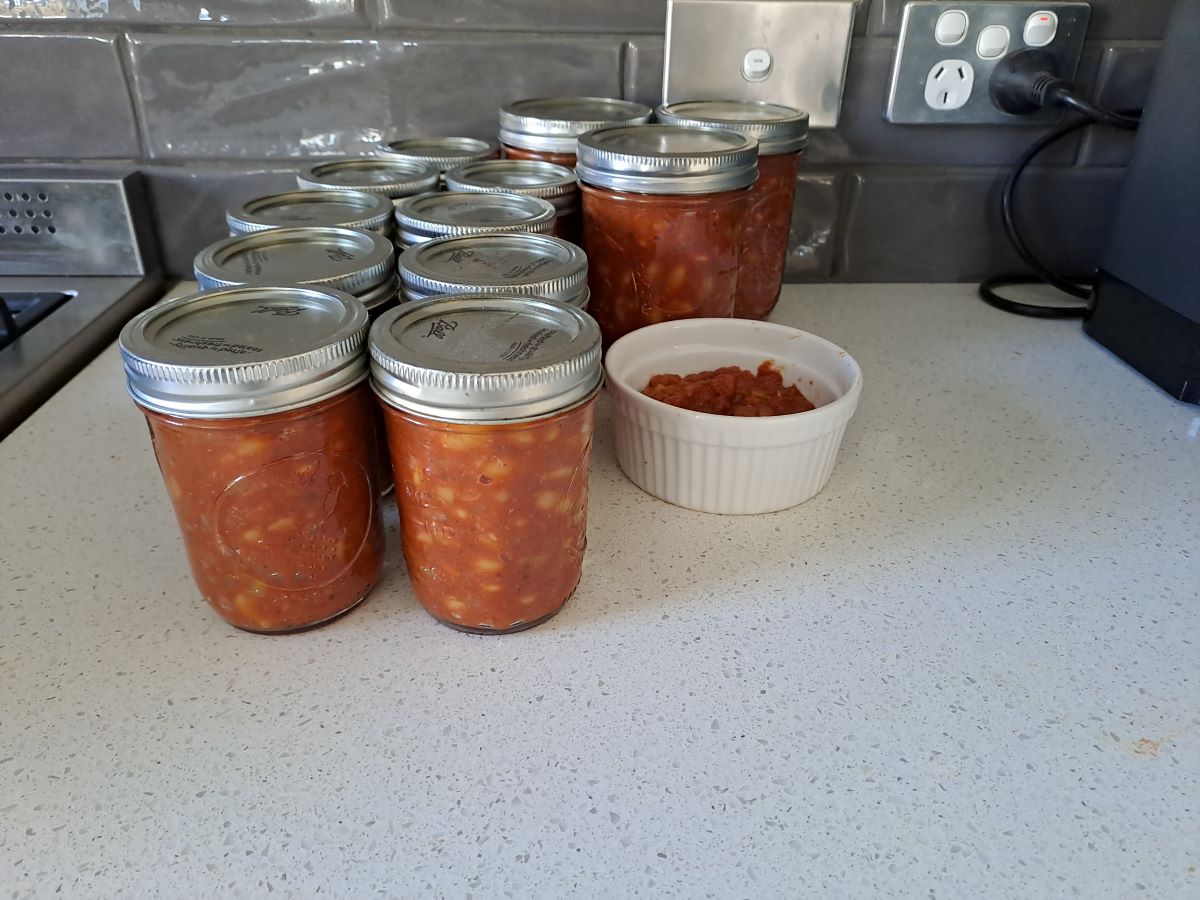
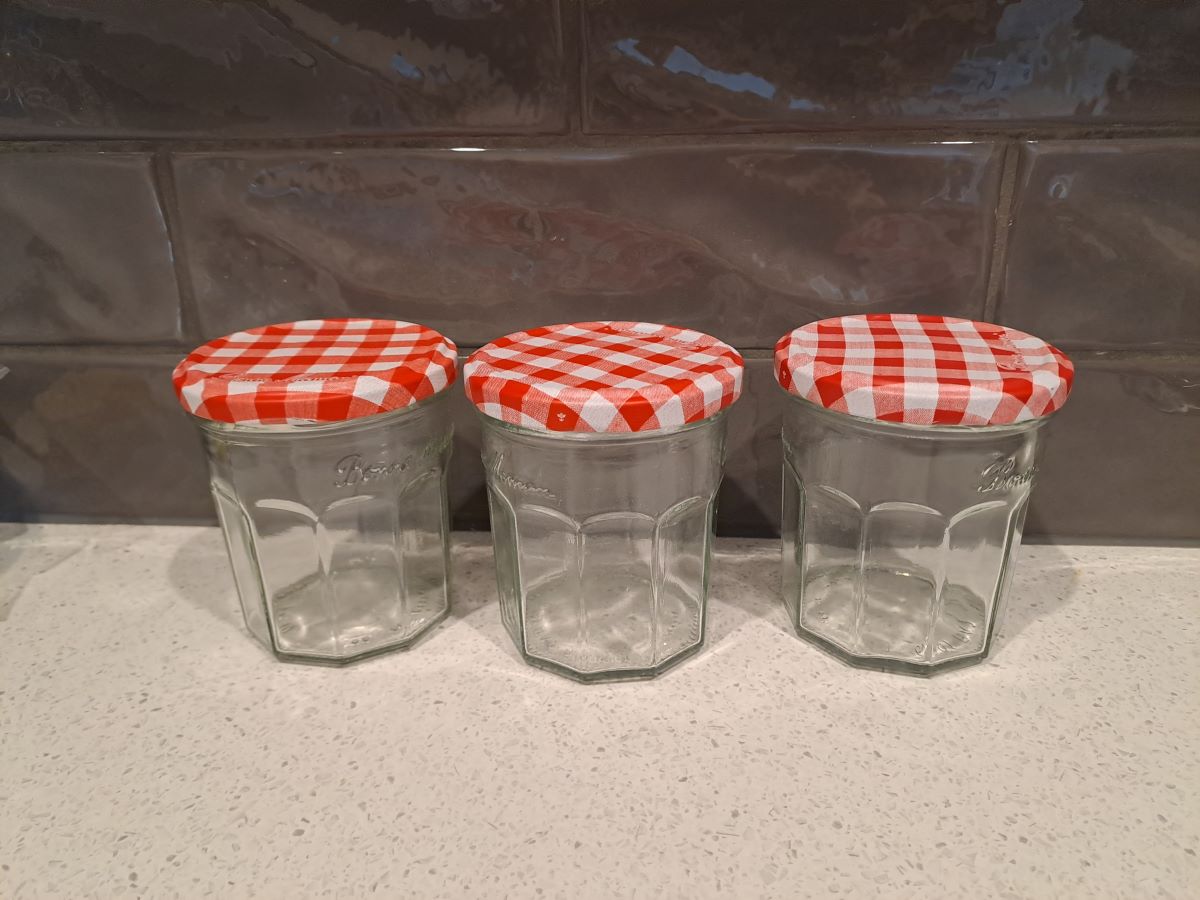
I also had a quick look at other non-craft items that were available and I was quite excited to pick up these 3 jars to add to my collection for when I am making jams, pickles etc. There are always plenty of jars around but I like to limit my collection to a couple of different styles. These have a wide mouth and are easy to fill.
All in all it was an enlightening and fruitful visit and I am sure I will be back again before too long.