A couple of weeks ago I successfully made baked beans which GMan declared were better than the ones out of a can. Some years ago I had attempted to make them but they were really not that great. This time I was armed with more experience and a video I had chanced upon as a starting point. However, I did adapt it somewhat to suit myself.
I have made another batch and made notes of the quantities and method as well as taken several photos so that I can share the recipe with you.
BAKED BEANS
Ingredients
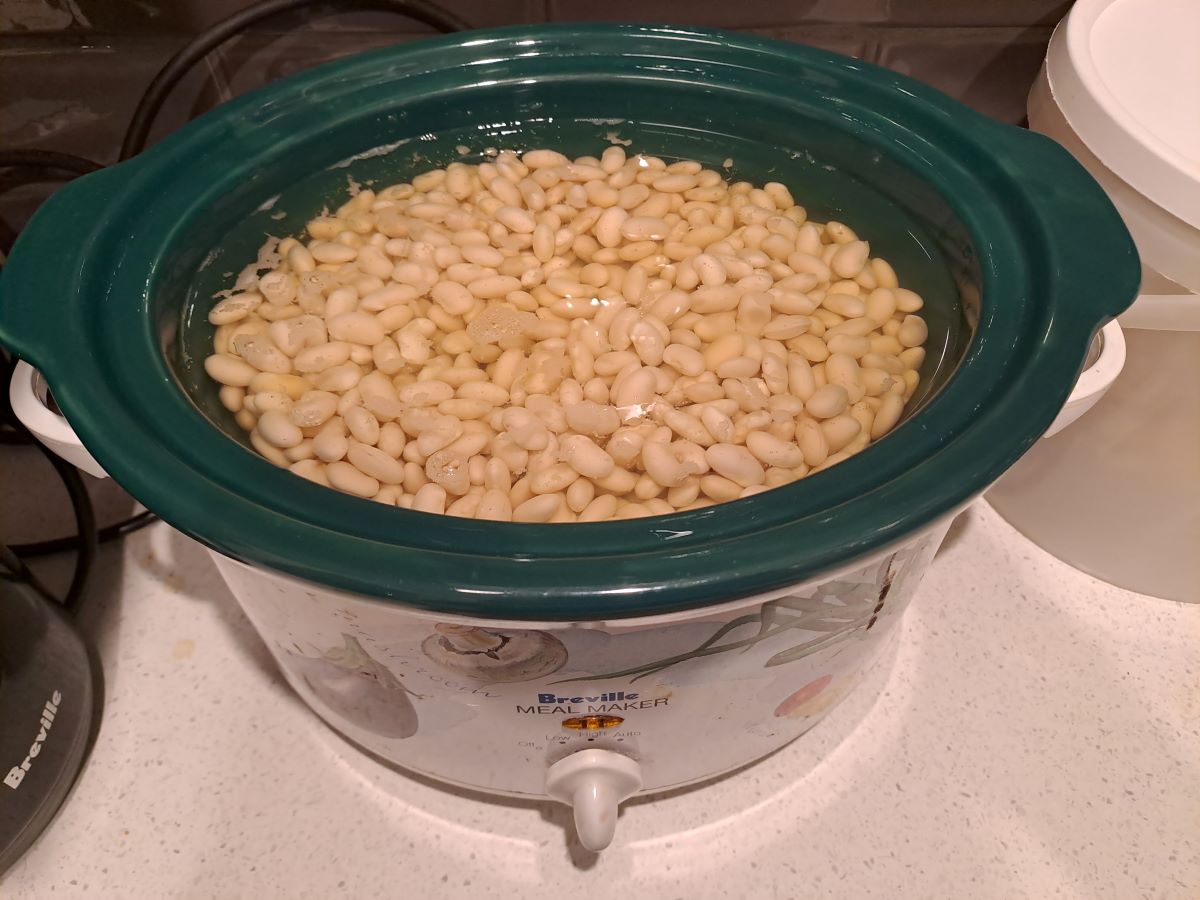
1kg dry white beans
Olive oil
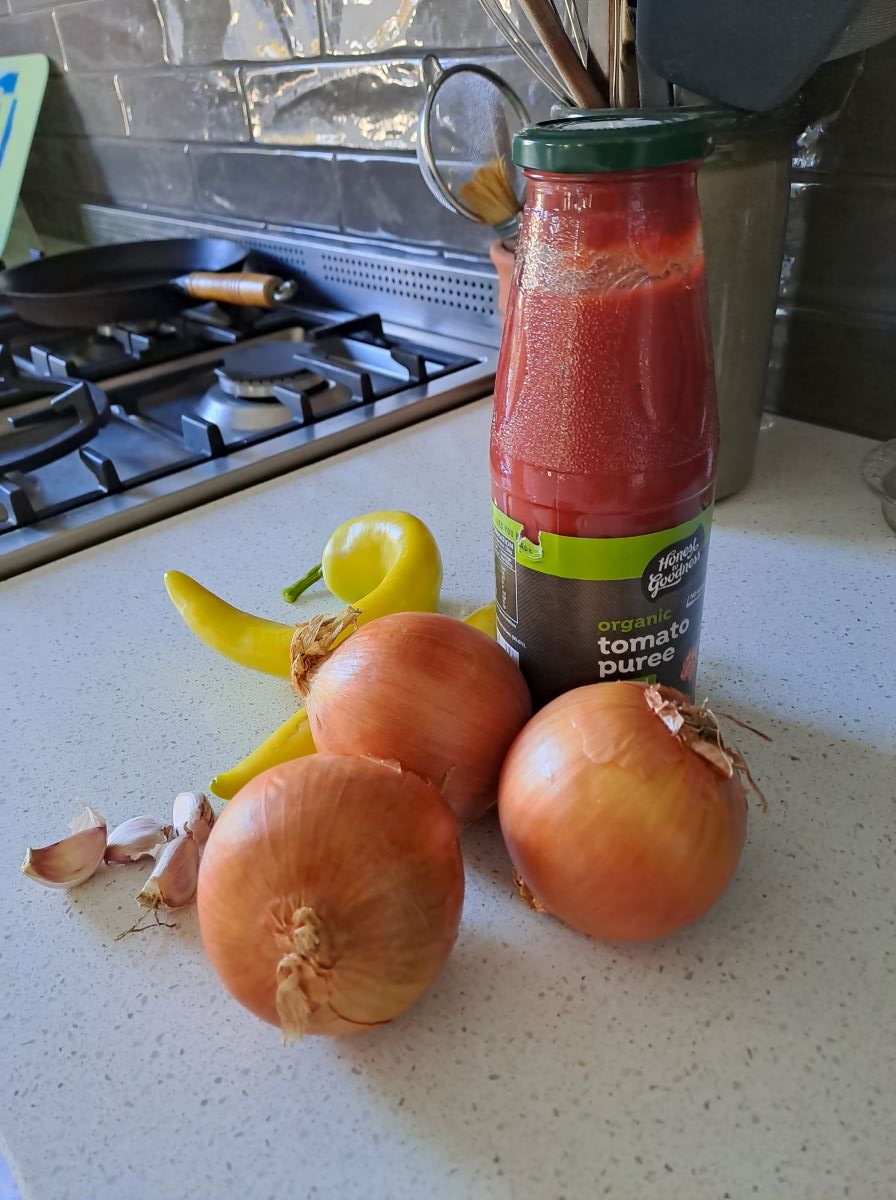
3 medium onions, finely diced
4 cloves garlic, crushed
1 capsicum (pepper), diced
700ml tomato passata
250ml water
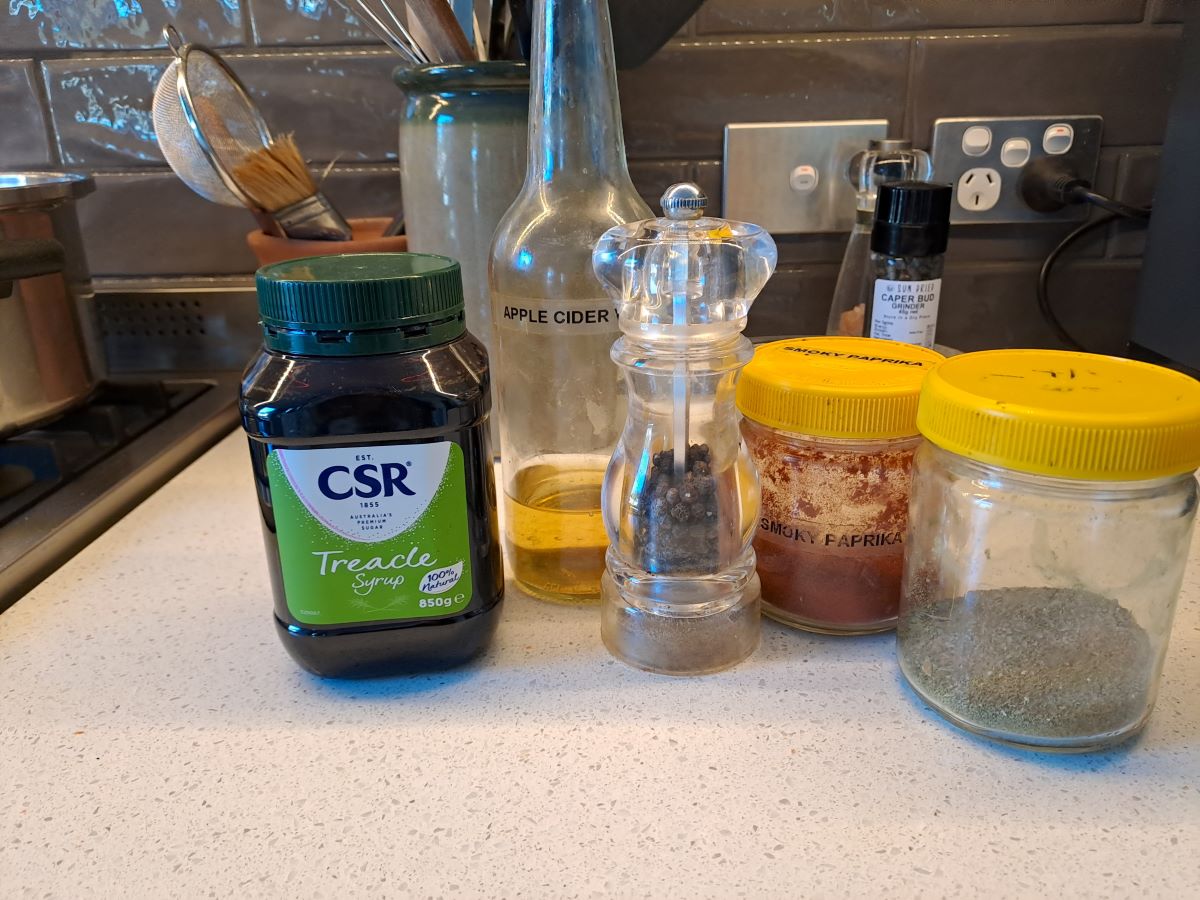
1 tablespoon treacle
1 tablespoon apple cider vinegar
3 – 4 teaspoons smoky paprika
1 – 2 teaspoons salt
1 teaspoon ground black pepper
Method
Place the beans in a large bowl and cover with boiling water (about 5cm above the level of the beans). Soak for several hours or overnight. The beans will swell but will still be quite hard. Transfer the beans and water to a slow cooker and add a bit more water. Cook on high for several hours until tender but not mushy.
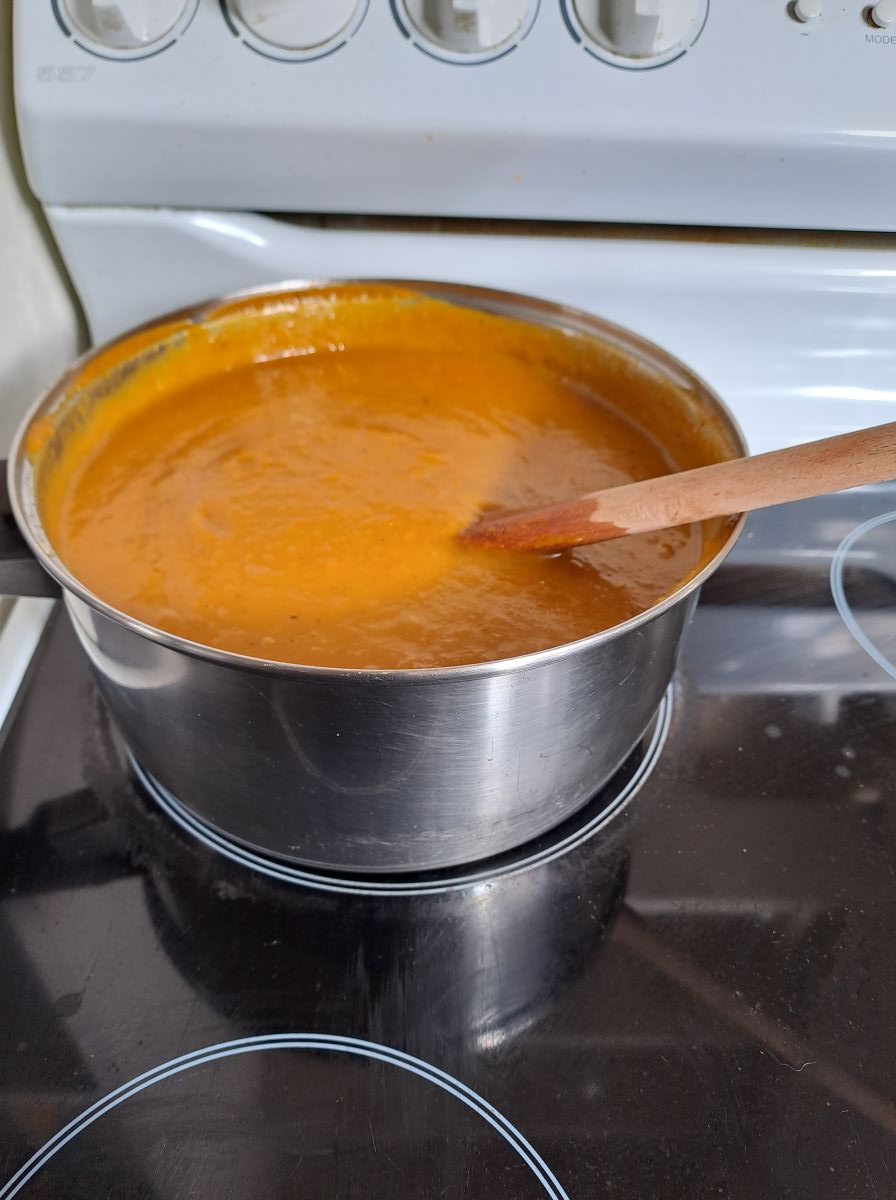
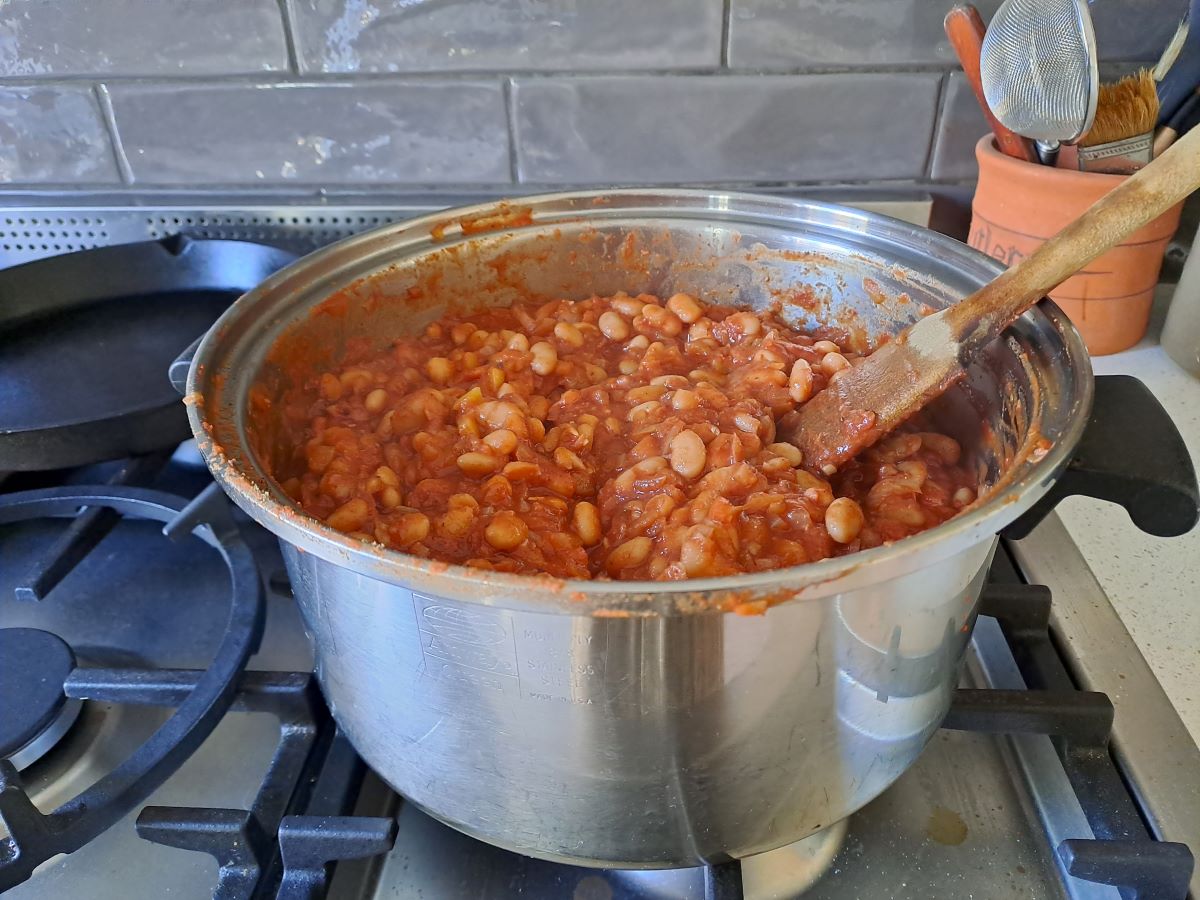
Saute the diced onion in a little oil in a large pan. Cook gently on a low heat so that they soften but are barely coloured. Add the garlic and capsicum and continue cooking. Add the remaining ingredients and simmer gently until well-cooked and the desired flavour.
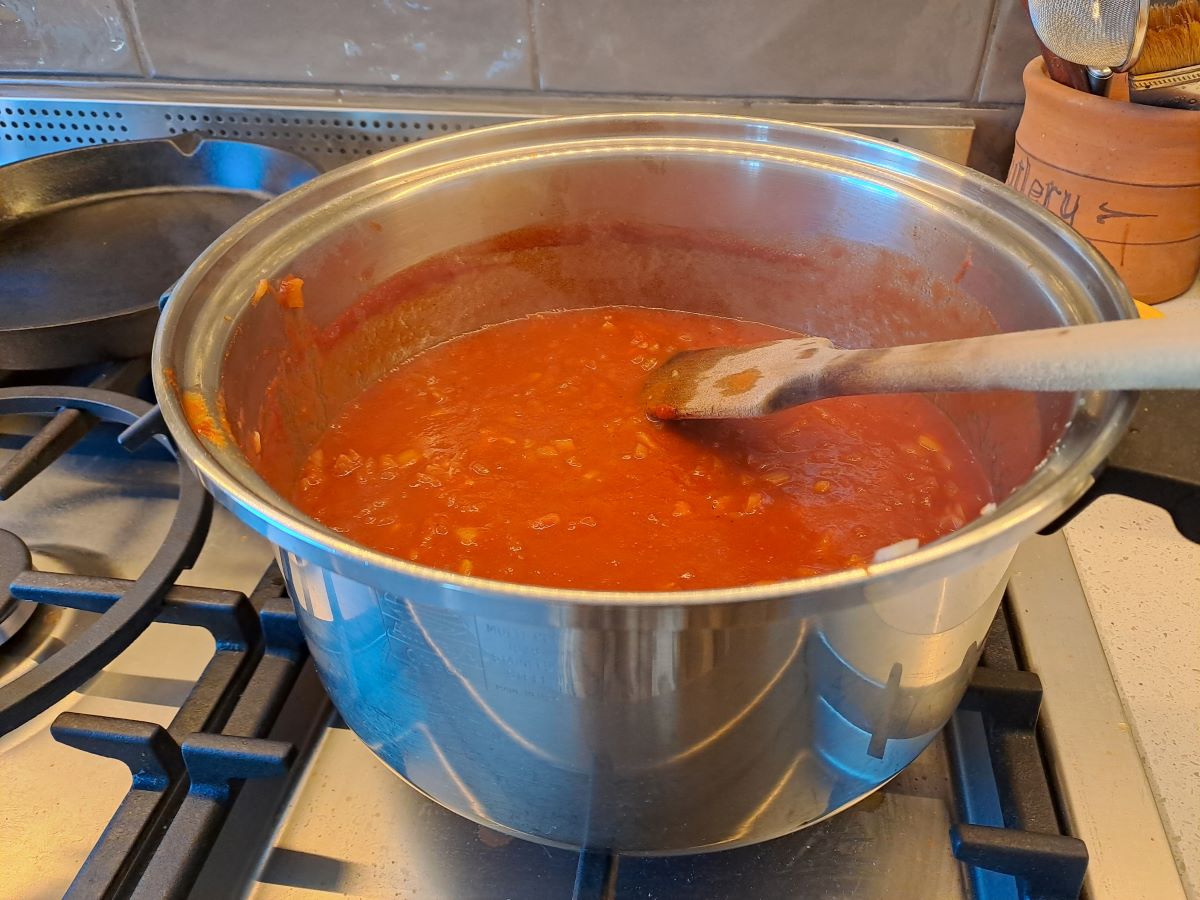
Add the drained beans to the sauce and combine thoroughly but do not break the beans up too much. Allow to stand and cool so that the beans absorb the flavour of the sauce.
Heat, eat and enjoy.
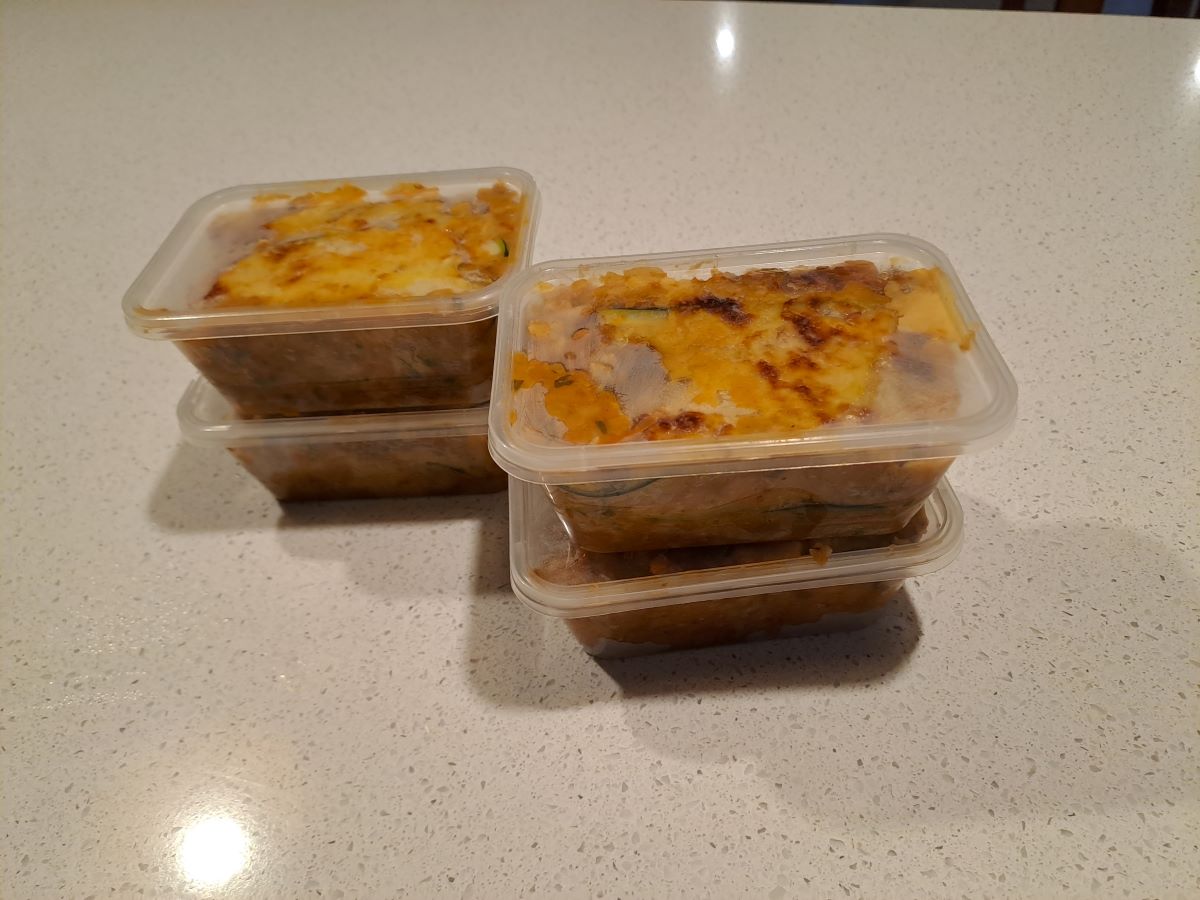
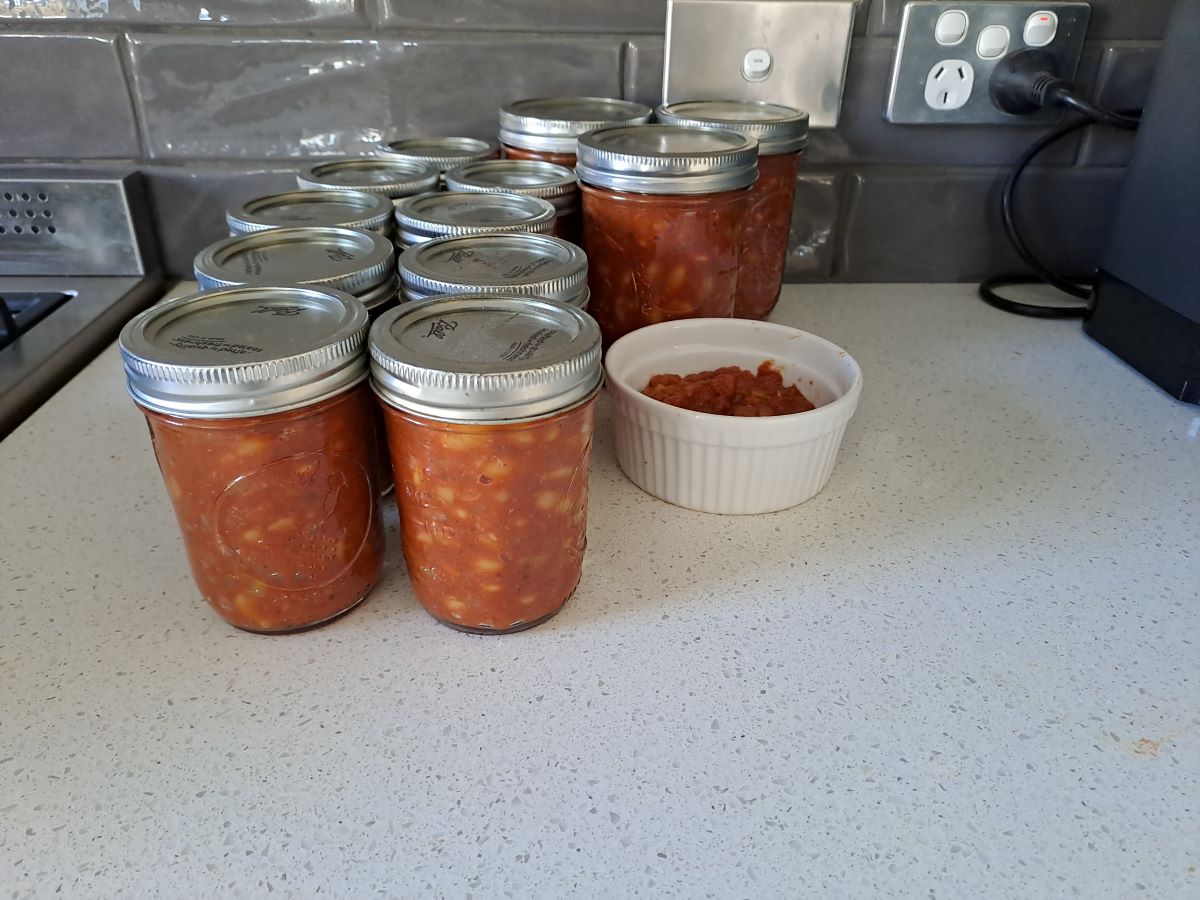
I choose to freeze the prepared beans which works really well. This is the results from the recipe above. The small dish will be my lunch today.
Notes
This is a large quantity – you can reduce the amounts.
I used Great Northern beans but you could use navy beans, canellini beans or whatever you prefer.
You could used canned beans if you wish. I prefer to use dried beans as they cost less and there is the added benefit of minimal packaging, especially if you buy them from bulk bins.
The tomato mixture could be pureed fresh or canned tomatoes or whatever you have on hand. You can also include some tomato paste for a more intense depth of flavour.
The original recipe used bacon but I choose to use smoky paprika to replicate the flavour and keep this recipe meat-free.
Add the seasonings gradually to account for your personal taste.
I used a couple of capsicums from the garden but regular red ones are fine, too.
I substituted rosemary salt for half of the salt.
I also added 1 tablespoon of Worcestershire sauce and 1/4 cup of my homemade tomato sauce to make it a little spicier.
In other words, this is a basic recipe and you can adjust it to suit your personal taste.