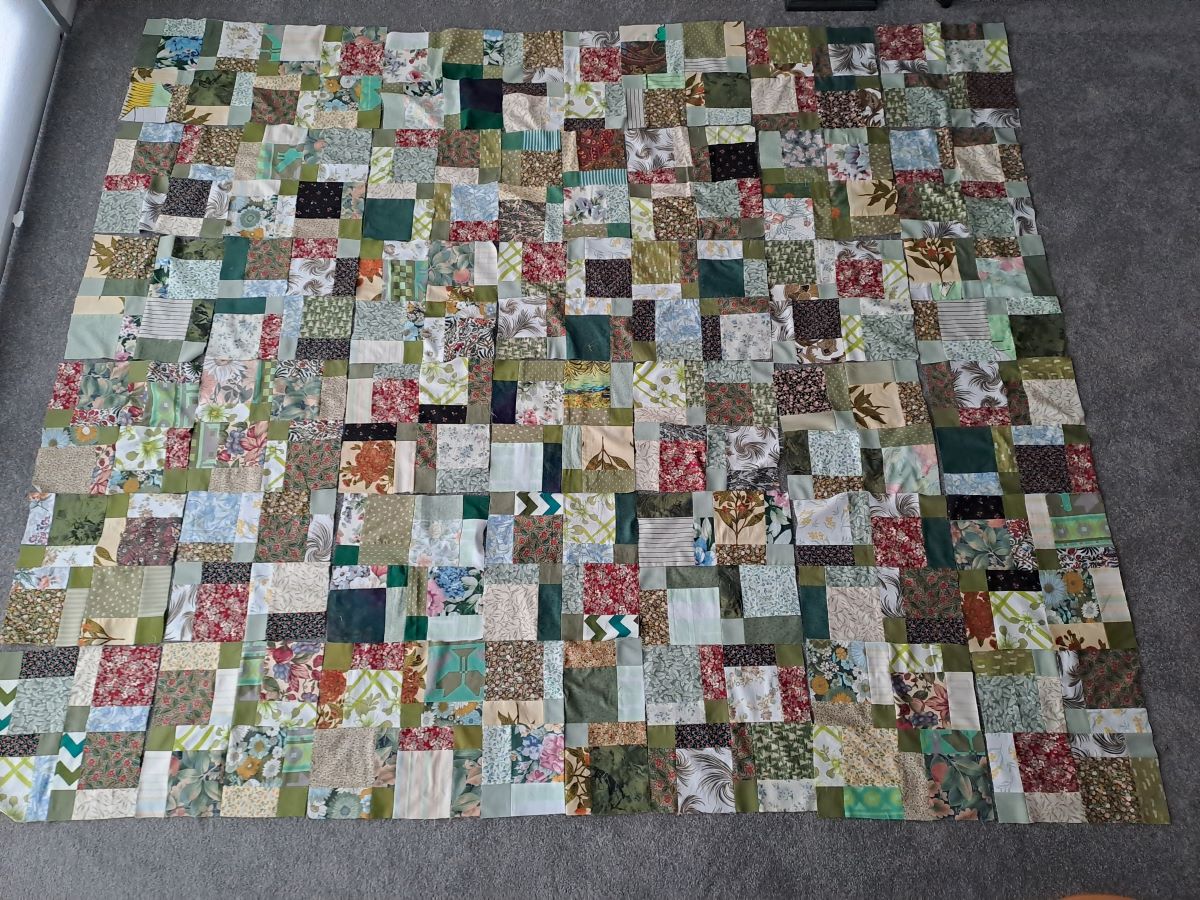
Now that the last quilt has been completed and is with its new owner, it is time to show you my future patchwork plans.
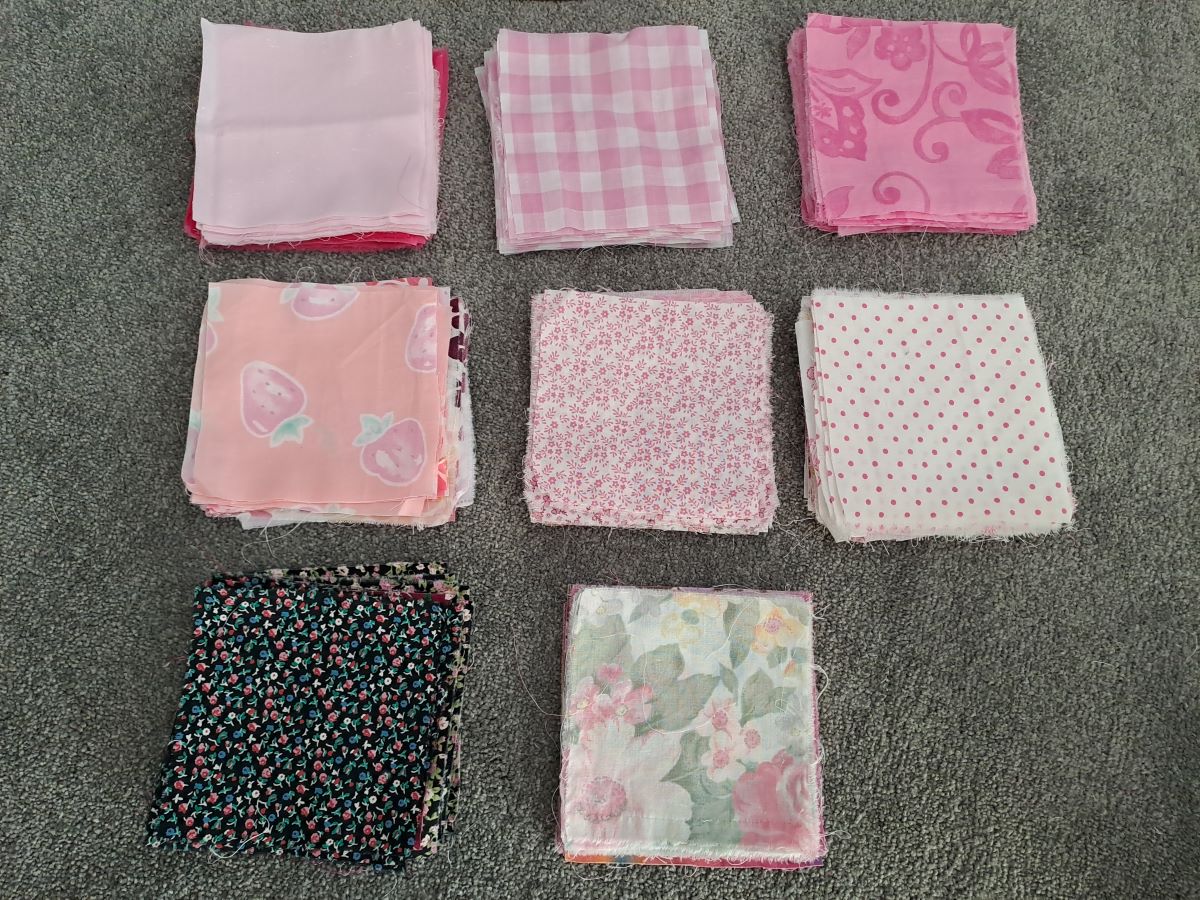
I have been cutting out blocks ready for a quilt that is predominantly pink. It will be an 18th birthday gift for our elder granddaughter at the end of next year so I have plenty of time. I have about two-thirds of the total number of squares required. These all came from various pieces that were in my stash. Now that I have sorted out exactly what I have I know what I am looking for as I peruse fabrics and garments in the op shops. I am looking forward to getting started on sewing some of the blocks. However, unlike previous patchwork projects, I have decided that I am not going to actually start sewing until I have cut out all of the blocks I need.
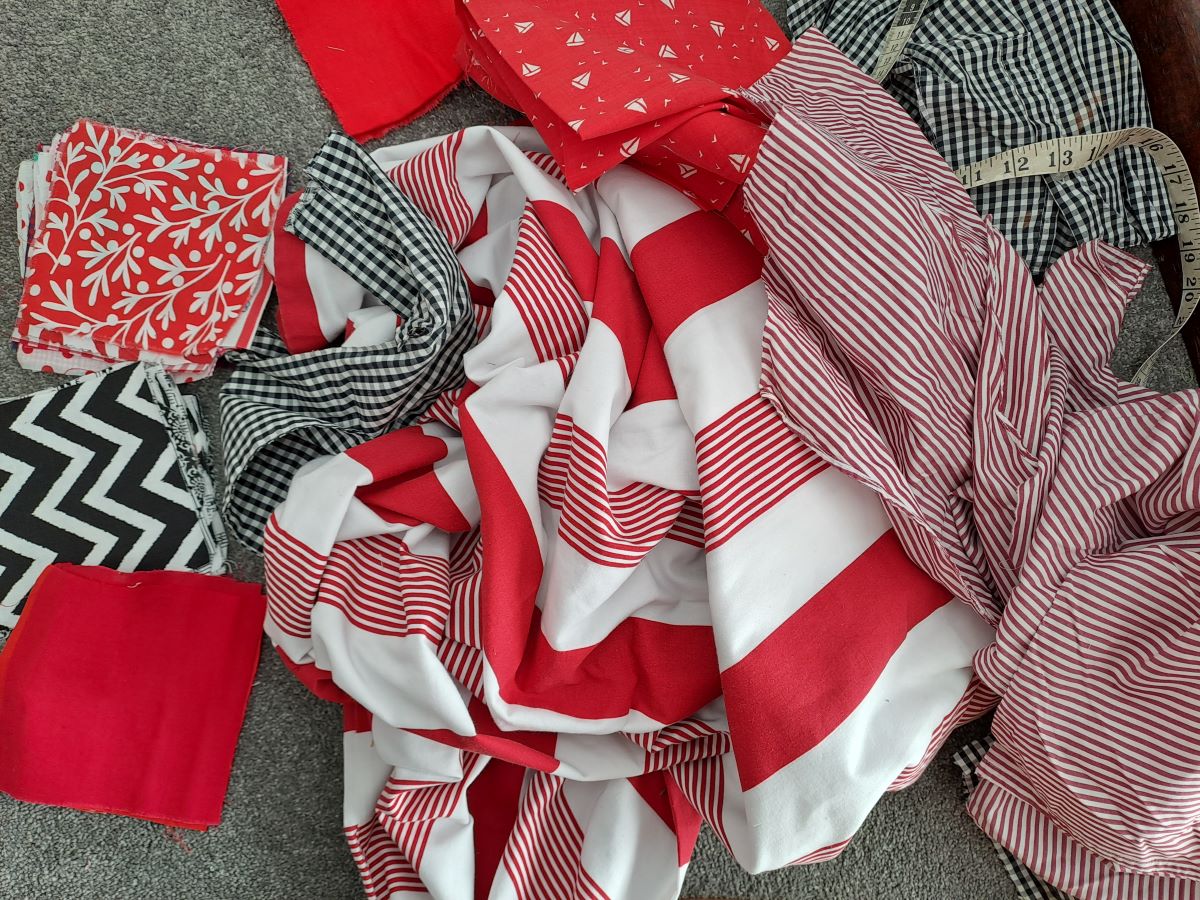
Meanwhile, I have begun assembling some fabrics for another possible project. This is not much more than a vague idea at the moment but I am thinking of red, black and white.
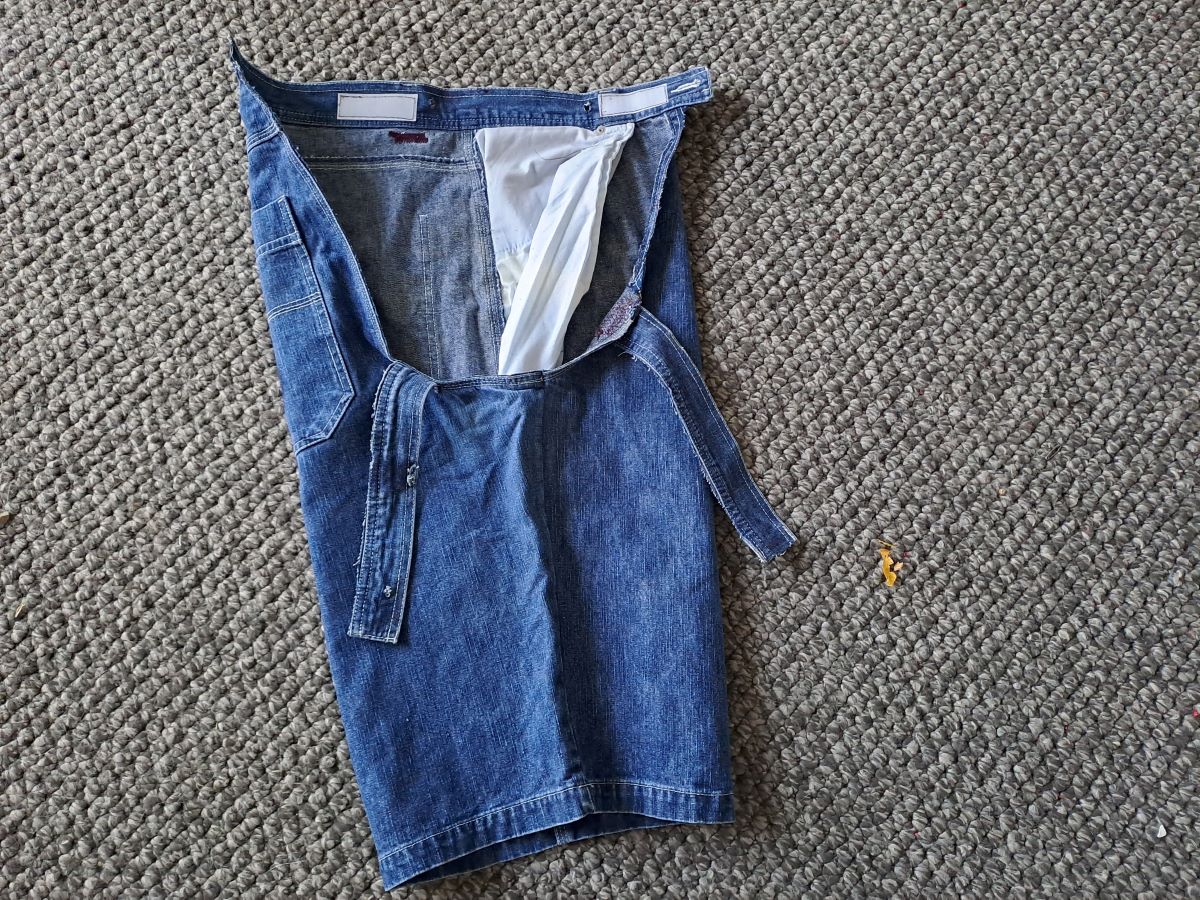
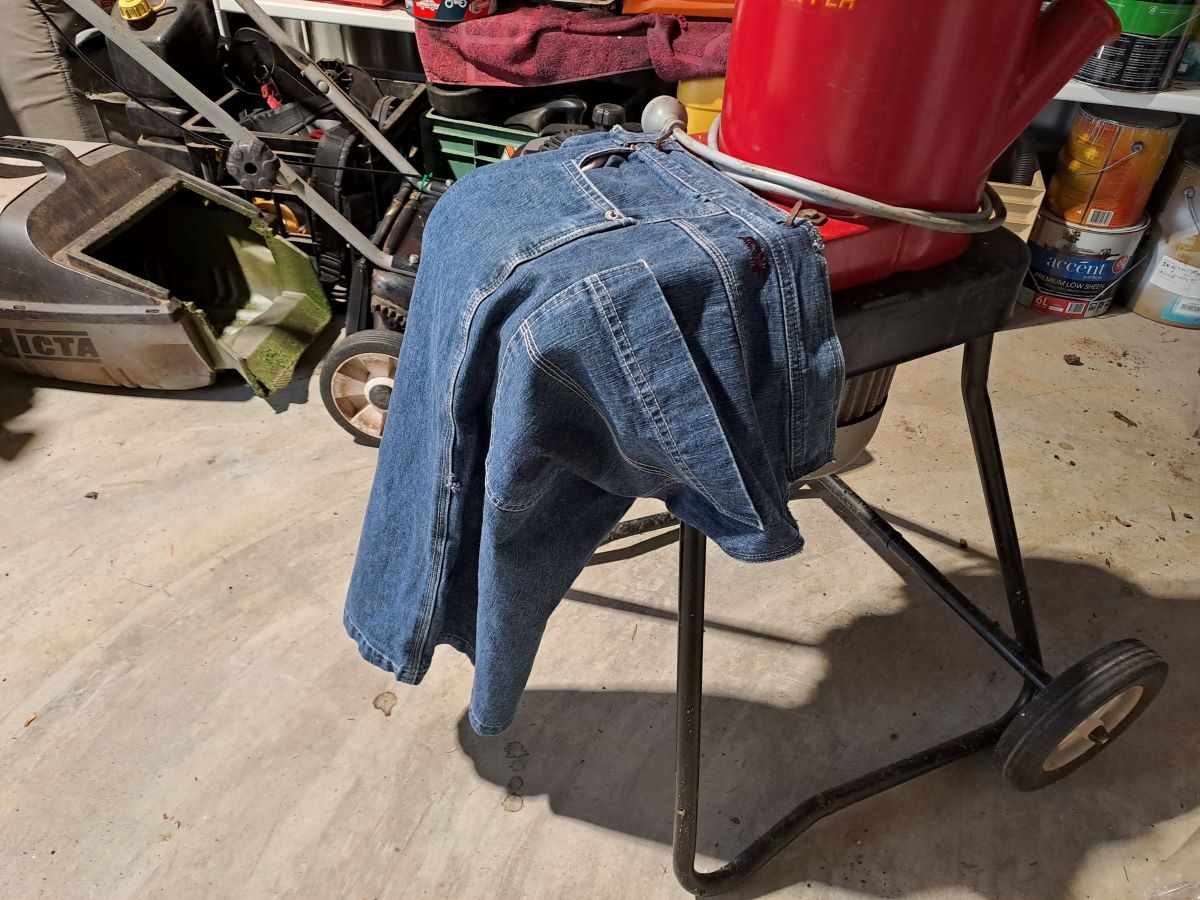
Of course, my sewing is not limited to the patchwork. I am generally tackling several sewing projects concurrently. I also have socks to mend, a pair of denim shorts to modify slightly and several linen tops/dresses which I plan to refashion for summer. My other goal is to make some fabric tote bags to donate to our local community pantry for people to use when collecting groceries.