Julia Gillard has been replaced as leader of the Labor Party and will not contest the next election.
A calm and dignified exit.
The first female leader of this country. No-one can ever take that away from her.
She has my utmost respect.
Farewell.
Julia Gillard has been replaced as leader of the Labor Party and will not contest the next election.
A calm and dignified exit.
The first female leader of this country. No-one can ever take that away from her.
She has my utmost respect.
Farewell.
Most of the time I write about things that I do in and around our own home. These include many things that can be bundled under the guise of simple living such as growing fruit and vegetables, sewing and mending, cooking from scratch and decluttering.

There is certainly enough to keep us occupied in our own corner of the world, but what about the bigger picture? Whatever the reason, I do not think it is healthy to withdraw from the world around us. Developing and maintaining connections with your neighbours and the broader community are vital to our well-being and possibly our ultimate survival. If everything turns pear-shaped the first thing you will need is the support and co-operation of those around you.
There are so many exciting initiatives that have developed from a seed of an idea. Some, such as Freecycle and LETS are relatively well-known, however, there are many less publicised ventures that are worthy of promotion.

I am planning a series of posts to highlight some of these ventures and how you can become involved and make a positive contribution to the community in which you live. If you have any particular favourites that you would like to suggest please leave a comment or email me if you prefer.
Regardless of how many clothes you have, it makes good sense to take care of them. This includes washing them appropriately as well as taking care to hang them correctly on the line and ironing when necessary. Don’t forget to repair if needed. The old adage of ‘a stitch in time saves nine’ really does ring true.
Finally, storage is also important. By having less clothes they will be able to easily fit in the available space without being crowded in the hanging space or jammed into already over-stuffed drawers. Ironed clothes will stay looking fresh and crisp for when you are ready to wear them.
Items that are not hung will benefit by being neatly folded. I prefer to fold sweaters and cardigans rather than hanging them as the coathangers tend to leave marks in the shoulders. I chose a cardigan that is quite easy to fold for the purpose of the demonstration, however, this method works well with any cardigan.
 I find that folding cardigans can be a challenge, especially when the shoulder seam does not seem to meet the armhole at the natural point of the shoulder. Most of my cardigans contain a degree of cotton so I tend to press them lightly with a warm iron. once they are pressed, this is how I fold them.
 This shows the shoulder seam after the cardigan has been pressed. There is no use trying to work from the shoulder seams when folding.
 Locate and in your right hand grasp the side seams at the lower edge of the cardigan.
 Locate and in your left hand grasp the side seams at the underarm seam. Line up the two side seams
 Lay the cardigan flat while maintaining the matching of side seams and sleeves.
 Fold the sleeve down the length of the body of the cardigan.
 Fold the cardigan in half with the sleeves enclosed in the fold.
This will ensure that when you next wear your cardigan it does not look as though you slept in it nor will it have marks from a coathanger.
Just a short post tonight to let you know that I have had a bit of a tidy up on the blog.

One of the tabs at the top of the blog is labelled ‘Recipes’. This is supposed to contain links to all of the various recipes that I have posted in the blog so that they do not get lost in the mists of time. I have been somewhat slack in keeping this up to date but now they should all be there.
The list is divided into categories to make your search as simple as possible.
One of my next projects will be to make a similar index for all of the non-food recipes such as furniture polish, cream cleanser, chest rub etc.
We hosted our first Air BnB guest last weekend and we are also expecting a couple of lots of house guests over the next few months.
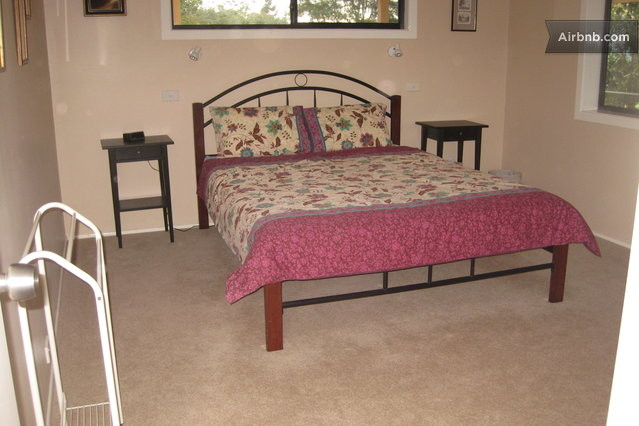
The guest room is always neat with the bed freshly made but what about storage space?
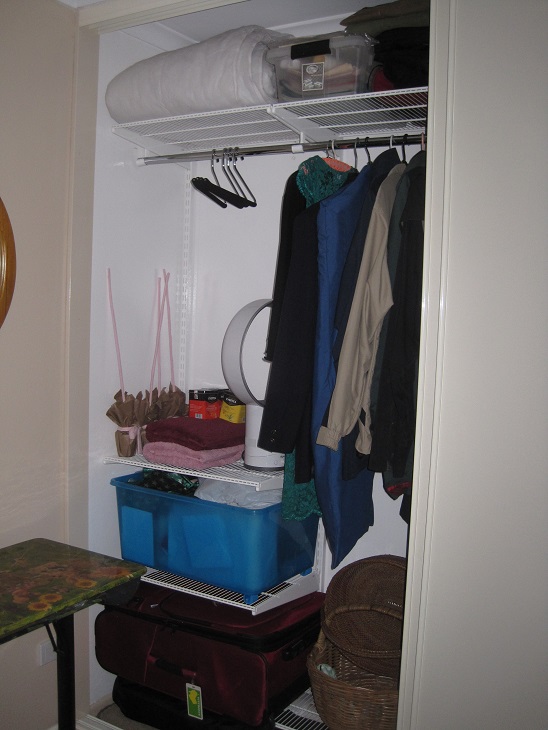
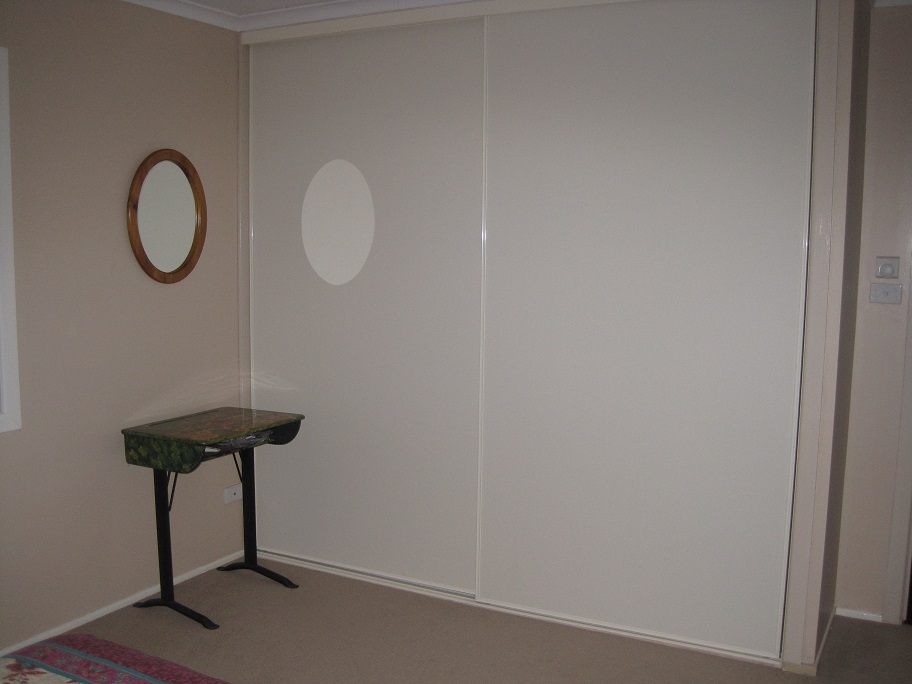 There is a full-sized wardrobe in this room and I knew that the space was not used as effectively as it could be. So I set about re-arranging it to create a permanently vacant space for guests to use. I only moved one thing – a spare pillow. There are no ‘before’ photos but the photo below shows some of the things I have stored. This was after I had re-arranged it and there is still some excess space if I needed it.
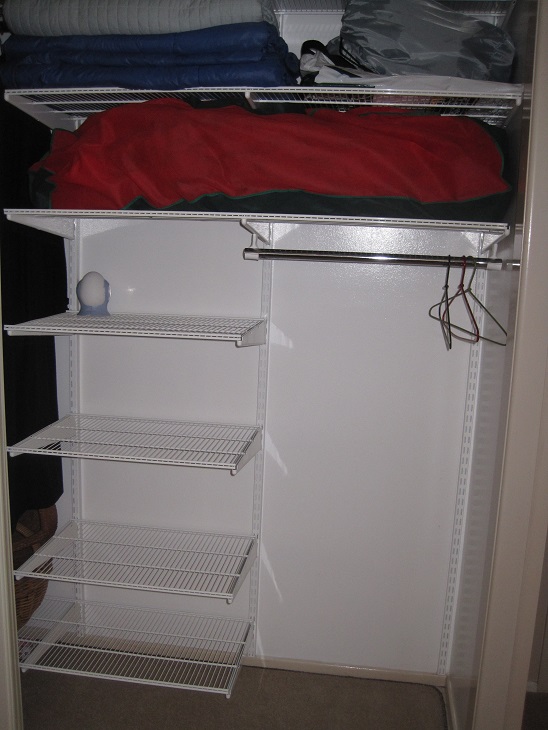
 Now we have a clear space to offer to guests without a mad panic to move things.
Once upon a time there was a recipe for Oven-Baked Sausages. I think the book has been moved along to the op shop in one of the culls of my recipe books, however, the general idea remains.
The original recipe consisted of a sweet/sour/spicy sauce made in a saucepan. Sausages were grilled, cooled, sliced and added to the sauce. Pasta spirals were cooked, drained and added to the mixture and combined. Finally, the entire contents of the saucepan were placed in a large casserole dish, topped with grated cheese and breadcrumbs and then baked in the oven.
This was a filling meal for a hungry family but being time-poor I quickly cut out what I regarded as unnecessary steps. It really did not need to be baked in the oven as all of the ingredients were already well-cooked. Once the mixture was combined in the saucepan it was ladled directly into serving bowls. If I was feeling particularly generous I would sprinkle a little grated cheese on top. The casserole was always received enthusiastically so the cheese was not really necessary.
The original recipe for the sauce is a little hazy but here is the general idea.
1 onion, finely chopped
1 clove garlic, crushed
1 can tomato soup
1/2 can water
1/3 cup fruit chutney
1/4 cup worcestershire sauce
I remember that I was always checking that I had fruit chutney when I wanted to make this.
Like many recipes, this one seemed to run its course and then was forgotten once the girls left home.
I thought of it not long ago and have made it a couple of times recently with some amendments.
Some of these were necessary because I now eat a gluten-free diet. Canned tomato soup contains gluten so I substitute home-made tomato paste and some additional water. Naturally I no longer mix pasta into the dish. The sausages I buy are gluten-free but you would need to check that, too.
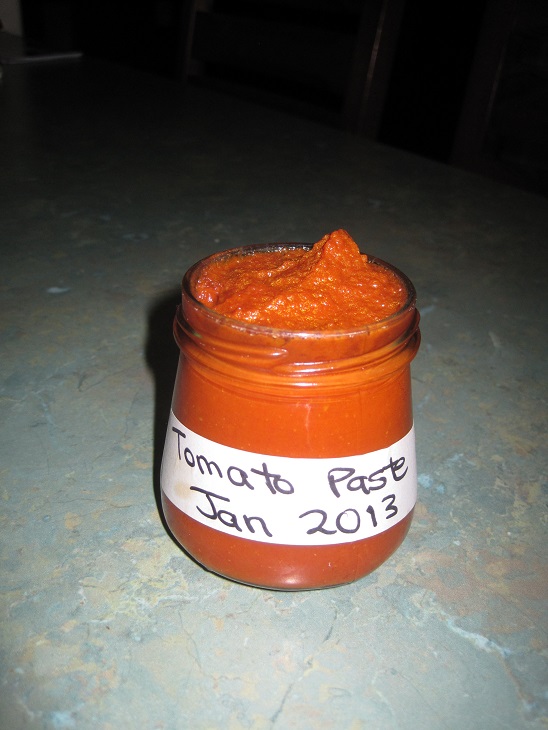 The jar of tomato paste looks over full as I store it upside-down in the refrigerator which inhibits the growth of any mould. This also applies to commercially produced tomato paste as well.
The recipe has evolved and varies depending on what is in the cupboard/refrigerator. I made it this morning using the following ‘recipe’.
1 onion, finely chopped
1 clove garlic, crushed
Remainder of tomato paste (home-made) – about 1/4 cup
Water – enough to rinse the jars and create the right consistencey
Handful of sultanas
Vinegar – about 2 tablespoons
Rosella jam (home-made) – about 2 tablespoons – bottle rinsed out
1/4 cup worcestershire sauce (home-made)
Tomato sauce – home-made (remnant in the bottle) – rinsed out
 Here are some of the jars – on the left is the worcestershire sauce. The middle jar is the rosella jam mixed with vinegar and the last of the tomato sauce (empty bottle on the right).
I had cooked the sausages on Sunday night and cut them up ready so they were added and the mixture simmered for about 10 minutes.
 Like so many casserole-type meals this sauce will benefit from standing and the flavours will develop further by the time we have dinner tonight. There is some home-made pasta in the freezer which The Duke will have with the suasages in sauce and I will have stir-fried shredded sweet potato with mine.
It is now about 18 months since I first read about Project 333 and a little over 14 months since I first dipped my toes in the water and participated in the April/May/June challenge in 2012.
After constantly and critically reviewing the contents of my wardrobe and having experienced the full seasonal cycle, I thought that there really was nothing extraneous in my closet.
How wrong I was!
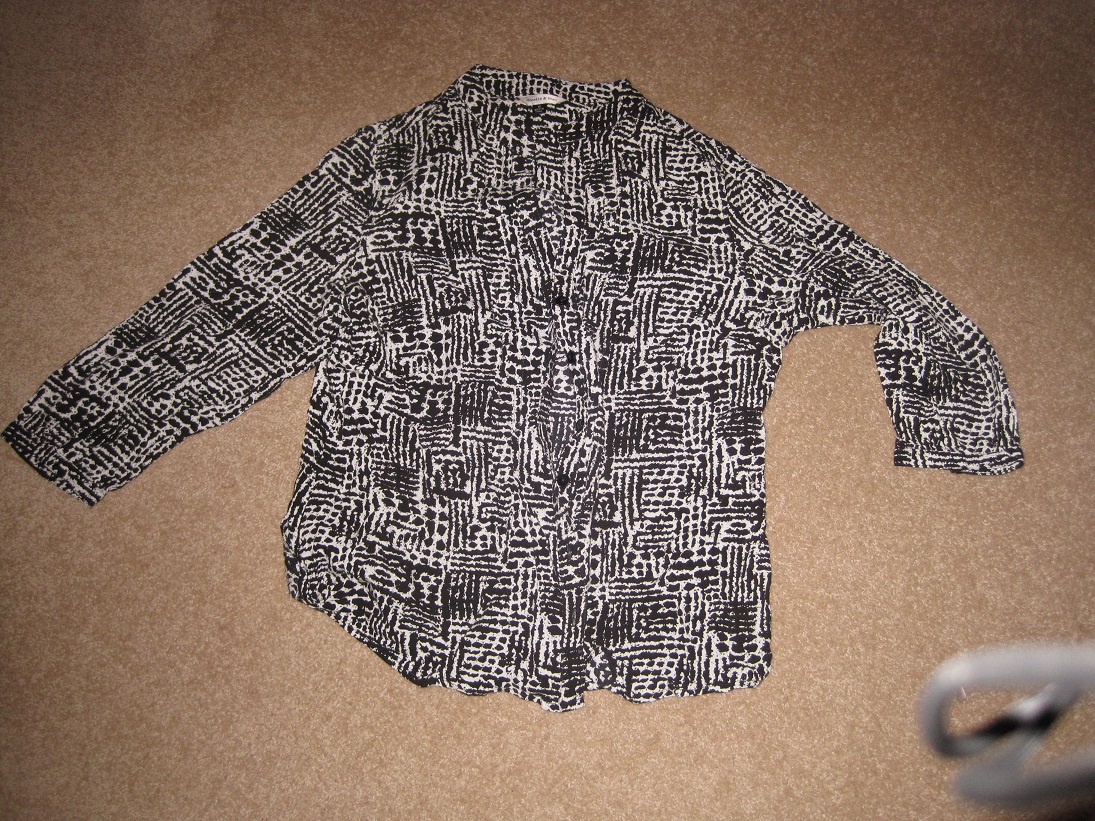
I wore this top to work last week. It was teamed with black trousers and I wore my dusty pink suede jacket when I was outdoors on my way to and from work. I felt unsure about it when I left home but it was what I had planned the night before and there was no time for mucking around and trying on other combinations. As the day wore on I was more and more convinced that this was not right and by the time I got home I knew it had to go.
The top has a ‘grandpa collar’, is loose-fitting and is black and cream. I know I look better in white than cream. Fitted shirts with a collar and v-neck suit me best so I am not even sure why I bought this but now I am sure it is going to a new home.
We have finally had some of the glorious winter weather for which south-east Queensland is renowned – clear, sunny days and crisp, cool nights.
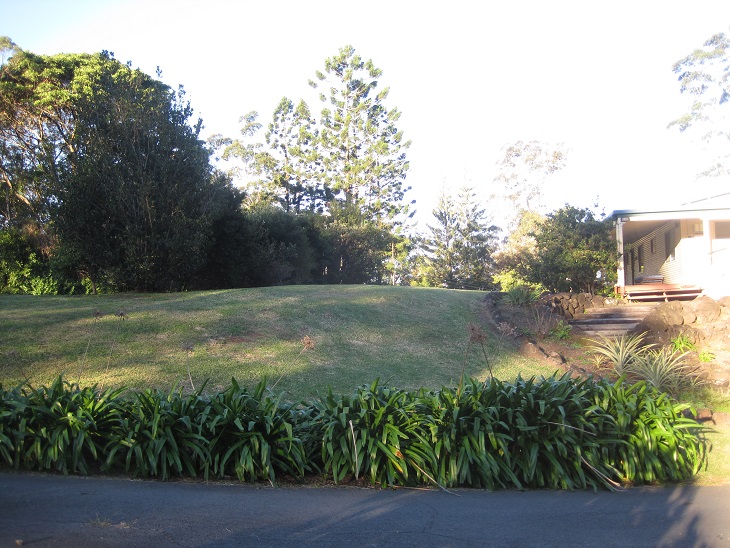
The majority of yesterday and today has been spent in the garden. I have previously shown you the 3 raised vegetable garden beds. One was planted out with seeds a couple of weeks ago. I planted 2 bean seeds together in each hole and they all germinated so I transplanted the extras. I am not sure whether they will survive the process but it never hurts to try. 
We moved some lemon tree prunings which had been in this tank and filled it with soil from one of the old garden beds which is now redundant. The soil is fabulous and it would be a shame to waste it. We mixed it with some mulch (from the poinciana stump which we had ground last year) and also some mushroom compost. In the centre you can also see some bok choy seedlings. The bok choy seeds came up so thickly that I have thinned heaps of them and will thin them out again as they get a bit bigger. I could not bear to just throw the thinnings away so they were all transplanted. Some went into this old esky filled with soil and mulch.

I put some others in between the potato plants in the other raised bed. The bok choy will be well and truly finished before the potatoes take over.
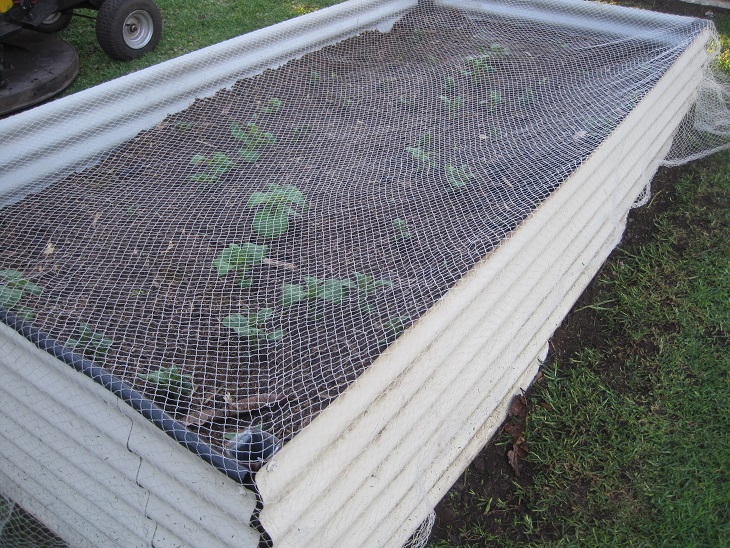
The carrots, onions and beetroot have also germinated and are growing but are probably too small to identify in this photo. You can, however, see the beans and bok choy.
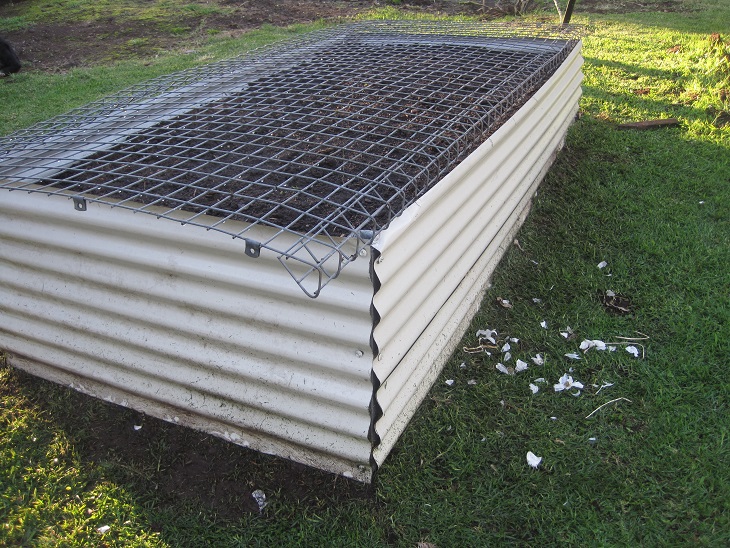
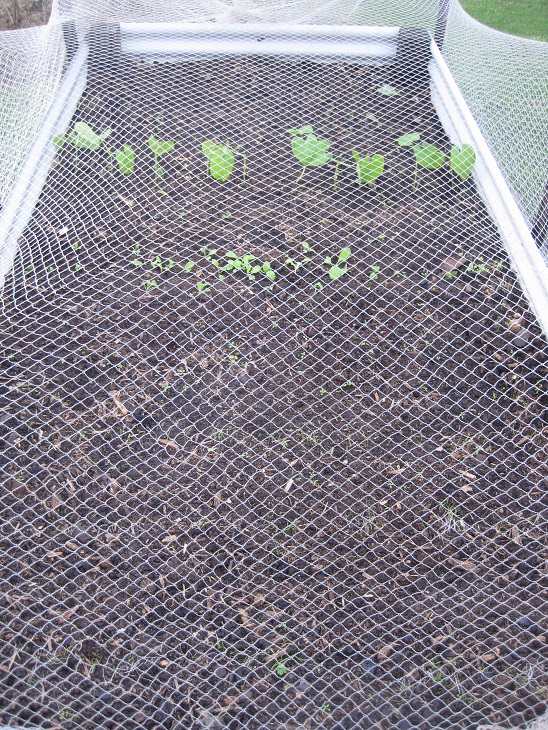 A few weeks ago I bought some organic garlic ready to sprout and plant. It has been languishing in a bag on the floor of the pantry but today was the day to plant it out. Firstly, we had to finish preparing the third raised bed. It was about 1/3 full of leaf litter, mushroom compost and shredded arrowroot leaves. Today we added some grass clippings after The Duke had mowed the lawn area area the vegie patch, more mushroom compost, lots of mulch and soil as previously described. Then it was time to plant the garlic. We peeled off the papery outer layer, separated the cloves and planted them in rows with the sprouting tip pointing upwards. You can see all of the shredded outer layers on the ground beside the bed. It really did look like something had been massacred. The bed is 2.4m x 1.2m and it is entirely planted with rows of garlic. If this is even moderately successful I should never have to buy garlic again!
 I cleared some old cherry tomato plants out of another round tank, topped up the soil and mulch and planted these golden sweet potato plants that had been in a pot for ages since my brother-in-law gave them to us.
 This is the old garden bed where we have been digging up the soil to re-use. There is still plenty left.
 The pile of mulch which resulted from the grinding of the tree stump last year has been put to good use in the garden beds. We still have more that we can take from here to build up the next round of garden beds.
 It is gratifying to be able to use and reuse everything from our own property in the gardens. Leaf litter, compost, mulch, soil and grass clippings all go into creating the next lot of vegetables for us to eat. Chickens, chickens manure and eggs are also part of the cycle. Trees provide fallen timber for firewood which in turn leaves ash that we put back into the compost heap or garden bed. Permaculture in action really is the circle of life.
I have done some more work on the quilt today. The blocks are all sewn together, the batting and backing are attached and I have machine quilted between the blocks.
 Here is a view of the backing with the stitching.
 This is the fabric I will use to make the binding.
 I was undecided about the binding until I had the quilt assembled. This was a piece which I had planned to use when making reuseable Christmas gift bags. I will buy more if I actually need it for that purpose.
No more craft posts until I show you the finished product. However, I am pleased to have set myself this challenge otherwise this would still be a pile of fabric on the sewing table.
Last night I made a start on the teddy bear quilt. I have cut out 24 blocks of fabric.
It is all spread out on the kitchen bench as I had to work out the combination of colours. Although there are 24 blocks, it is not 8 of each. I actually have 9 patterned, 8 navy and 7 calico. This evolved because of the amount of each fabric that I had. It really is a matter of making do with what you have.

I chose to make it very simply from large blocks of fabric because otherwise the look of the teddy bears would be lost if each piece just had a bit of a leg or an ear.
The first 8 blocks are sewn together.

I plan to have the remaining blocks sewn together tonight.
Fabric Update: This project has completely used the navy and teddy bear fabric so they are now gone from the stash. I still have some pieces of calico left but it is actually a slightly different weight and colour to the piece that I used for the quilt.

