I do not often post our main meals these days as we mostly eat a selection of the meals already on the index. However, a couple of weeks ago I made a new creation which was a great success so tonight I photographed the steps when making it again.
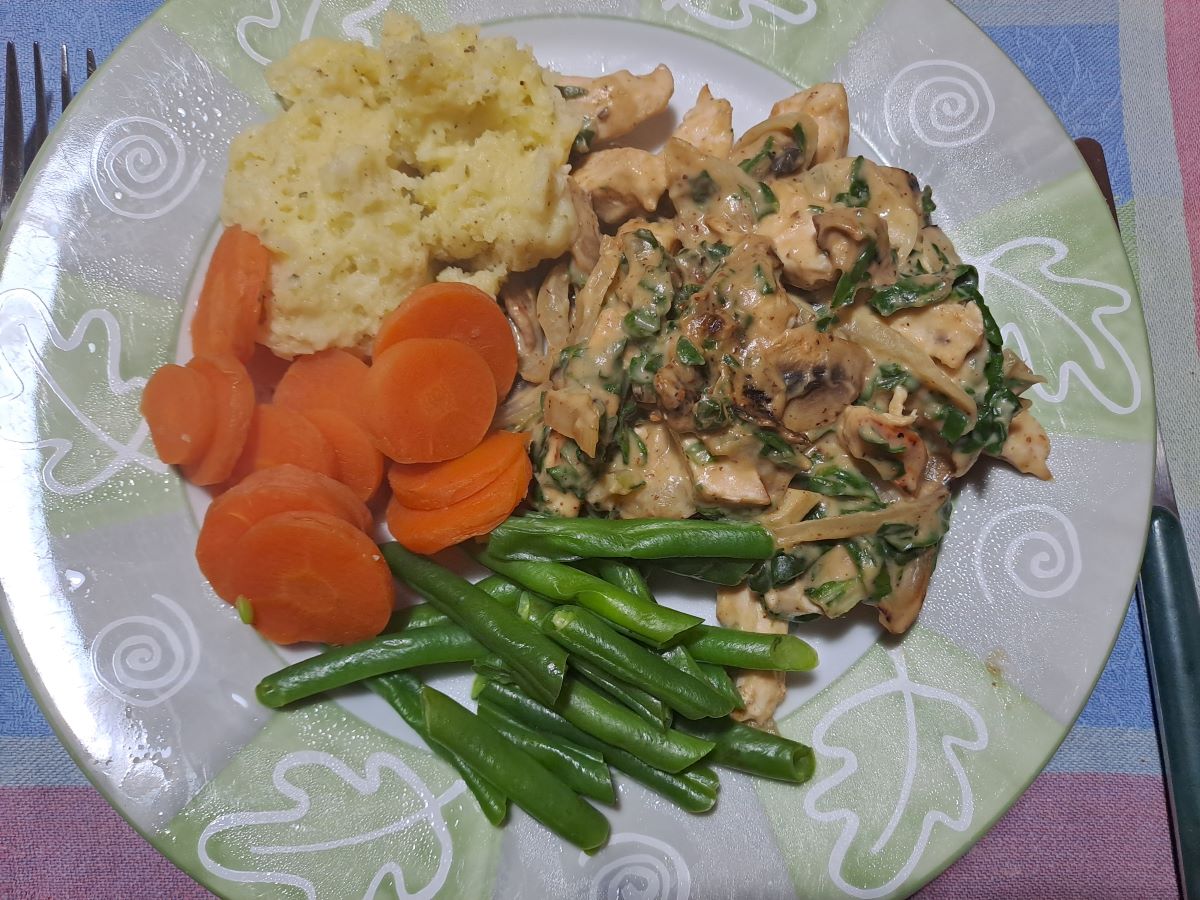
CREAMY MUSTARD CHICKEN – serves 2
Ingredients
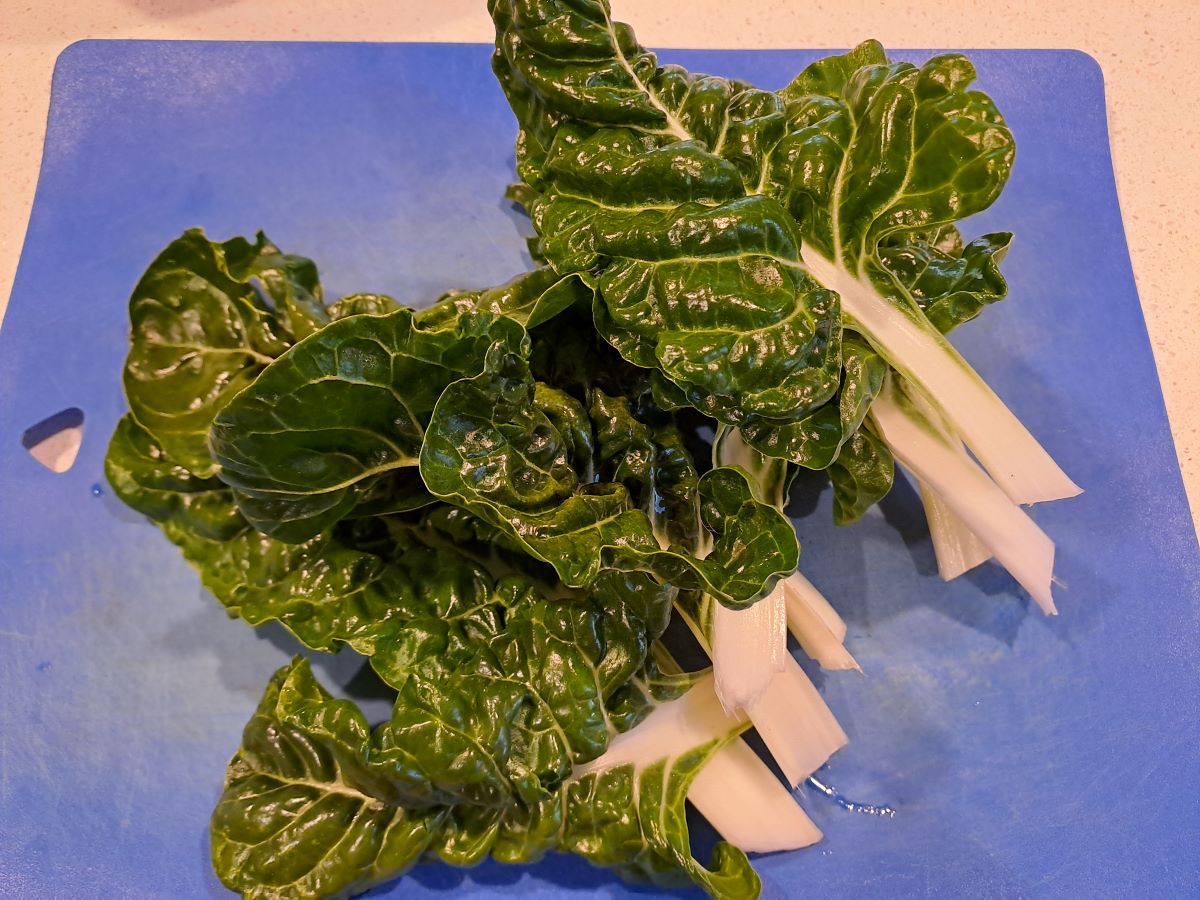
Half onion Handful of silverbeet 1 chicken breast fillet 1 medium mushroom 250ml cauliflower white sauce** (recipe here) or you could use regular white sauce 2 spoons of mustard mayonnaise
Method
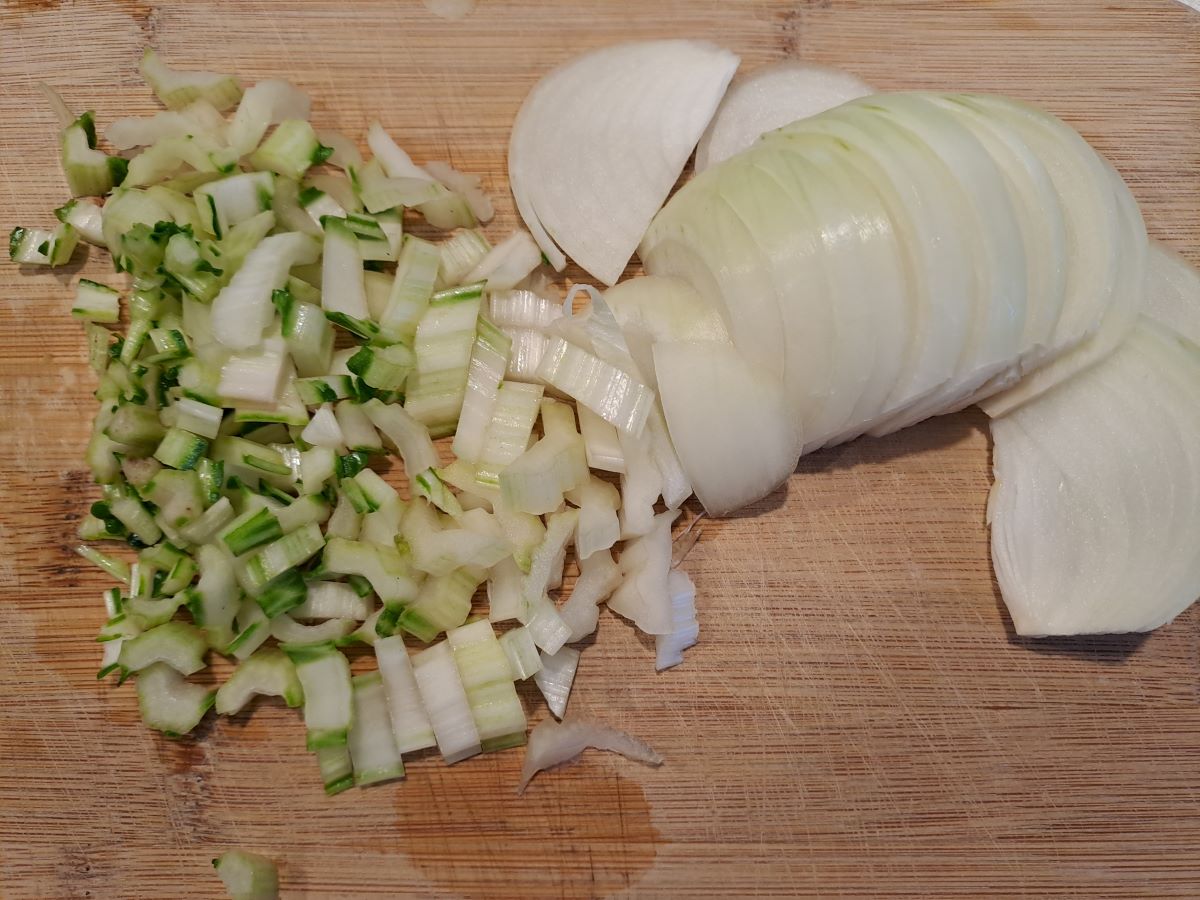
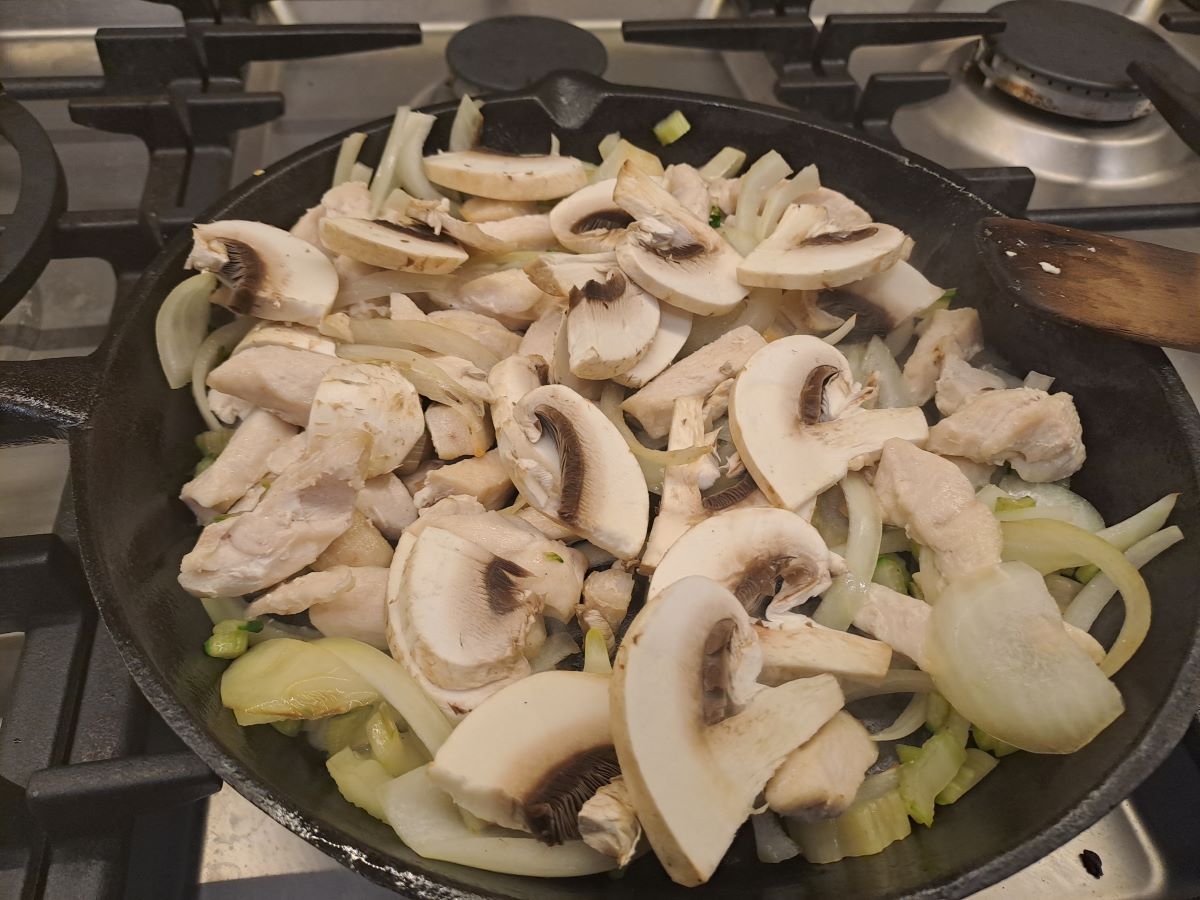
Finely slice the onion, cut and finely slice the silverbeet stalks. Shred the silverbeet leaves and slice the mushroom. Cut the chicken fillet into small strips. Cook the chicken lightly until cooked but not browned. (I cook the chicken in the airfryer). Set the chicken aside.
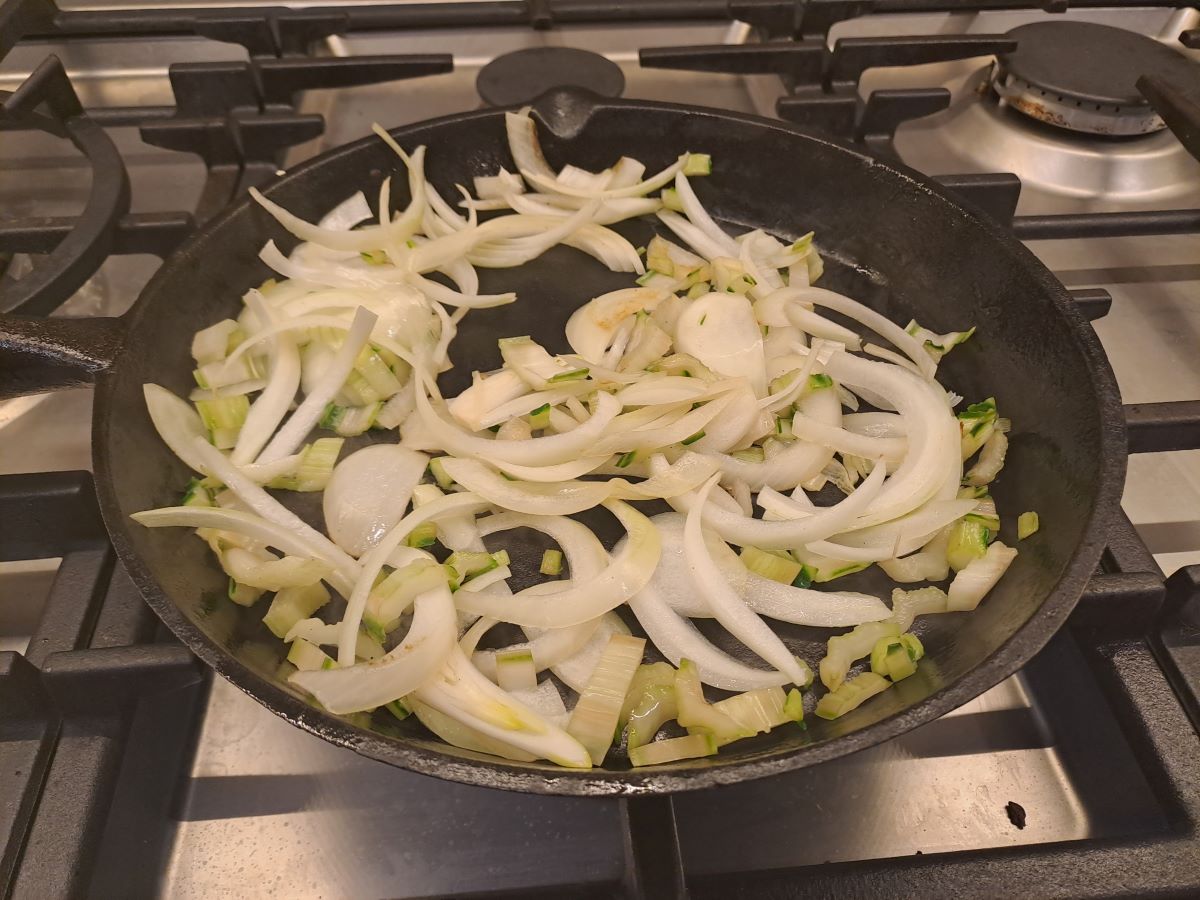
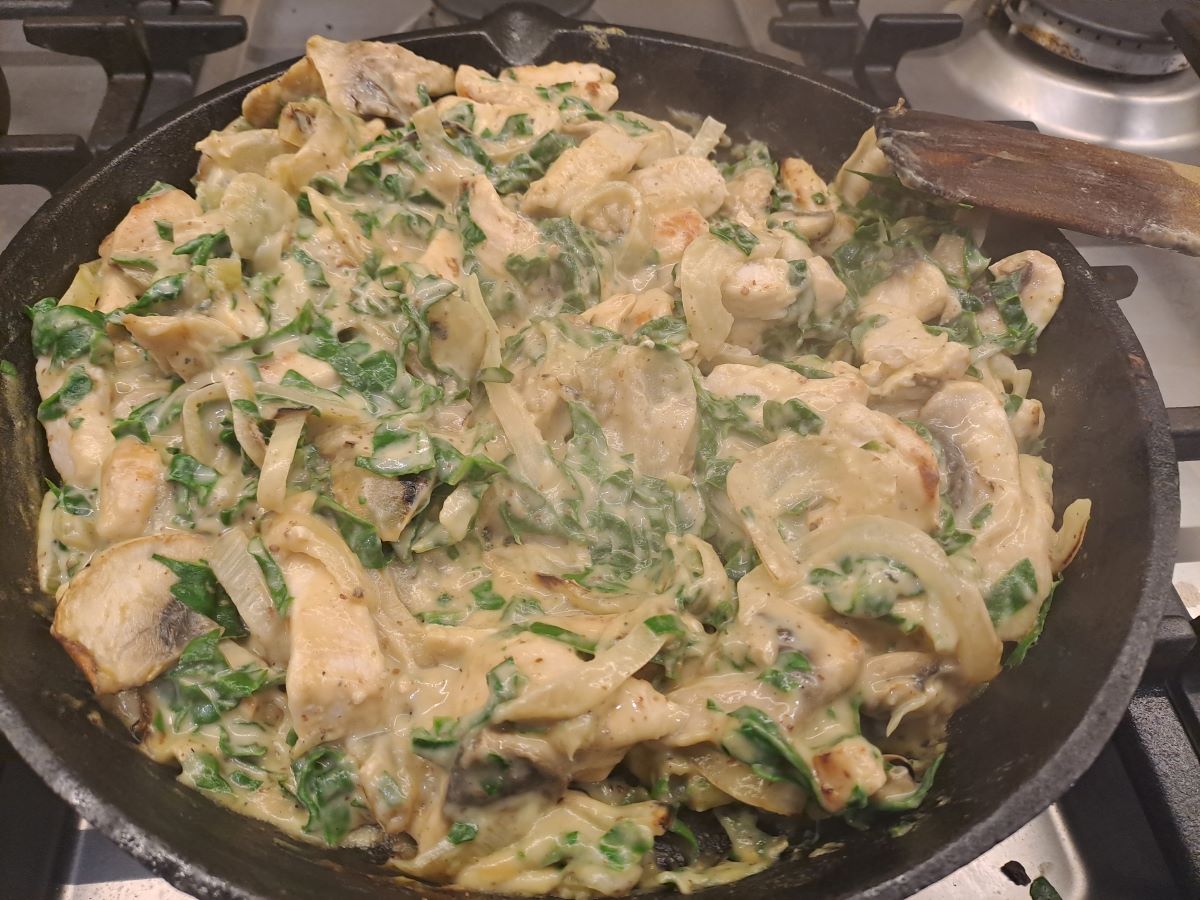
Saute the onion and stalks, add sliced mushroom and chicken. Cook for 5 minutes. Add cauliflower sauce and mustard. Finally, stir in the shredded silverbeet and cook for a few more minutes until the silverbeet is softened and the mixture is all heated through.
I served the chicken dish with mashed potato, carrots and green beans. It works equally well with rice which I chose previously or pasta could be another option.
It is 3 days since we arrived back in Australia from our overseas trip. We were away for 4.5 weeks and visited Scandinavia 9Denmark, Sweden and Norway). I know that a lot of you followed our adventures but if you have not seen the blog here is the link. https://mobilecastle.wordpress.com/
Meanwhile, life is beginning to return to normal here. Bags are unpacked and everything mostly put away. One load of washing done and meals prepared. GMan is making bread. Yesterday we did some shopping. The bonus of a comfortably stocked pantry and freezer is that it was really only milk, cheese and fresh fruit and vegetables that we needed.
Yesterday I was occupied dealing with some admin work as a result of some of the mail that arrived while we were away. Today I have been working on hemming the binding on a quilt. I need to have it finished by Saturday and it is a long way around a queen sized quilt with tiny hand stitches. It will be worth it when finished. I hope to show you the finished product in a couple of days.
There is not too much exciting for blog photos so this is our dinner tonight. I made a big pot of bolognese sauce and the remainder will go in the freezer for future meals.
I am always open to new ways of preparing or cooking food to simplify the process.
Since buying the airfryer about 18 months ago I have successfully modified my cooking methods for several recipes. One of these was zucchini quiche which I have converted to mini quiches made in the airfryer using muffin rings.
I recently took this a step further and made them in a muffin pan. Of course, a full-sized muffin pan does not fit in my small airfryer so I said to GMan that I needed to get another one so that he could cut it down to size. I had imagined that I might find one in an op shop but I did not even have to go that far. We were walking the dog one day and noticed a pile and goods on the verge to give away. Yes, it included a somewhat rusty muffin pan. GMan clean it up and cut in into some smaller sections that now fit in the airfryer.
I was very pleased with these zucchini muffins I made yesterday.
There will be no stopping me now. It will be so easy to whip up a small quantity of muffins fresh at anytime without having to heat the huge oven.
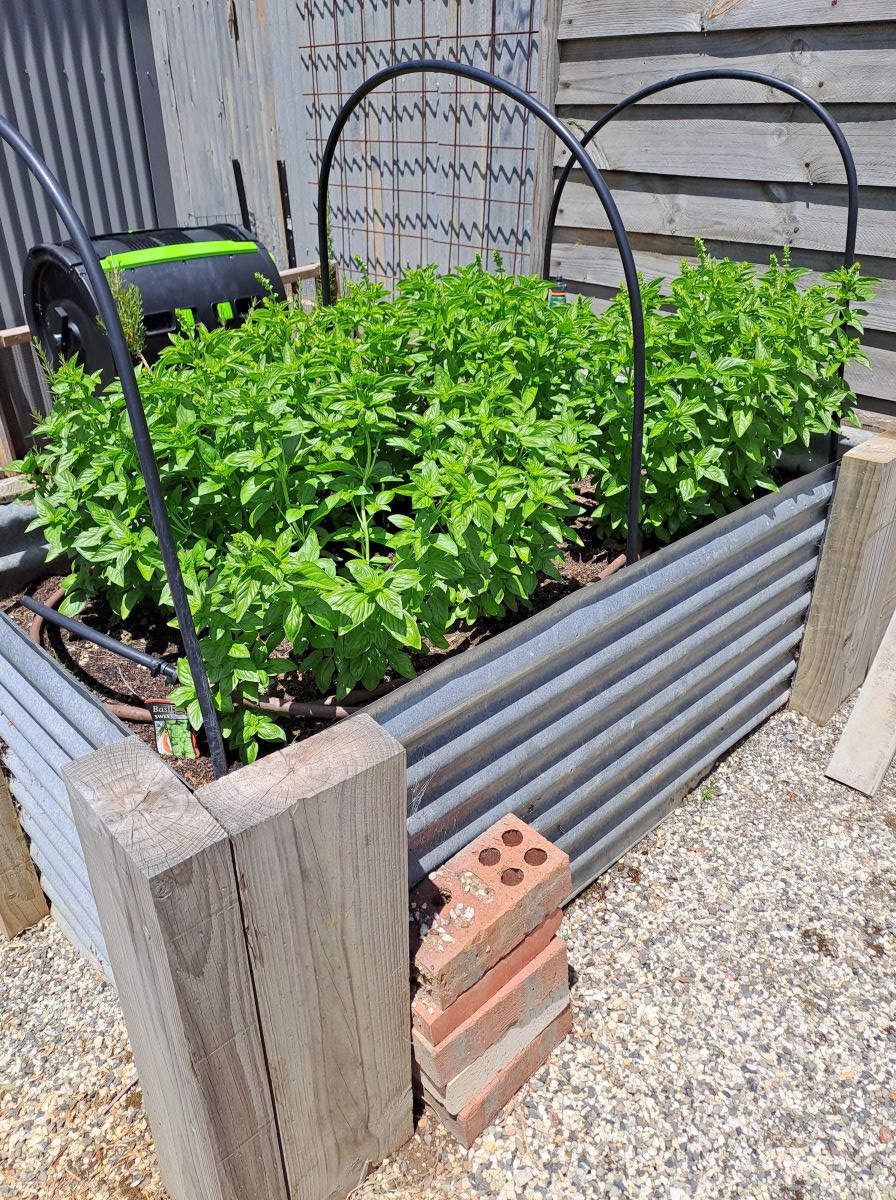
I grew a very successful crop of basil during the summer.
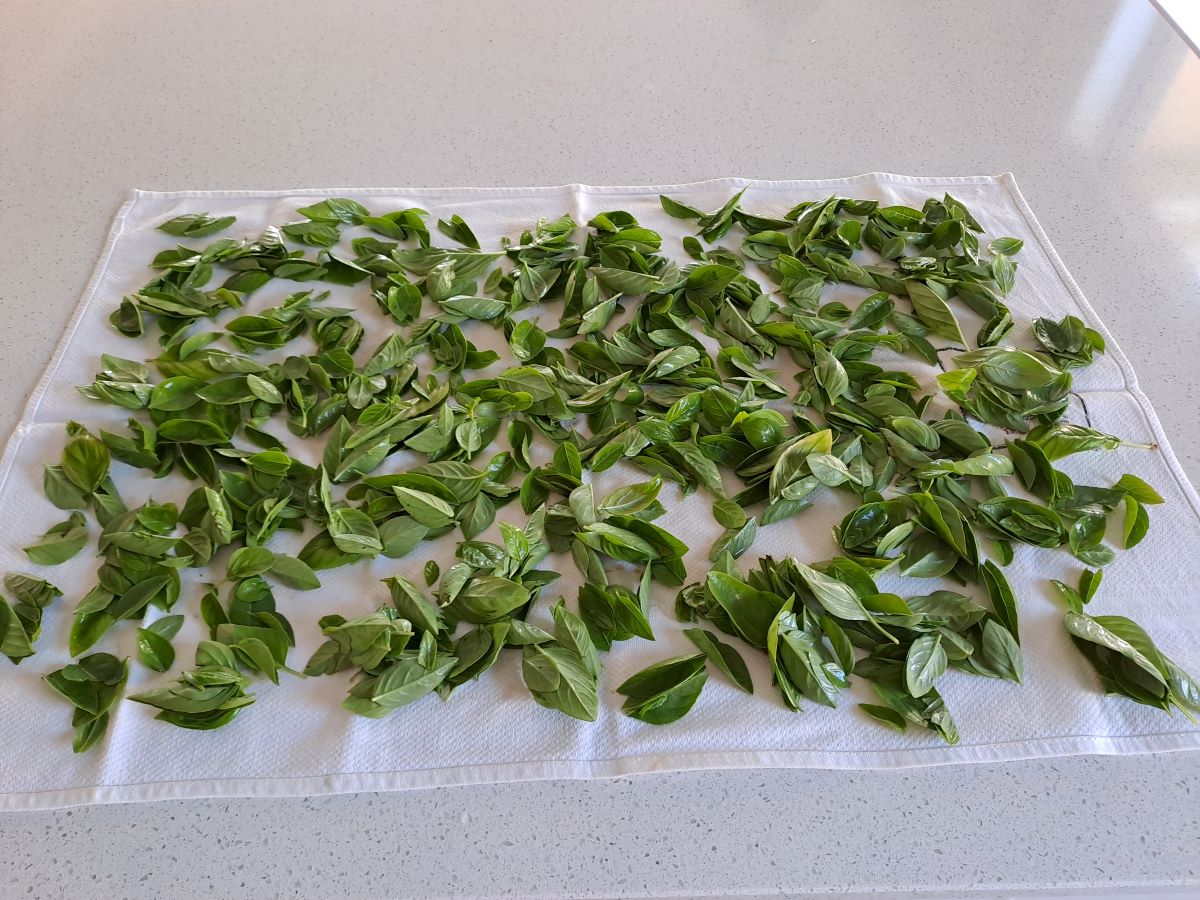
I made some pesto early in the season and also used some of it fresh. However, it is now going to seed and taking up space that I want to use for winter crops so it is really time for it to go. Yesterday I picked an armful of the younger shoots, stripped the leaves and rinsed them.
This haul was 4 tightly-packed cups of basil leaves so it was time to make more pesto.
Here is my recipe.
BASIL PESTO
4 cups basil leaves, tightly packed 7 tablespoons sunflower seeds 4 cloves garlic 1 lemon, juice and rind 5 tablespoons nutritional yeast 3-4 tablespoons olive oil 1/4 teaspoon salt Freshly ground black pepper
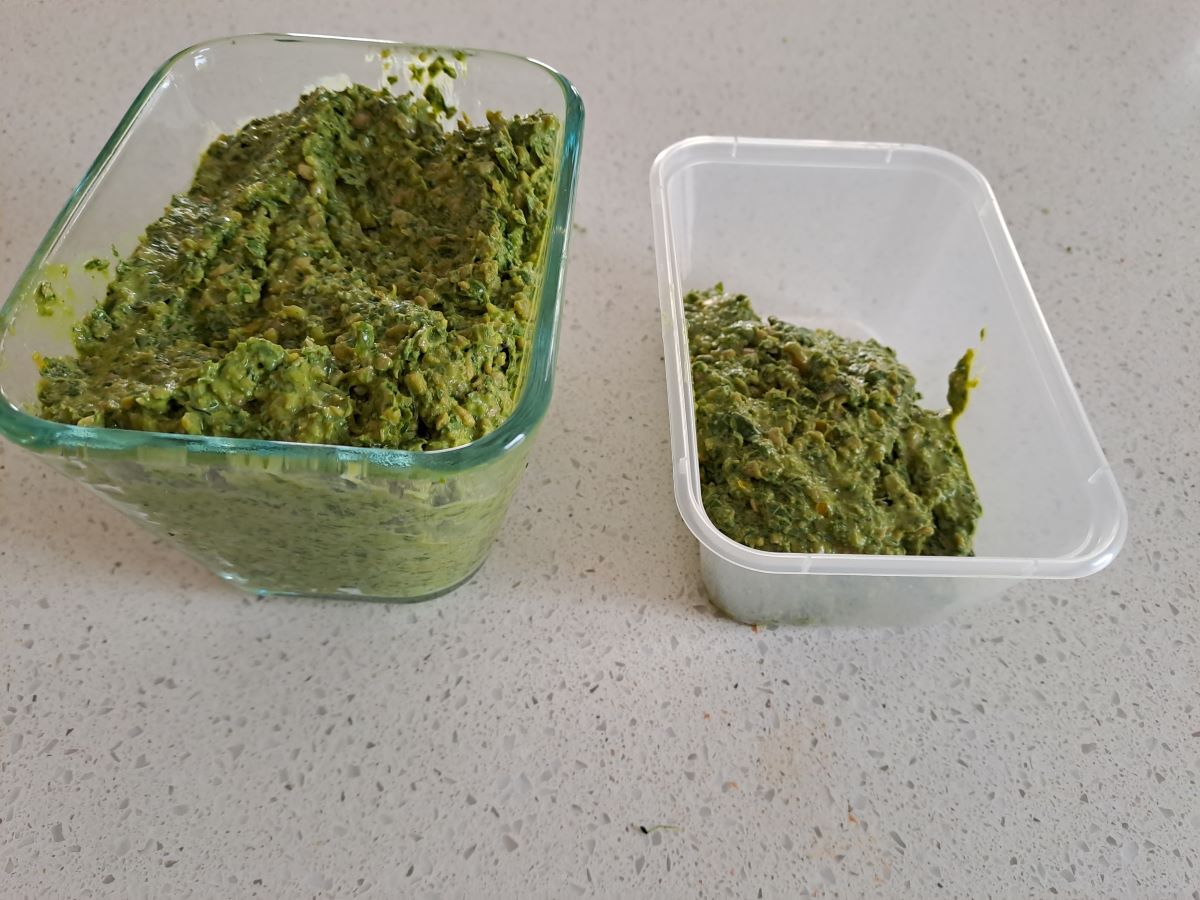
Place the basil, sunflower seeds and garlic in food processor and process until finely chopped and combined. Add the lemon juice, rind and nutritional yeast. Process until thoroughly combined. Gradually add the olive oil until desired consistency is reached. Add salt and pepper to taste.
I have chosen to replace the traditional ingredients of cheese and pine nuts with nutritional yeast and sunflower seeds which makes this recipe not only gluten-free but also nut and dairy free.
It was rather exciting to know that I had used basil, lemon and garlic which I had grown as well as locally produced olive oil.
I recently encountered a new ‘problem’. Here in central Victoria the weather had definitely turned quite cool. Summer is well and truly behind us and I was left with an abundance of green tomatoes. This never happened in Queensland as tomatoes literally ripened all the year round.
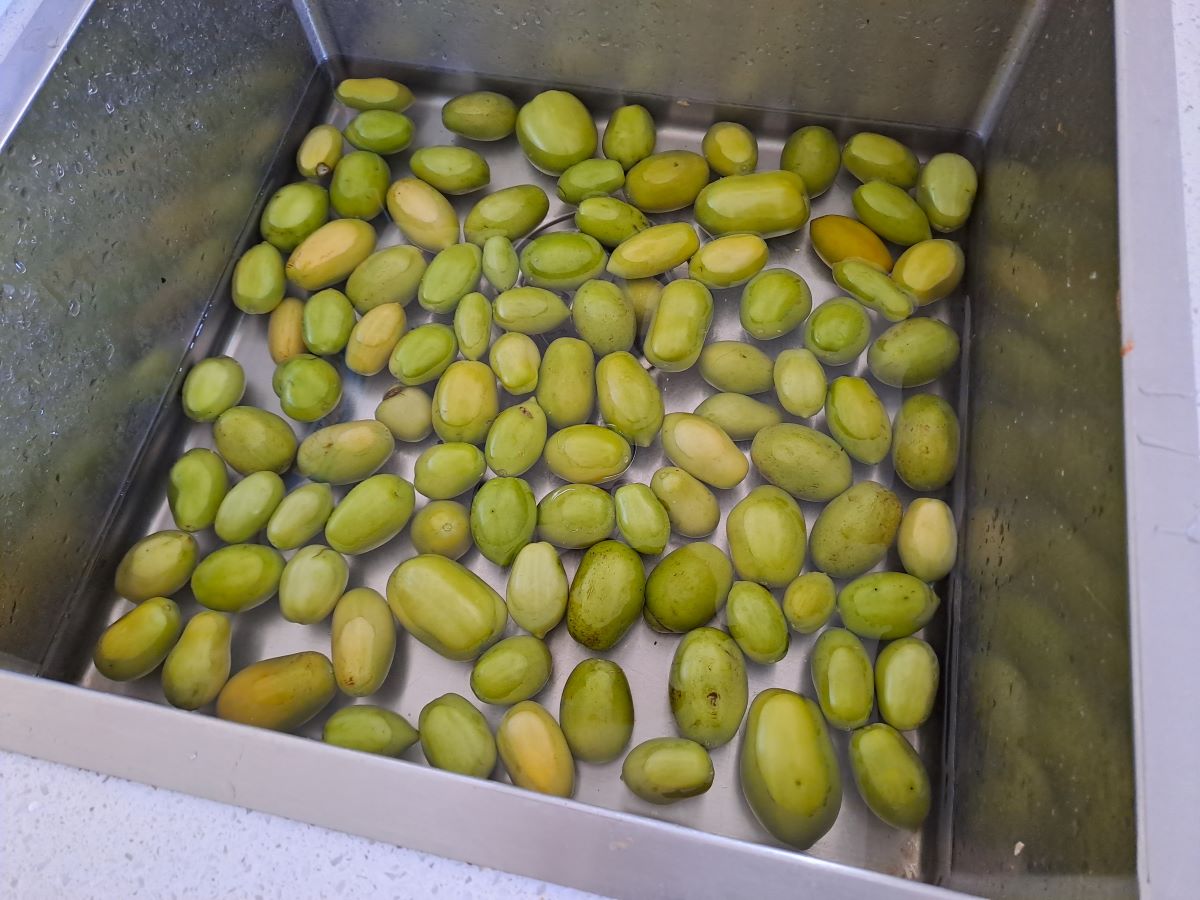
It was time to remove the tomato bushes so that we could reuse the garden bed so I harvested the tomatoes and found that I could use them to make chutney.
The first step was to wash them thoroughly.
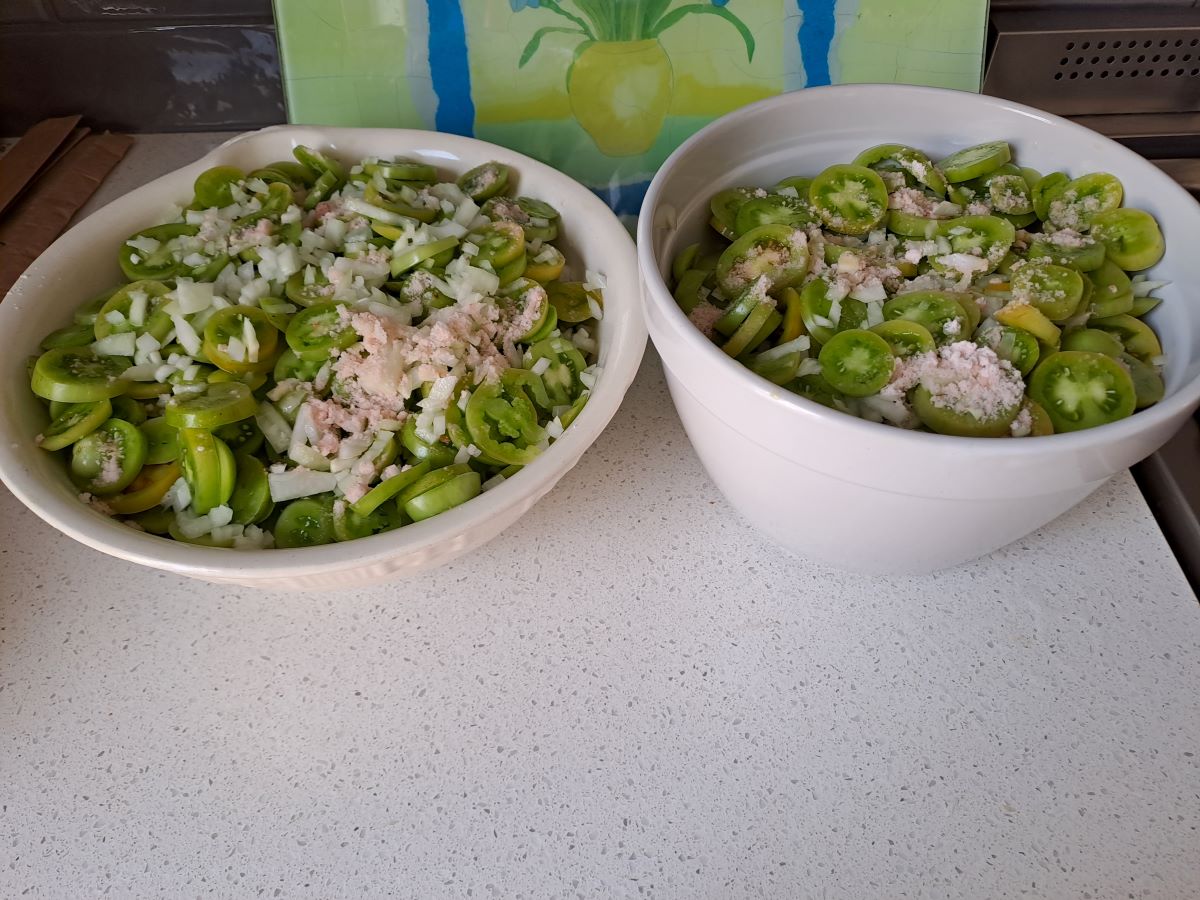
I then sliced the tomatoes and layered them with the diced onion and sprinkled with salt. Then I covered the bowls and left them to stand overnight.
This morning it was time to make the chutney.
GREEN TOMATO CHUTNEY
Ingredients
2.5kg green tomatoes, sliced 500g onions, finely diced 1 tablespoon salt 500g sultanas 500g sugar 500g apples, peeled, cored and chopped 1100ml vinegar, I used half white vinegar and half apple cider vinegar 1/2 teaspoon cayenne pepper 30g ground allspice 30g ground cloves
Combine all ingredients in a large stockpot/preserving pan. Simmer gently for about 3 hours. I used a stick blender sparingly to mash the tomatoes a bit more. I kept the pot covered for about 2 hours and then removed the lid for the final hour.
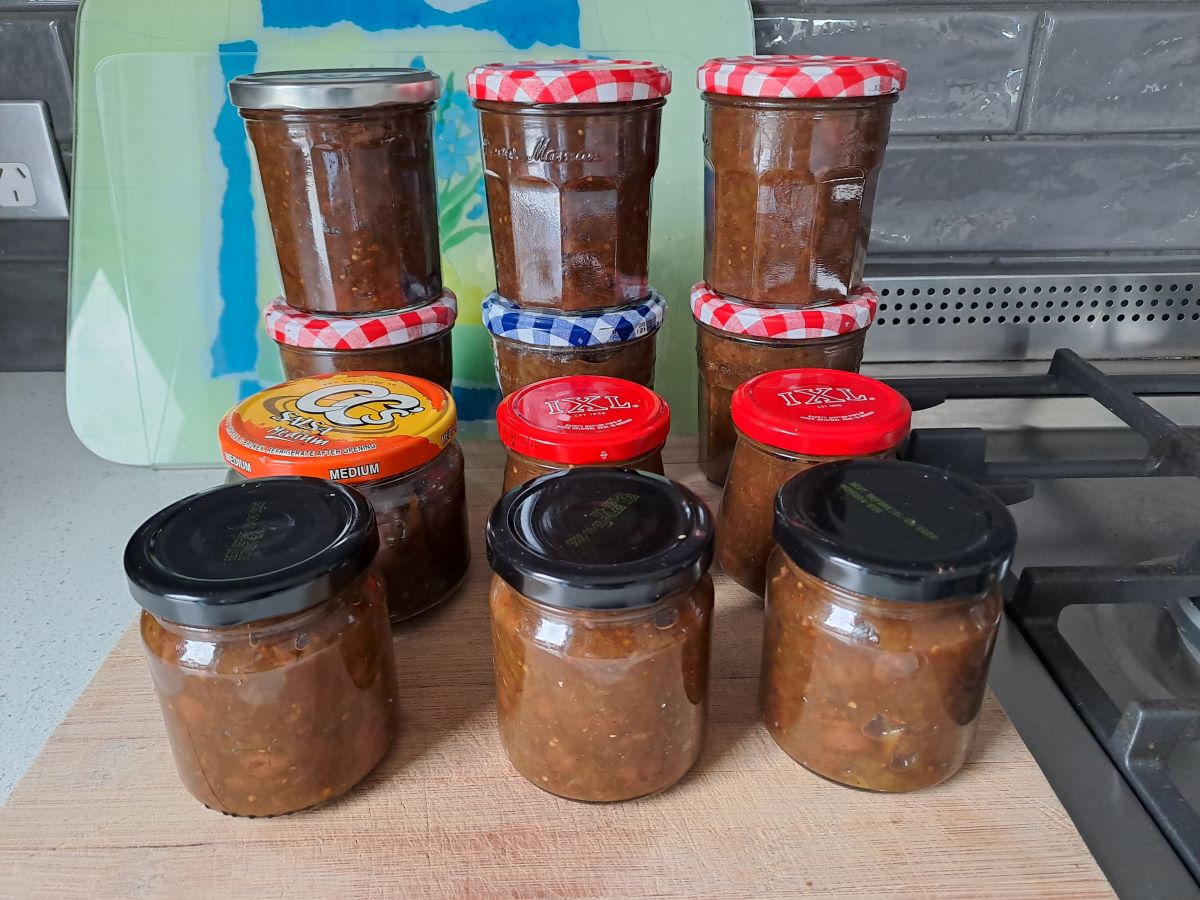
The mixture should be rich, thick and caramel coloured.
Spoon into hot, sterilised jars. This recipe yielded 12 jars so the pantry will be well-stocked.
A couple of weeks ago I successfully made baked beans which GMan declared were better than the ones out of a can. Some years ago I had attempted to make them but they were really not that great. This time I was armed with more experience and a video I had chanced upon as a starting point. However, I did adapt it somewhat to suit myself.
I have made another batch and made notes of the quantities and method as well as taken several photos so that I can share the recipe with you.
BAKED BEANS
Ingredients
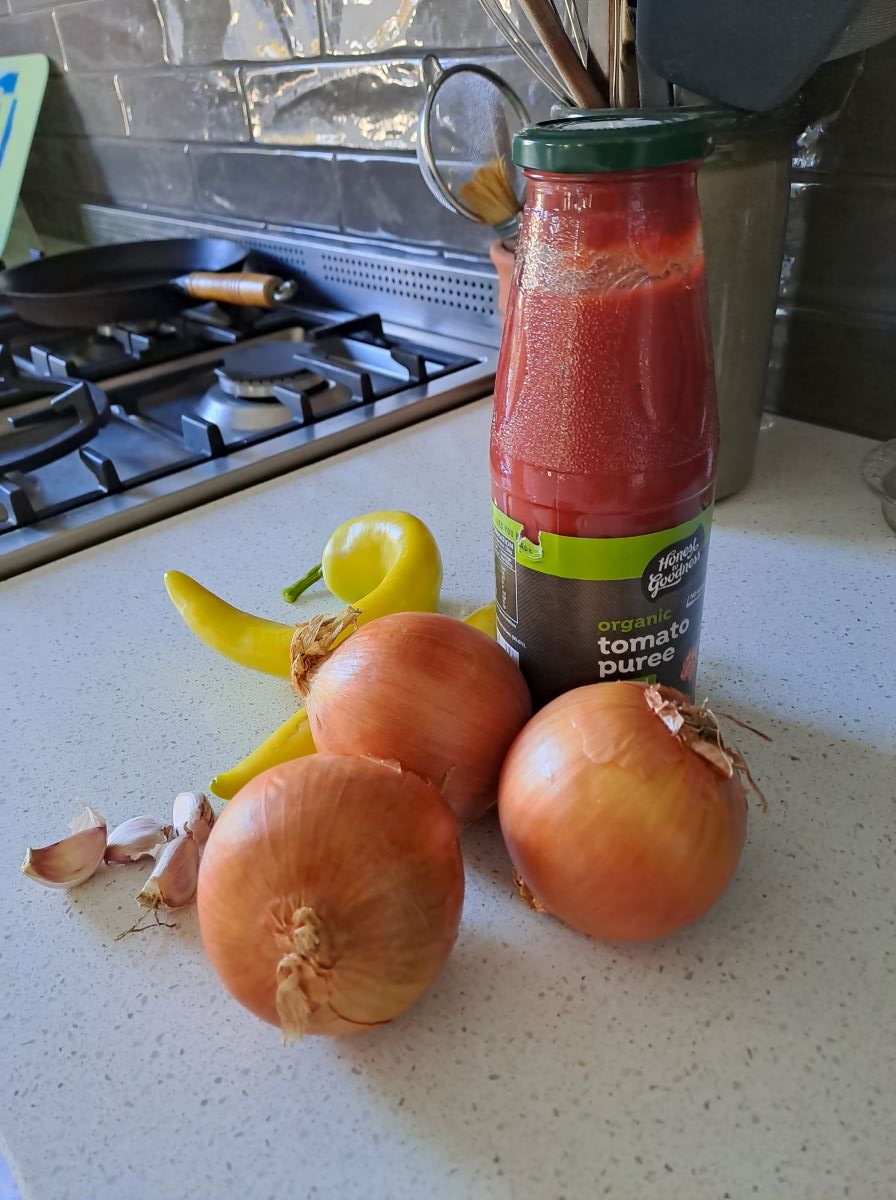
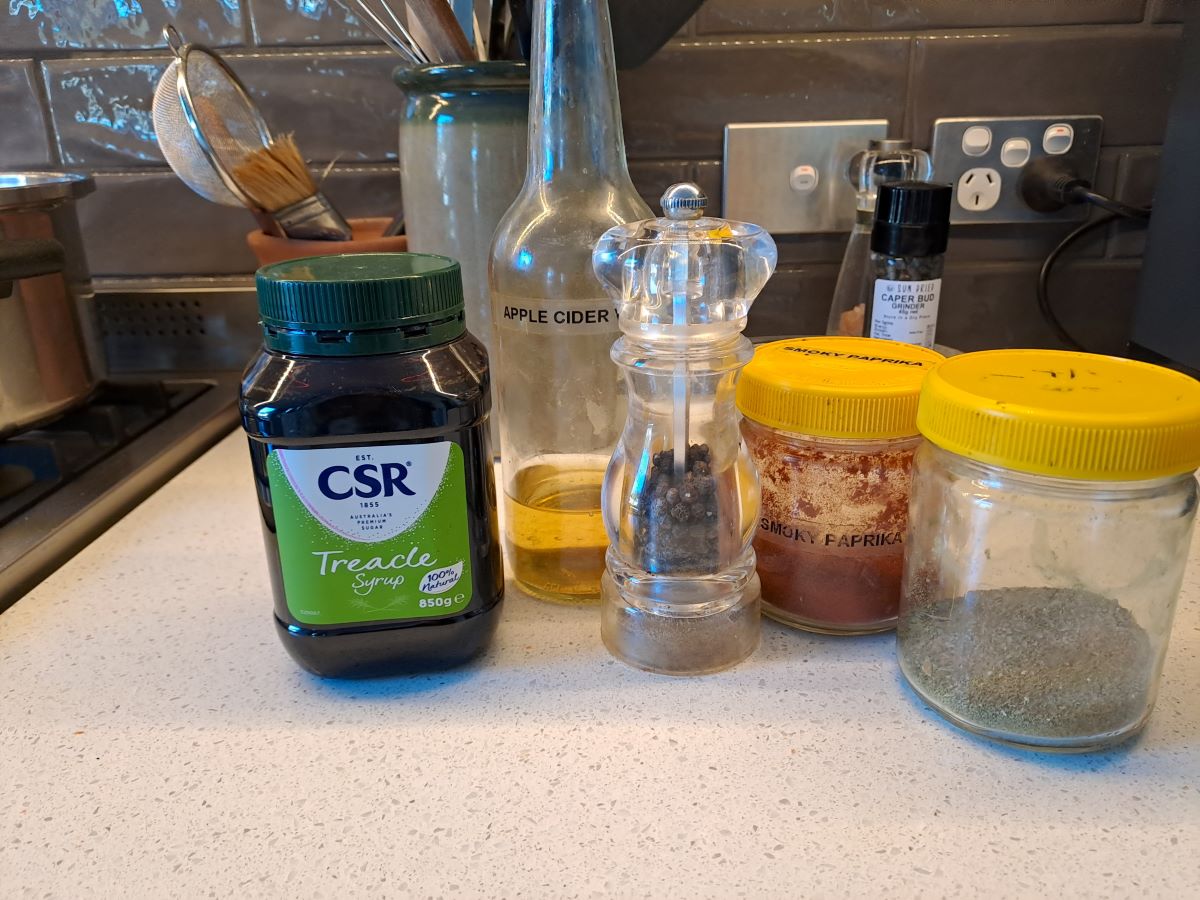
1kg dry white beans Olive oil 3 medium onions, finely diced 4 cloves garlic, crushed 1 capsicum (pepper), diced 700ml tomato passata 250ml water 1 tablespoon treacle 1 tablespoon apple cider vinegar 3 – 4 teaspoons smoky paprika 1 – 2 teaspoons salt 1 teaspoon ground black pepper
Method
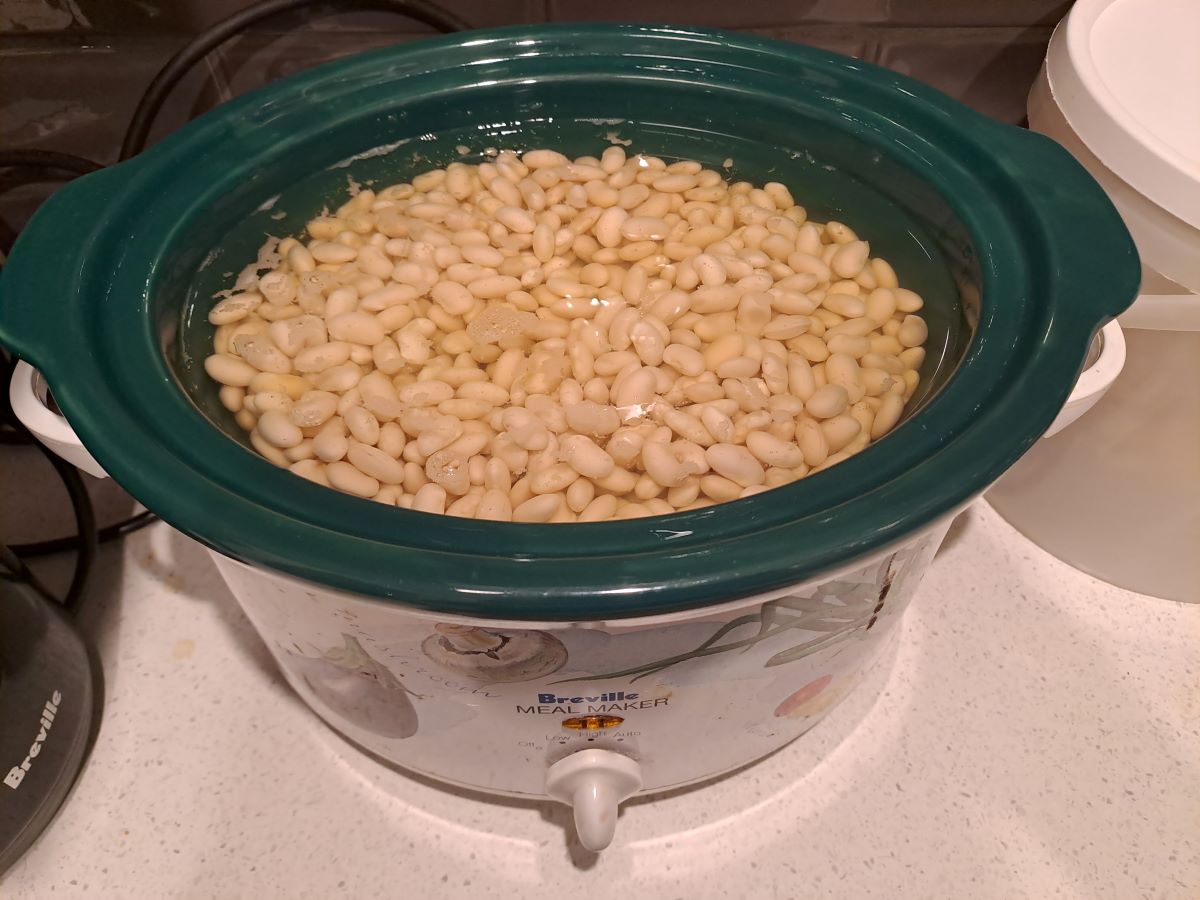
Place the beans in a large bowl and cover with boiling water (about 5cm above the level of the beans). Soak for several hours or overnight. The beans will swell but will still be quite hard. Transfer the beans and water to a slow cooker and add a bit more water. Cook on high for several hours until tender but not mushy.
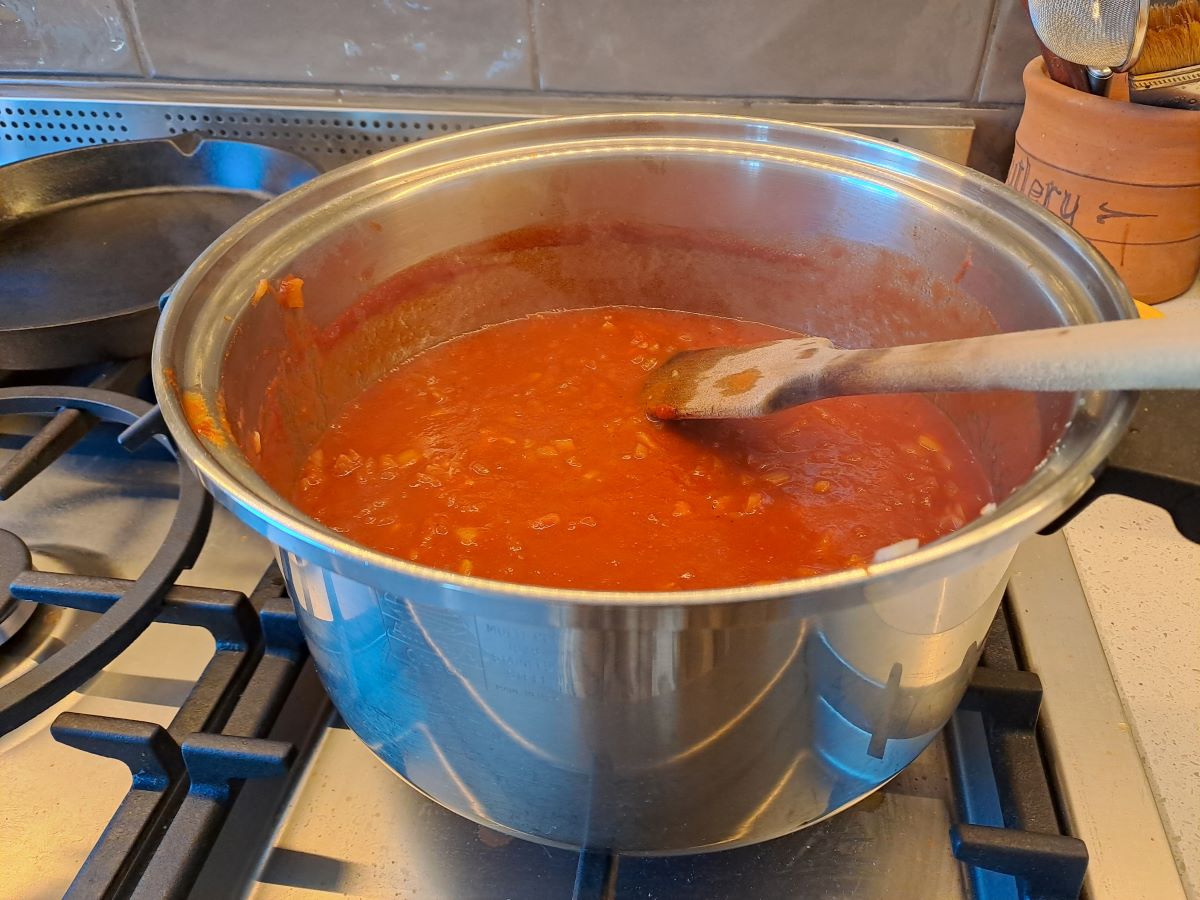
Saute the diced onion in a little oil in a large pan. Cook gently on a low heat so that they soften but are barely coloured. Add the garlic and capsicum and continue cooking. Add the remaining ingredients and simmer gently until well-cooked and the desired flavour.
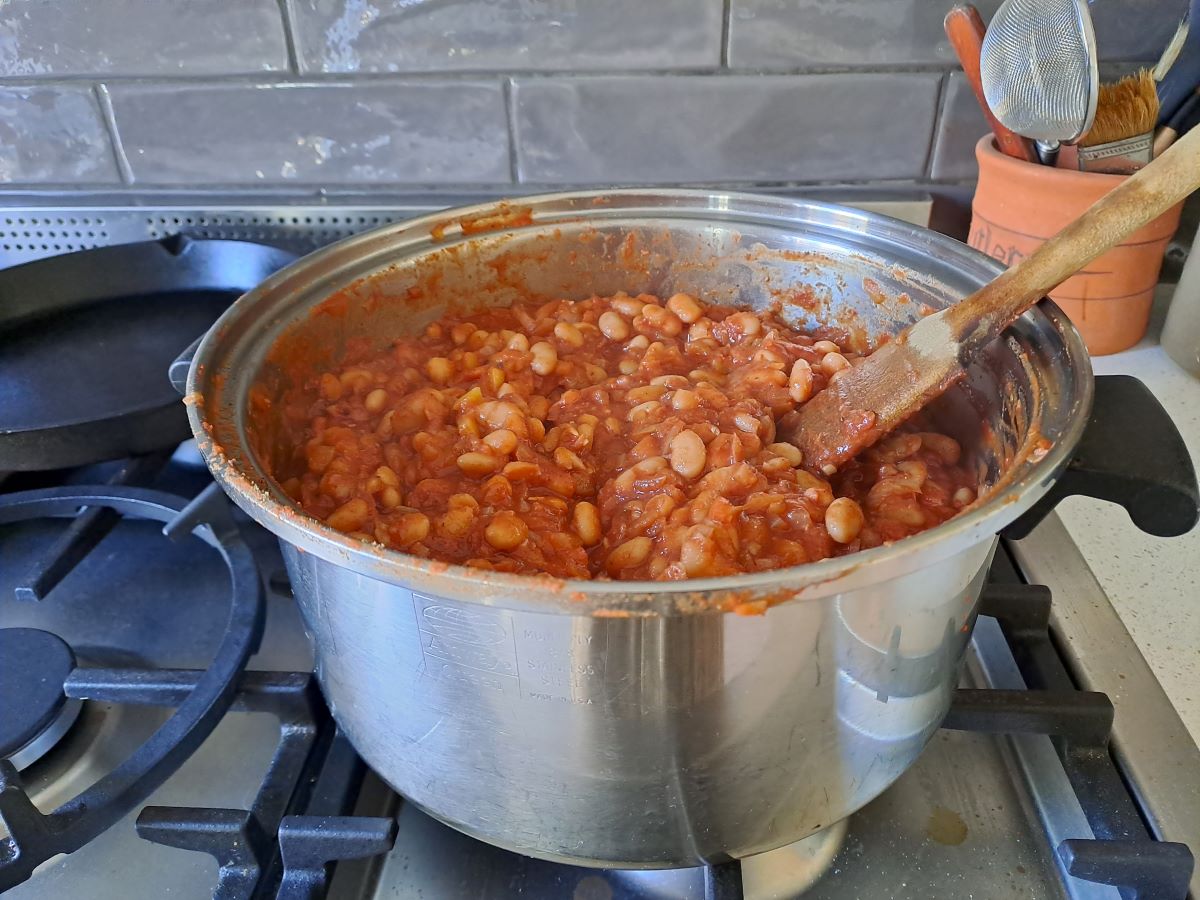
Add the drained beans to the sauce and combine thoroughly but do not break the beans up too much. Allow to stand and cool so that the beans absorb the flavour of the sauce.
Heat, eat and enjoy.
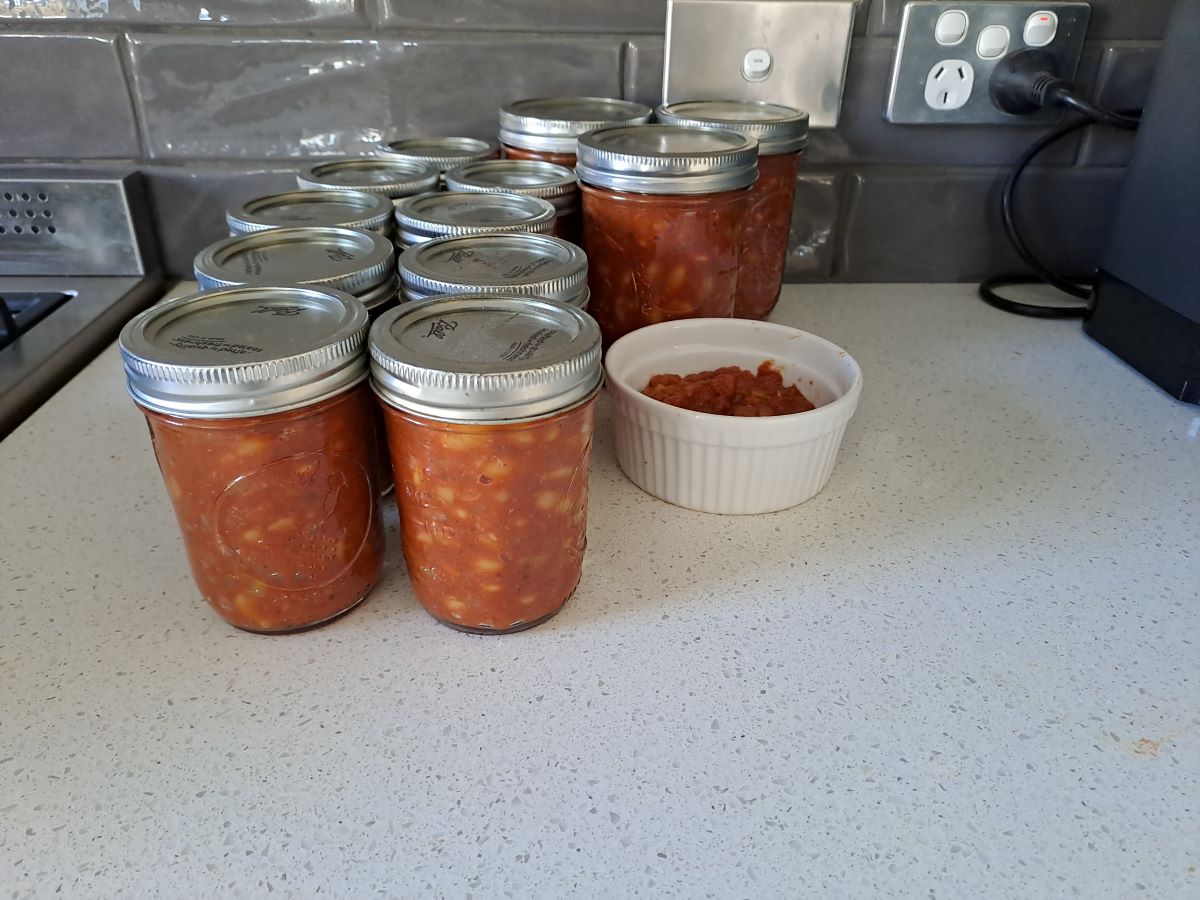
I choose to freeze the prepared beans which works really well. This is the results from the recipe above. The small dish will be my lunch today.
Notes
This is a large quantity – you can reduce the amounts. I used Great Northern beans but you could use navy beans, canellini beans or whatever you prefer. You could used canned beans if you wish. I prefer to use dried beans as they cost less and there is the added benefit of minimal packaging, especially if you buy them from bulk bins. The tomato mixture could be pureed fresh or canned tomatoes or whatever you have on hand. You can also include some tomato paste for a more intense depth of flavour. The original recipe used bacon but I choose to use smoky paprika to replicate the flavour and keep this recipe meat-free. Add the seasonings gradually to account for your personal taste. I used a couple of capsicums from the garden but regular red ones are fine, too. I substituted rosemary salt for half of the salt. I also added 1 tablespoon of Worcestershire sauce and 1/4 cup of my homemade tomato sauce to make it a little spicier.
In other words, this is a basic recipe and you can adjust it to suit your personal taste.
I want to share a recipe that has evolved in my kitchen since I first discovered that I could use cooked cauliflower as the base for a savoury white sauce rather than the traditional flour and butter roux.
The quantities listed are very flexible and only intended as a guide. The seasoning depends very much on your palate and should be adjusted accordingly.
INGREDIENTS
1/2 large cauliflower, cut into pieces (including stalks) 500ml milk, dairy or plant-based 1&1/2 teaspoons salt 1/2 teaspoon dried rosemary 1/2 teaspoon ground black pepper 1 teaspoon smoky paprika
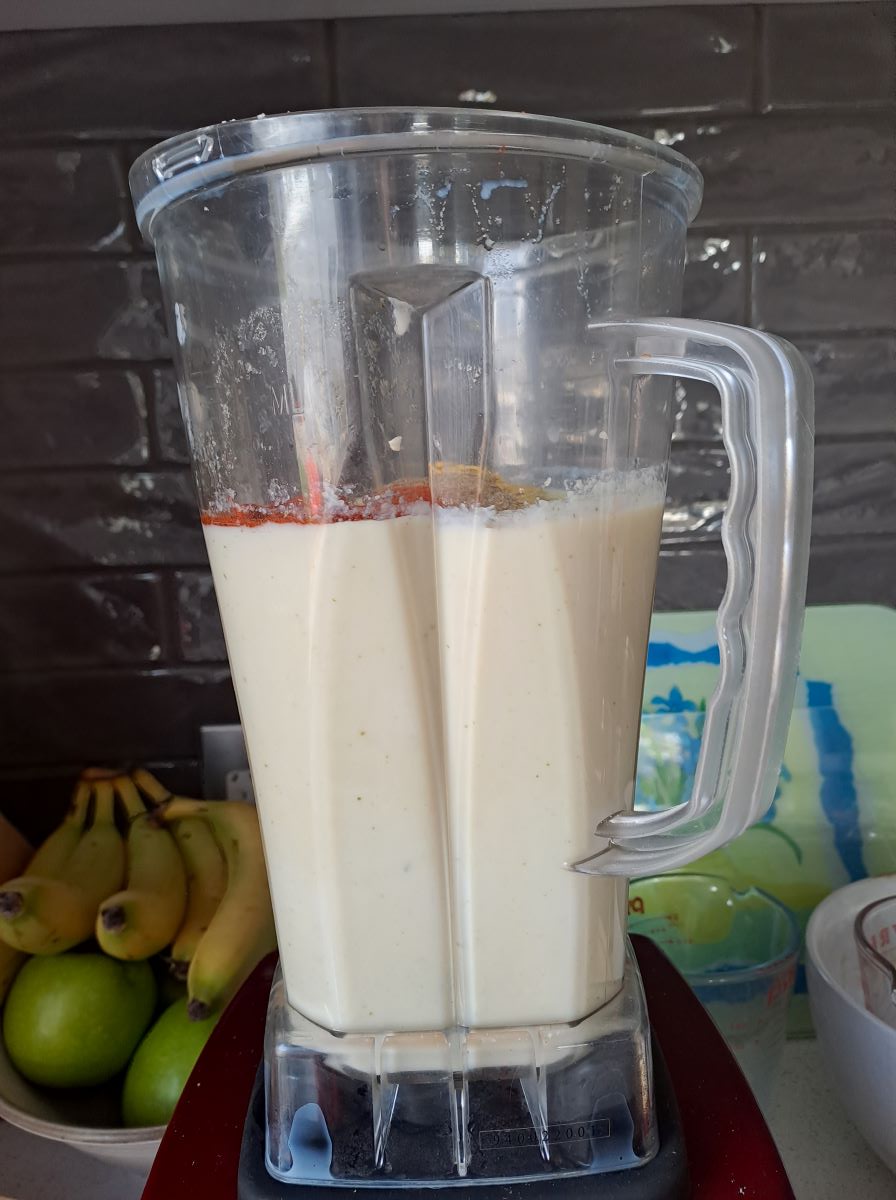
Cook cauliflower until tender – microwave or steamed. Puree the cooked cauliflower, gradually adding milk to create the required consistency.
At this stage it should be smooth but will taste like milky cauliflower. Gradually add seasoning of your choice. Other options include powdered onion or garlic.
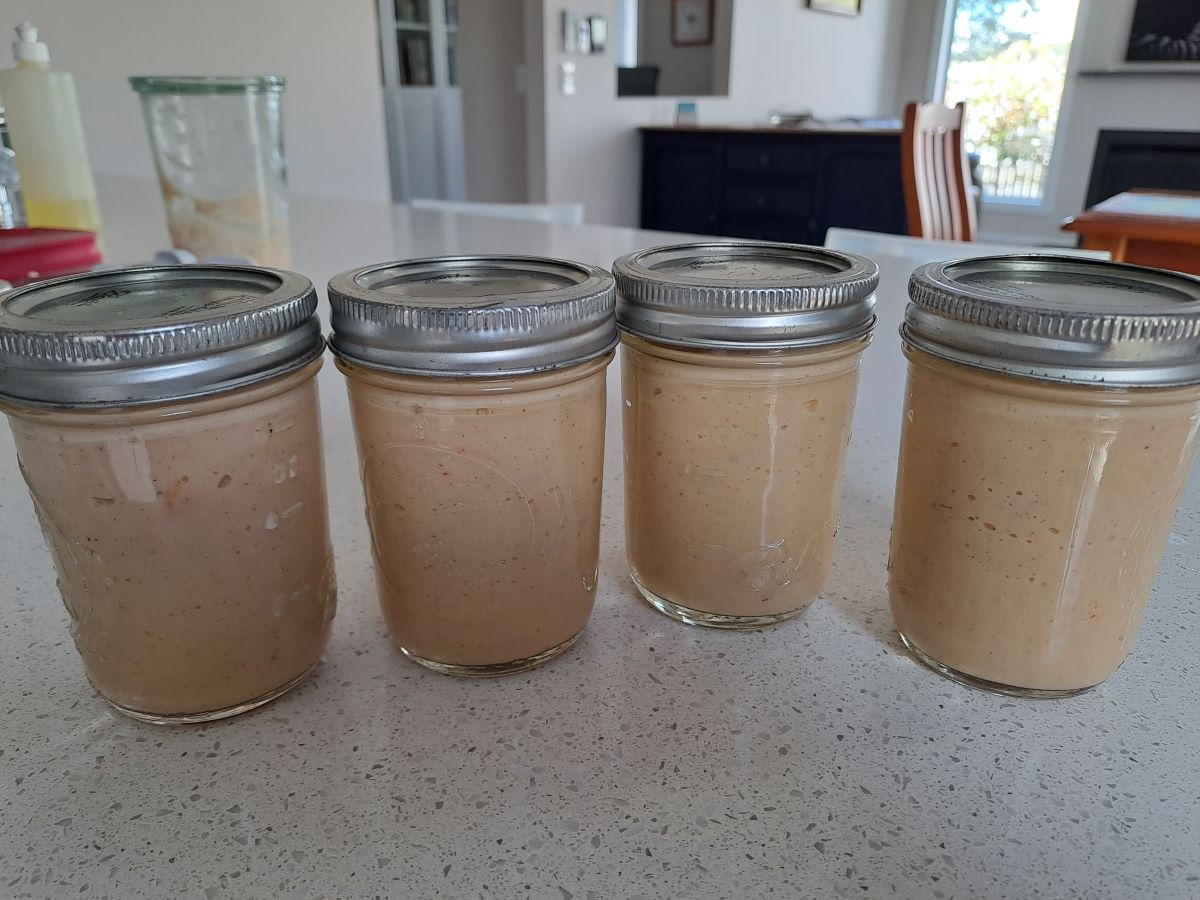
The mixture freezes really well and is super versatile. Here are 4 jars ready to go in the freezer.
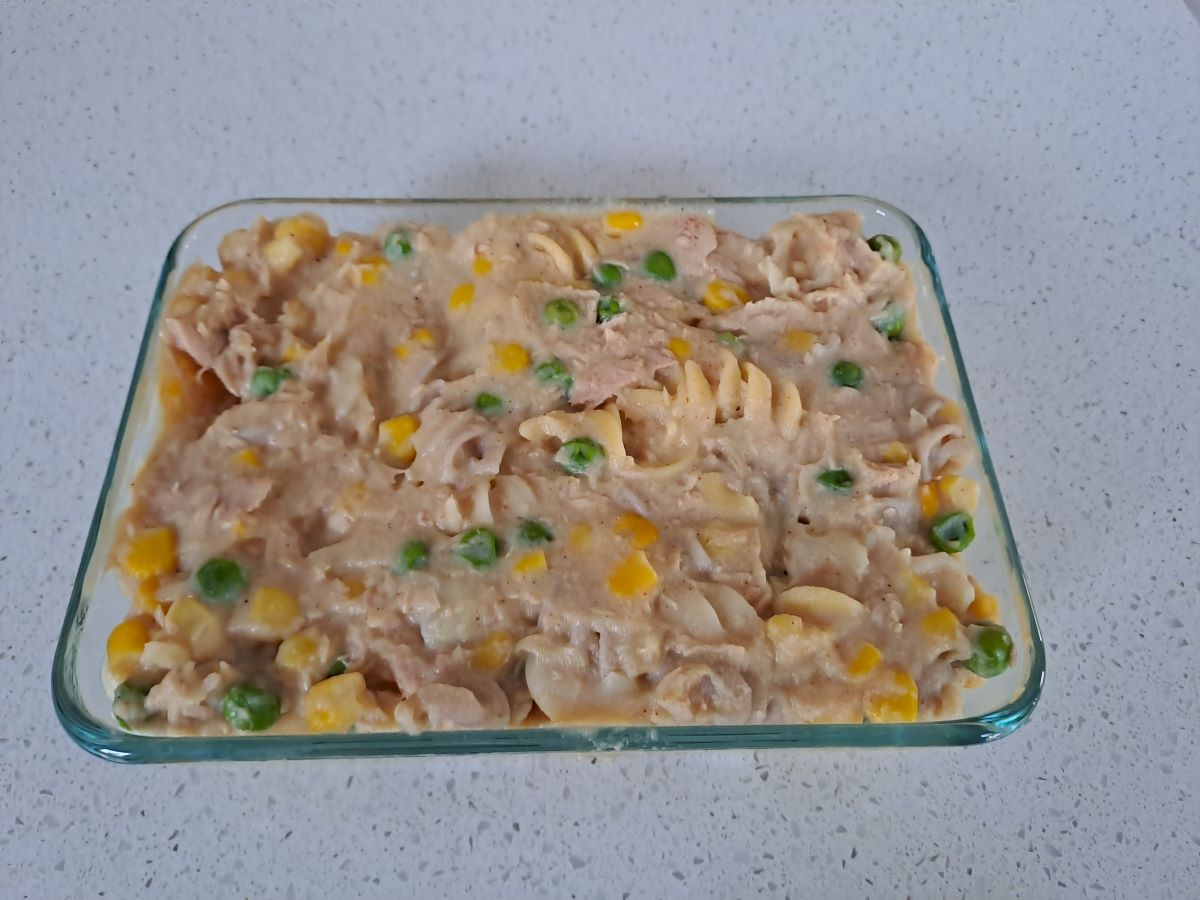
It can be used in any way you would normally use white sauce. I sometimes add to vegetables or use for a pancake filling with mushrooms and chicken. Tonight I used it for the base of a tuna pasta bake.
Here it is almost ready to go in the airfryer.
I will add some topping of flaxseed meal, nutritional yeast and a little grated cheese and serve with some sliced carrots and zucchini.
When choosing this title I noticed that I had used it before in 2021 – except that it was in early November. It is now late summer here and everything seems to be ripening in abundance so we are fully occupied making sure that none of it goes to waste.
Here are a few of the things we have been doing in the past few days.
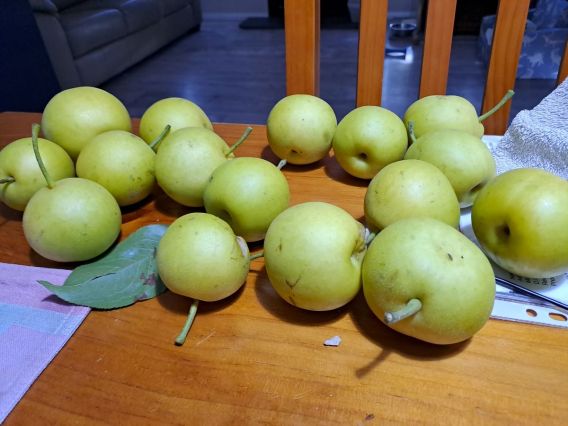
When we moved here we inherited two espaliered nashi pear trees which have borne prolifically. We did not net them so the parrots have enjoyed quite a feast but we have still managed to pick several hundred fruit. Once we discovered that we really like the fruit stewed, GMan has made it his mission to peel and slice the seemingly never-ending supply and the freezer is full of containers of stewed nashi which we will enjoy in the coming months.
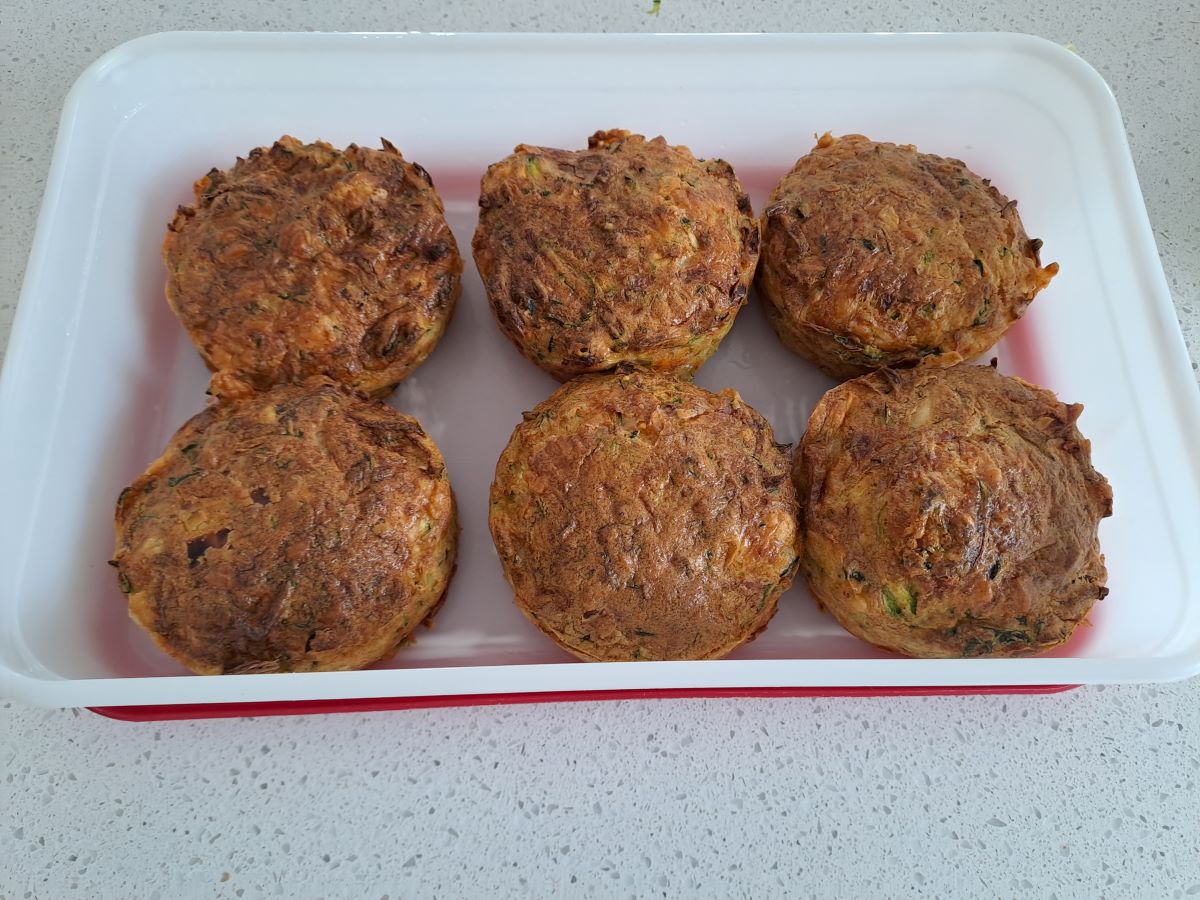
It is now about 6 weeks since I picked the first of our zucchini and I been managing to use them at pretty much the same rate as we were picking them until the last few days. So, today I made zucchini slice. I have been trialling making them in individual serves in the airfryer for some time now and am happy that I have finally got the amended measurements and cooking times right. I will post an amended recipe in the next blog post.
I also grated several extra zucchini and have them packed in bags of 200g in the freezer for future zucchini slice making.
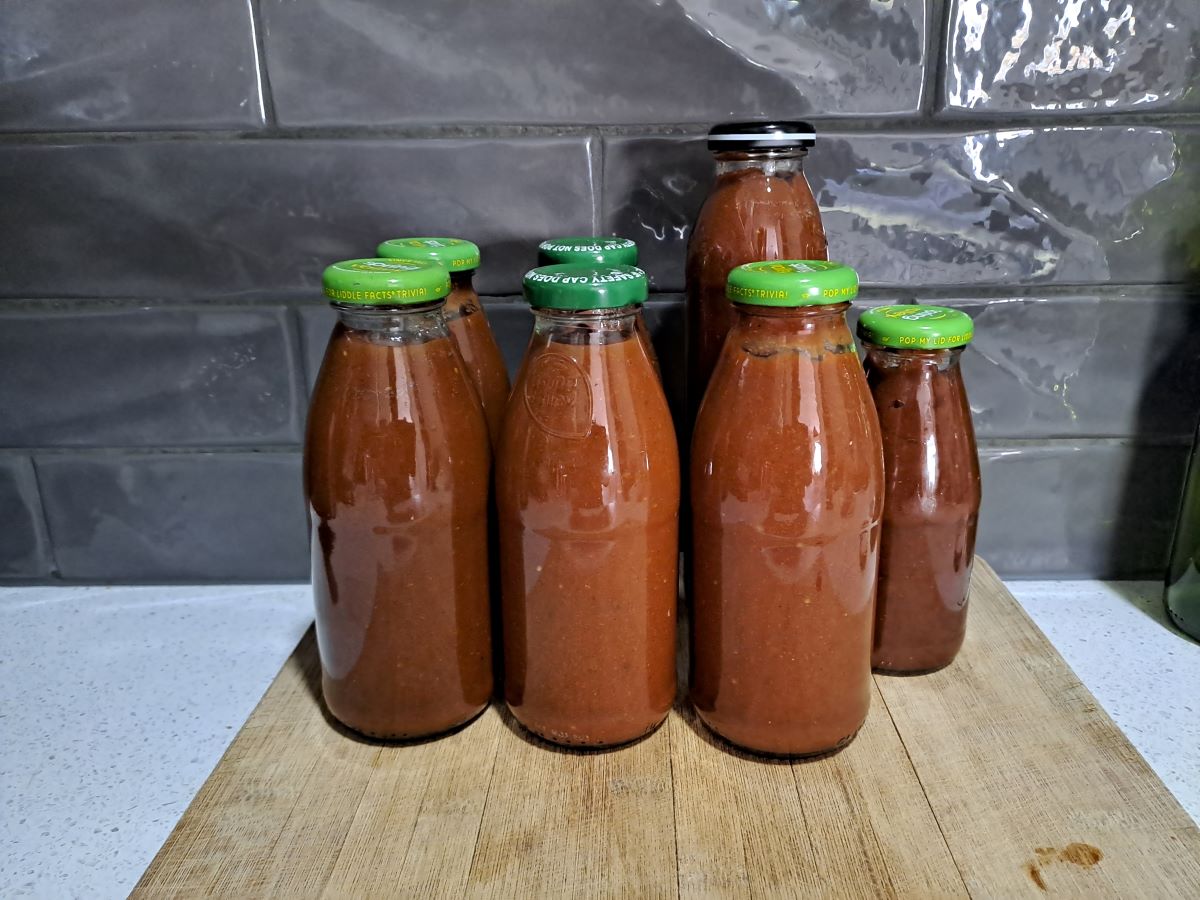
Meanwhile, the tomato sauce was simmering on the stove.
This was the result.
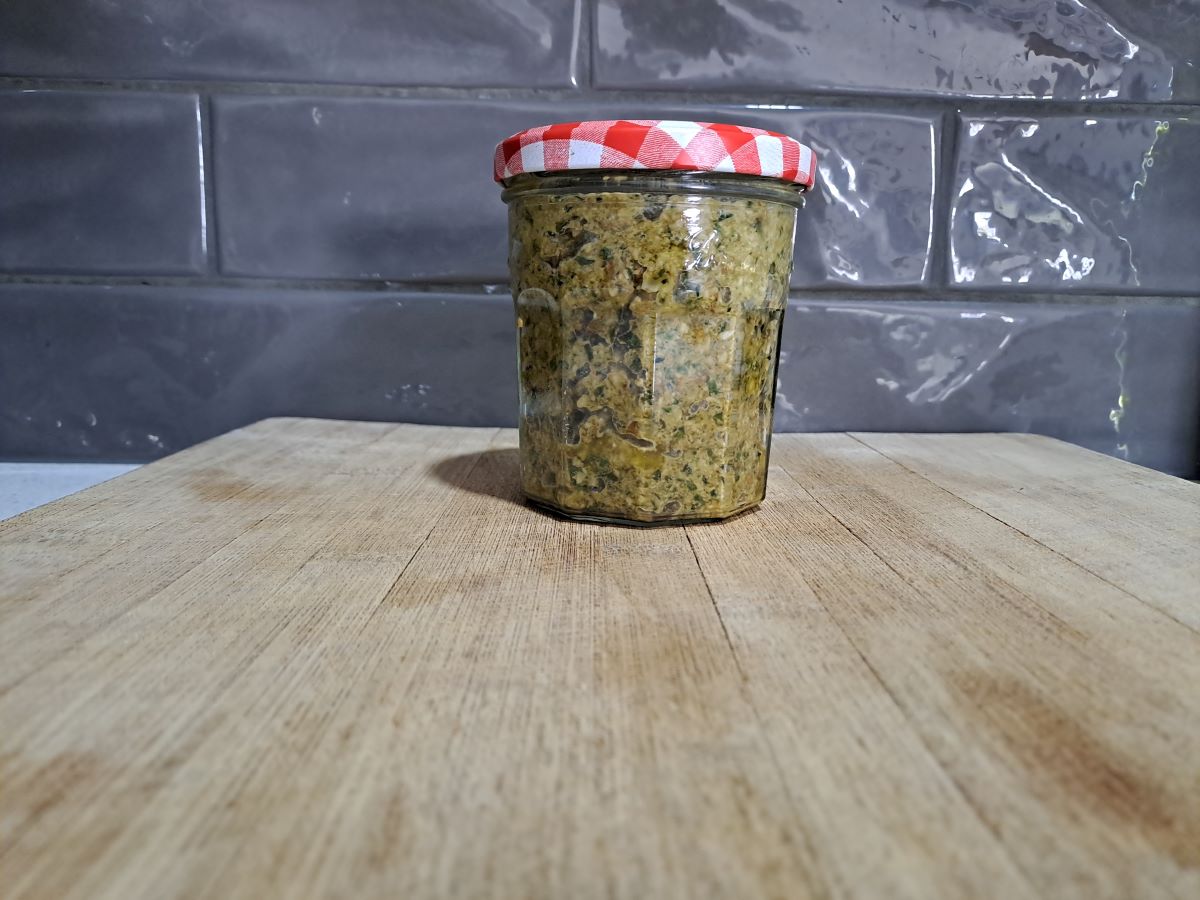
I made another of my experimental versions of basil pesto and am pretty happy with this one. Almonds instead of pine nuts. Some grated zucchini mixed with the basil makes it milder flavoured. Nutritional yeast rather than cheese makes it dairy-free, vegan and reduces the cholesterol. Yes, minimising the cholesterol intake is going to be more of a feature of my cooking in the future. I also add the juice of half a lemon as it makes it a bit less oily.
The bumper harvest has not been confined to just our garden and our neighbour’s. I picked up a bag of plums from a roadside giveaway earlier in the week. I stewed these and have some each morning on my cereal.
Processing gluts of home-grown, gifted or foraged produce can be time-consuming but it is a worthwhile activity which helps to minimise the amount of food going to waste.
I am always looking for ways to store the inevitable summer glut of home-grown tomatoes. I make tomato sauce (ketchup) but there is a limit to how much of that we need. The recipe is here if you are interested. I also used to freeze cherry tomatoes whole for use in casseroles and other cooking. I have dabbled in making tomato paste and tomato powder. These have all been reasonably successful but somewhat labour intensive.
Our tomatoes are not ready yet but the neighbours have generously shared their harvest.
I had these spread out to ripen and today I selected the reddest ones and cut them into quarters. I placed them into a round cake tin with 2 large cloves of garlic and a handful of basil leaves (all homegrown) and a drizzle of olive oil. I cooked them in the airfryer for 25 minutes at 170C then blitzed them in the high-speed blender.
I now have a couple of jars of delicious sauce which will be perfect for pizza bases, pasta dishes or adding to other dishes for a rich tomato flavour. This was super quick and easy and I will definitely be doing it again in the future. I choose not to process the sauce but simply store it in the freezer.
I think everyone has a personal favourite way of making lasagne.
Lasagne was my ‘go to’ dish in the early days of our marriage. In fact, so much so that GMan once commented that our impending dinner guests had eaten at our place previously so we would need to think of something else!
My version of lasagne has evolved noticeably over almost 45 years due to a changing culinary landscape and a variety of dietary considerations. I have reduced the proportion of meat in the dish, eliminated cream, use gluten free flour and pasta. The latest iteration actually replaces the pasta with thin slices of zucchini and the bechamel sauce is made with cauliflower rather than a roux of flour and butter. Interested? Read on for the full details.
LASAGNE
Meat sauce
250g lean minced beef 1 cup dried red lentils 1 large onion, finely diced 2 cloves garlic, crushed 1 large carrot, grated 2 sticks celery, finely chopped 2 teaspoons beef stock powder 2 tins crushed tomatoes } – whatever combination of fresh, dried or frozen tomatoes 2 tablespoons tomato paste } you have on hand. More water may be required. Herbs (fresh or dried) to taste – I used a handful of fresh basil and 1 teaspoons of dried mixed herbs Salt and black pepper to taste
Method
Place the lentils in a bowl and cover with boiling water. Allow to stand for 30 minutes. In a large saucepan fry the onion and garlic, add the mince and brown. Add the remaining ingredients including the drained lentils. Simmer gently until the lentils are tender. Add more water if the mixture becomes too dry.
Chop the cauliflower roughly. The stalk and small leave can be included in this recipe. Steam or microwave until tender. Place cooked cauliflower in blender and gradually add milk until the mixture is smooth and a suitable consistency. Add seasonings to taste. The quantities are only suggestion so add a bit at a time until it reaches your desired taste.
Set sauce aside until required. This sauce can be refrigerated for a couple of days or frozen if you have too much. It can be substituted in any recipe that requires a creamy white sauce. You can use plant-based milk if you choose.
Other
Zucchini, sliced thinly lengthwise Grated cheese, I use a mixture of cheddar, parmesan and nutritional yeast
Assembly
Layer the various components in an ovenproof dish. I usually do meat sauce, zucchini, white sauce and then cheese and repeat 2-3 times until the dish is full.
Cook in the oven until heated through and browned on top. Alternatively, it can be heated in the microwave and finished off under the grill to brown the top.
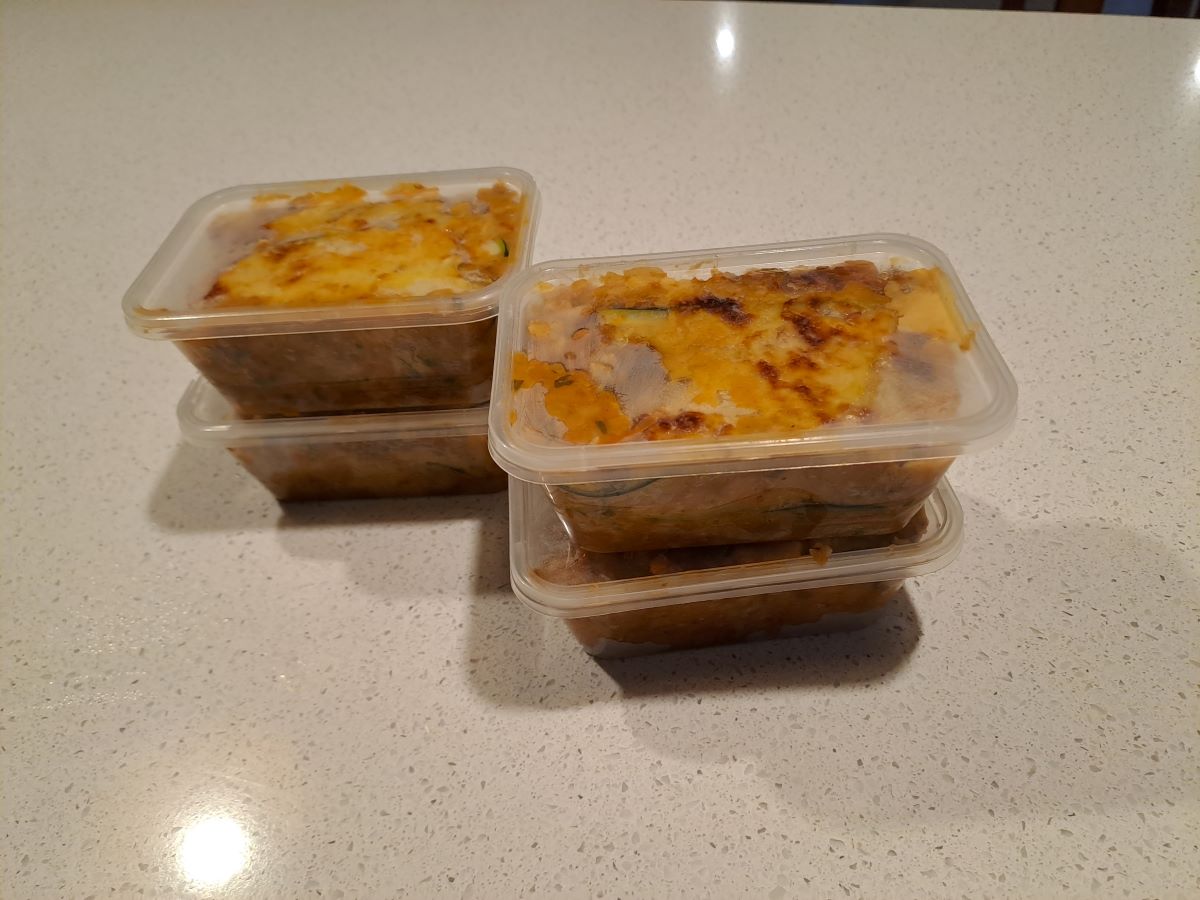
Makes 6 generous serves.
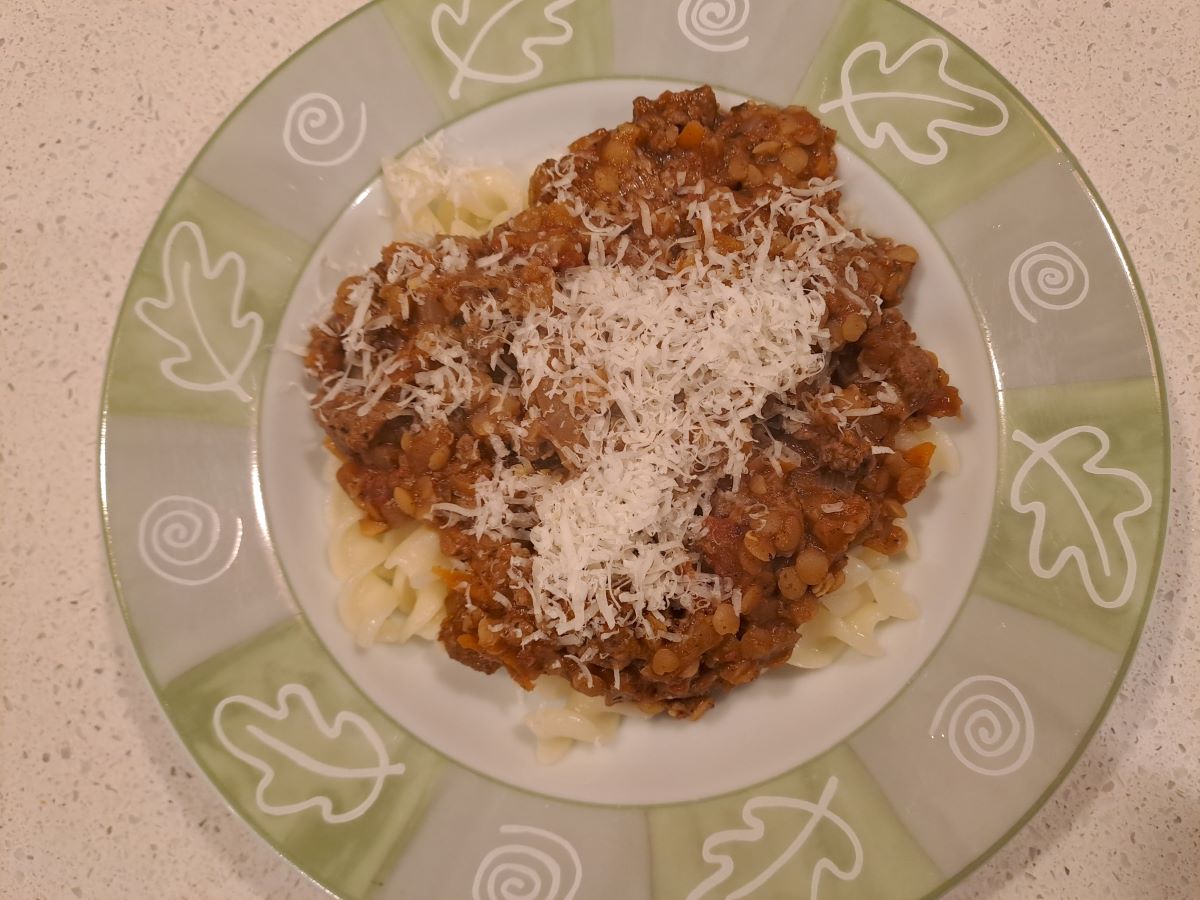
This is the only photo I have as I did not think of writing this post until after we had eaten dinner. We ate 2 serves and the remainder were packed up and frozen in 4 individual serves.