Simply Delicious

4 Comments

Tonight I made zucchini and corn fritters for our dinner.  I checked out several recipes via Google and this is what I came up with.

Zucchini and Corn Fritters

350g potato (cooked and mashed)
1 and 1/2 zucchini (grated)
1 cup frozen corn kernels
1/3 cup chickpea (besan) flour
1 clove garlic (crushed)
Fresh rosemary and coriander (finely chopped)
1/4 teaspoon cumin
Black pepper and herb salt

2020-05-14 01

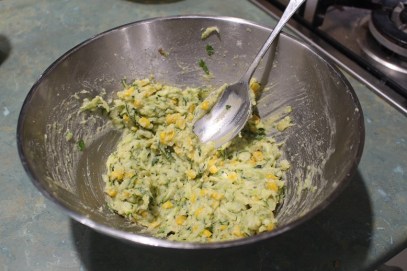
Combine all of the ingredients in a bowl.  Add spoonfuls to a hot frying pan with a little oil (I used coconut oil).  Cook on both sides until browned.  Remove to a warmed plate to serve.

2020-05-14 02

The quantity made 8 fritters.  We had 3 each for dinner served with beans from the garden and some homemade sweet chilli sauce.

2020-05-14 03

I will post the recipe for the sweet chilli sauce tomorrow.

Site Preparation

Leave a comment

In my last post I mentioned that we had ordered a garden shed. We have been debating the need for a shed for a number of years and have finally bitten the bullet.

It will be a very simple 3m X 3m structure with double opening doors at the front. There are no windows, no side door and no power. It is really no more than an oversized lawn locker to store the mowers, mulcher, brushcutter and possibly wheelbarrow as well as some storage shelving for accessories and fuel.

This will create some real workspace in the area known as the workshop.

It will probably be 3-4 weeks before the shed is ready to be installed but there was a bit of site preparation to be done beforehand.

This is a view of the area where the shed is to be placed.  There is no ‘before’ photo but it had become somewhat overgrown so we cut back shrubs and some heliconias as well as moving some logs which had been dumped there.

The impending construction is certainly motivation to clear up the area surrounding the new shed.

We have quite a large stand of heliconias so we removed a few that were encroaching on the access to the would-be shed as well as using the opportunity to clean out some of the spent ones.  The edge of the clump is clearly visible on the left-hand side of the photo.

2020-05-13 01

The shed will be in the centre foreground of the photo.

Looking slightly to the right you can see the area where we have almost finished moving what was a huge pile of mulch.  We will be planting several shrubs once the mulch is cleared.

2020-05-13 02

The shed site is not the only one we are preparing.  Yesterday we moved all of the furniture from our verandah which extends around 2 sides of the house in preparation for the floor to be sanded and recoated.  The sanding was supposed to happen today but it rained overnight and some of the flooring was wet so the start has been delayed.

This is the long side at the front of the house.

2020-05-13 03

The shorter end which looks out towards the vegetable garden.

2020-05-13 04

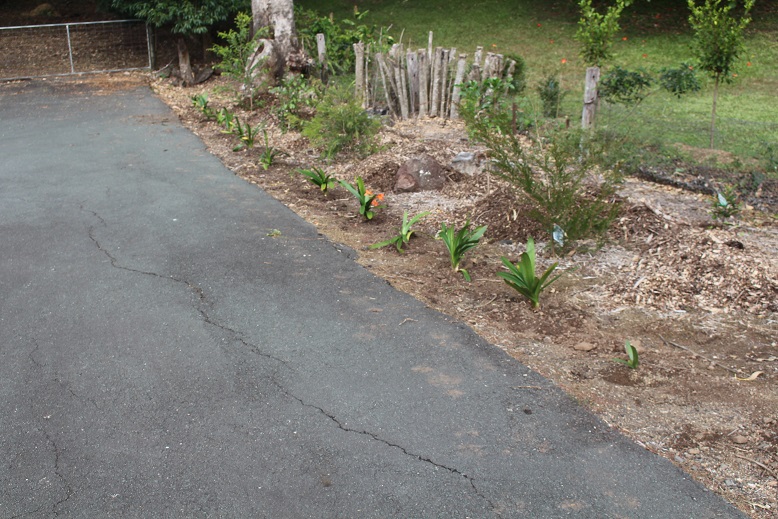
In other garden news, GMan planted clivias along the western edge of the driveway.  These were sourced from multiple plants we had in pots.  Most are orange but there are also some yellow ones.  My $20 investment in a single orange clivia which I bout almost 20 years ago has paid handsome dividends.  The yellow ones have also multiplied from a single plant which was a gift several years ago.

2020-05-13 05

I think the clivia plants will make a nice border to the edge of the driveway.  The area behind them is a work in progress.  The shrubs were planted in mid-December and are growing quite well.  You can see some of the piles of mulch which have been moved from the site near the shed.  We plan to lay some sheets of cardboard to suppress the weeds then cover them with the mulch.

Gifts From the Garden

Leave a comment

When you have a productive garden, there is frequently more available than you can reasonably use.  So, we are often giving away produce to family and friends.

It is not all a one-way street and we are grateful for goodies which are gifted to us in return.

My sister and brother-in-law recently gave us a large pumpkin and some chillies.  The pumpkin was put to good use and you can read about it in this earlier post.  I used the chillies to make a bottle of sweet chilli sauce.

2020-05-09 01

A few days ago we visited my brother at his newly-purchased inner suburban unit.  I hardly expected that we would come away with fresh produce when he had been there for barely 3 weeks.  However, I was surprised to find myself returning home with a container of macadamia nuts which we had collected from the back lawn of the unit block.  This bounty is falling from a tree overhanging from a neighbouring garden.

2020-05-09 02

Also, some friends gave us a quantity of rosemary.  We have planted some cuttings so that we can add this to our own garden and I stripped the leaves off the remainder and dried it in the dehydrator.  Once it was dried, I ground it and then mixed the ground rosemary with Himalayan salt and I now have a jar of rosemary salt which will be be perfect for seasoning.  I am looking forward to trying it on some oven-baked potato chips.

2020-05-09 03

I was watching Gardening Australia last night and saw a segment about making your own Lemon and Rosemary Hand Scrub.  I am going to get some more rosemary from my friend and try that one out.  The recipe and details will be a future blog post.


Cooking Day

1 Comment

Today I cooked.  I was inspired by the large pumpkin I was given yesterday as well as the chickpeas I had cooked yesterday.

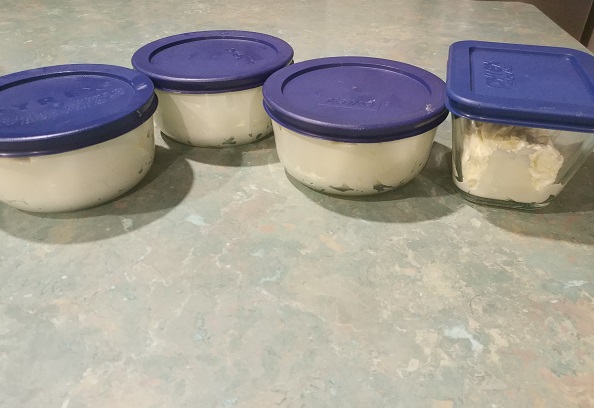
The first job was to pack up the baked beans I had cooked overnight in the slow-cooker.  I had some for breakfast as well as these 3 jars to go in the freezer and half a jar which are in the refrigerator to be used in the next few days.

2020-05-04 01

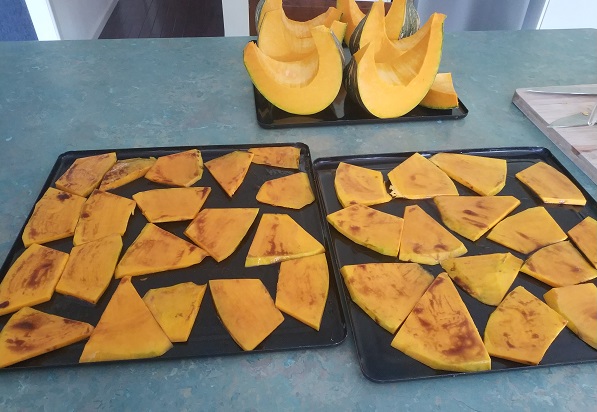
I then cut up the pumpkin.  The 2 trays of sliced pumpkin have been basted with a mixture of olive oil and balsamic syrup.  These will be used on pizzas. Some of the larger pieces will be cut up and added to the chickpea and vegetable curry while the remainder will be become pumpkin soup.  I pre-roast the pumpkin as it is easier than peeling it and I find that it also enhances the flavour.

2020-05-04 02

Meanwhile I moved onto the curry.  As well as the chickpeas and pumpkin this also had stalks of choy sum and half an eggplant diced.  I ended up with a total of 8 serves (4 meals for GMan and me).

2020-05-04 03

I had other plans for the choy sum leaves and the other half of the eggplant.  Using this recipe for Eggplant Lasagne Rolls as inspiration, I made a dish of lasagne using the finely shredded choy sum leaves mixed with half a tub of ricotta that I had in the refrigerator layered with the sliced eggplant and a rich, herbed tomato sauce.  This is ready to be baked for dinner tomorrow night.  I will add a mixture of flaxseed meal and parmesan cheese to the top when it is almost cooked.

2020-05-04 04

One pizza was for our lunch today which we enjoyed.  The other one is ready for the cheese to be added, cooked and eaten another day.

2020-05-04 05

All of these dishes were made using a combination of ingredients I had on hand in the pantry and refrigerator with produce I had been gifted and what was growing in the garden.  One of the most important aspects is to ensure that nothing goes to waste.

Finally, I made some more spreadable butter blend.

2020-05-04 06

Although the title of this blog post is ‘Cooking Day’, it occurred to me when you have access to fresh produce from the garden (either your own or kind friends) there is always something to do.

More about my other food adventures another day.

Some More Structures

Leave a comment

Following on from the completed compost bays, I thought I would share some of our other handiwork in the garden.  Unlike the compost bays, we needed to purchase the materials for our latest endeavours.

Growing food crops invariably invites other critters who also deem it to be food.  While I am reasonably happy to share, I am not keen on seeing the entire crop destroyed.

This year has seen the inclusion of an additional pest in our garden – the citrus fruit piercing moth.  From what I have read it would appear that this is as a direct result of the extended period of drought last year followed by good rain.

We have an orchard of numerous citrus trees which generally produce a bumper crop each year but 2020 is not shaping up so well.  We have lost the entire crop of Washington navel oranges as well as the majority of the grapefruit.  These are the earliest maturing of the citrus and we are less able to assess the losses on the two Valencia orange trees as well as the two mandarins.  Fortunately, the lemon and lime trees do not appear to have been attacked much at all.

In normal seasons the only real pest to the citrus trees seems to be the scrub turkeys helping themselves.  They particularly like the mandarins.

I had previously read about using poly pipe and star pickets to create a frame for netting to cover fruit trees, however, we had never implemented this method.  A few years ago we had simply tried draping the netting directly over the tree but while it was relatively effective the netting ended up with rips in it.

The arrival of the citrus fruit piercing moth spurred me into action and we bought the supplies to create the poly pipe frame for the mandarin tree.  We chose to do this one first as it seemed to have very little damage so far which is probably due to the fruit still being quite green.  Everything I have read plus my own observation indicates that the moth attacks ripening fruit.

We used an unused net which we had over the new poly pipe frame.

2020-04-24 01

The net barely reaches the ground and I am not sure how diligent the moths are when it comes to finding their way in.  I plan to extend the length a little by adding an extra piece of netting to the bottom edge.  This will be salvaged from the previously damaged net.

The next job is to monitor the tree by torchlight at night to check for any moths which are already inside the netting.

If the netting of the mandarin tree proves to be successful in eliminating the moth as well as the scrub turkeys we will consider doing at least some of the other citrus trees.

While we were buying the supplies we made sure we also bought enough to create poly pipe tunnels over at least a couple of the garden beds.  The critter I had in my sights this time was the white cabbage moth.  Unlike the citrus fruit piercing moth, there are many and varied home-remedies to deter these pests.  However, the best prevention is to eliminate them from the brassica garden entirely.

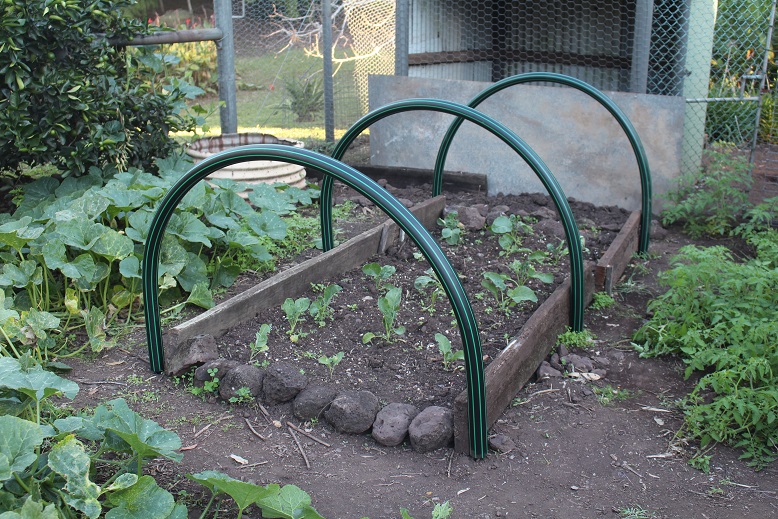
I am determined to grow a successful crop of cauliflower this year so I  used more of the poly pipe to create hoops over the bed.
2020-04-24 02

Using some of the damaged fruit tree netting I set about making a cover.

2020-04-24 03
I included shaped ends so that it fits neatly over the hoops.

2020-04-24 04
There are a few holes which need to be patched but I am confident that this will make a difference.

I regard the money spent on supplies to create these exclusion zones as a worthwhile investment as there are a few hundred dollars worth of produce at stake – and that is just in one season.

 

Compost Bays – Completed

4 Comments

We now have 4 new functioning compost bays, and as promised, here are some views of the finished product.

Because of the slope, the ground needed to be levelled once all of the structure was in place.

2020-04-23 01

Close-up of some of the details.

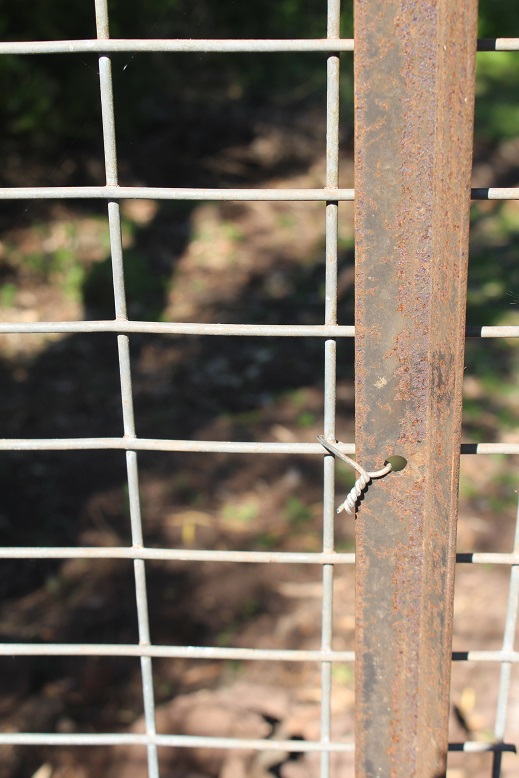
We wired the mesh panels to the star pickets.

2020-04-23 02

Geotextile stapled to the inside of the timber lattice.

2020-04-23 03

The 5 metres of geotextile and 1 star picket were the only new purchases we made for this project.  Everything else was already here and most of it had been salvaged or recycled.

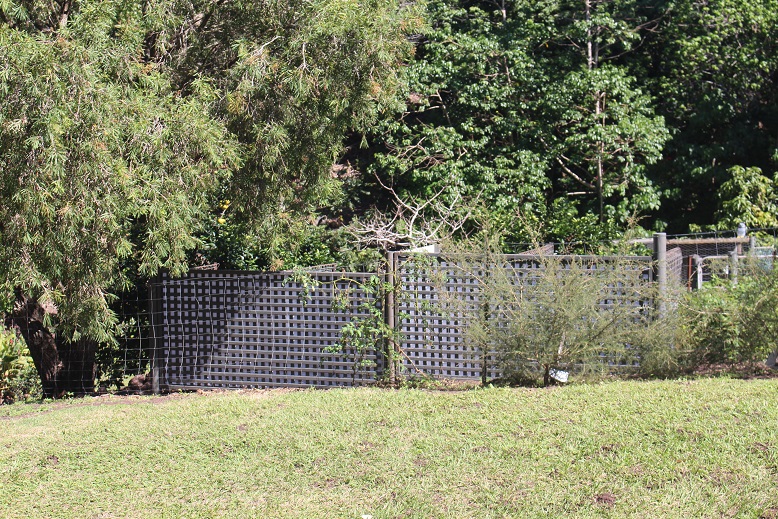
One of the most important considerations when planning this project was the street view.  The back of the bays are parallel to and only 1 metre inside our boundary fence which faces the road.

2020-04-23 04

I am very pleased with the result, and if anything, it has actually enhanced the view from the street.


The Pandemic Pantry – An Experiment

2 Comments

I mentioned in yesterday’s post that I had set the apple peels and cores aside for another project.

In the interests of wasting nothing, I am experimenting with making apple cider vinegar.  I read and consulted several online recipes before deciding on the exact method to use.

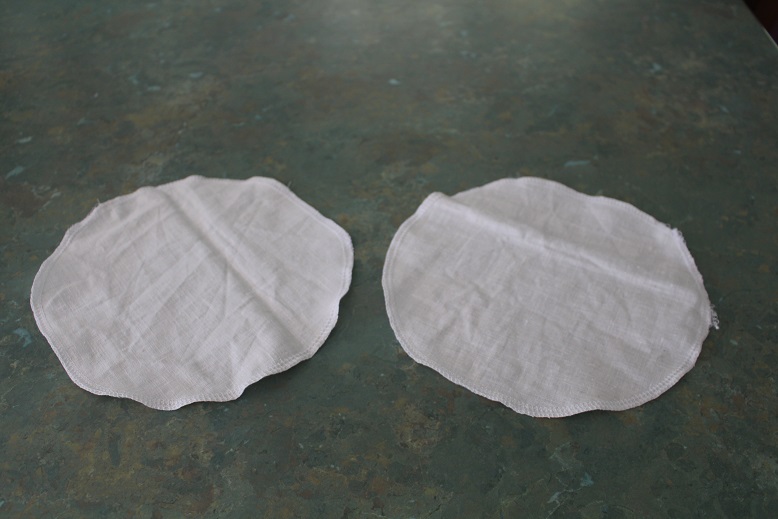
But first I needed some suitable fabric to cover the jars.  I found a scrap of white linen from which to cut circles and I overlocked the edges.

2020-04-01 01

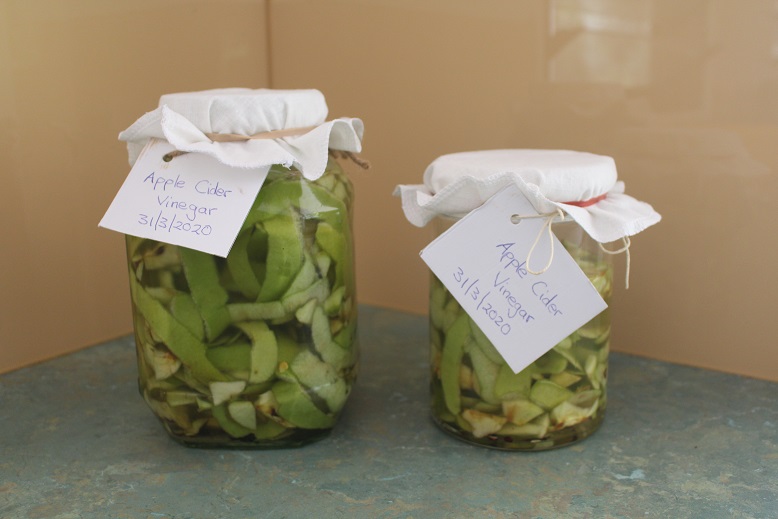
The peels and cores were packed into the glass jars, covered with water and sugar added.  The covers are held in place with rubber bands.  I labelled them with the details and they are now residing in a rarely-opened cupboard above the oven.

2020-04-01 02

NOTES:

The apples were organic so pesticide residue is not an issue.

Tonight I found this blog post which has recently been updated and indicates that what I am making should be correctly called Apple Scrap Vinegar.

I will let you know how the experiment turns out in a couple of months.

The Pandemic Pantry – A Windfall

1 Comment

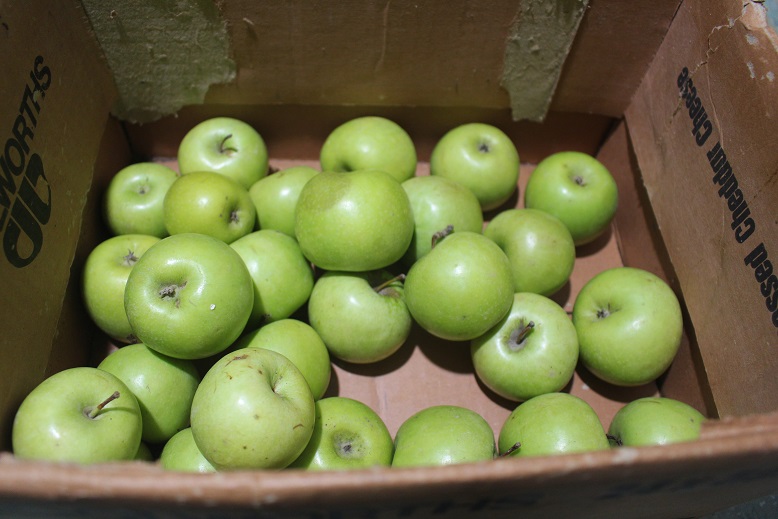
On Sunday evening a friend contacted me and asked if I would be interested in buying some organic celery and apples from a small business which had to close and was now unable to use the amount they had on hand.  I took 2 large bunches of organic celery and a couple of dozen small green apples which are also organic.

2020-03-31 01

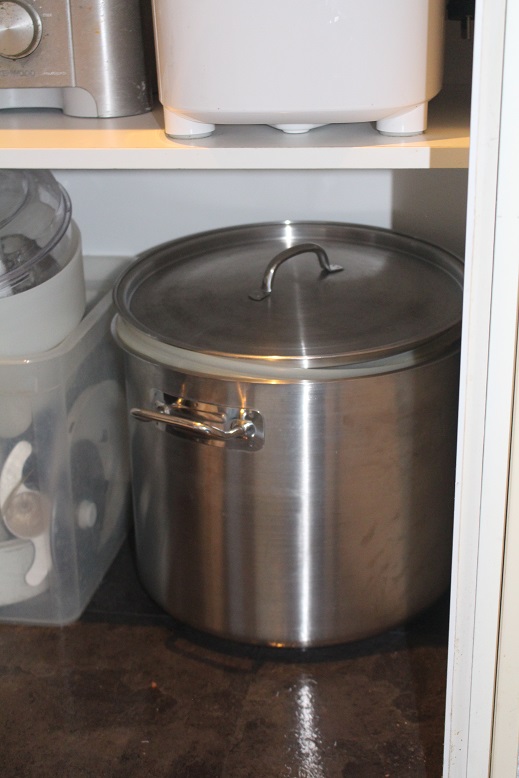
I had a plan so it was out with the large stockpot which lives on the floor of my pantry and I was ready to make a large quantity of celery soup which is one of our favourites. The recipe below is for 1 regular bunch of celery so I actually multiplied it x 3 as the bunches of celery were huge.

CELERY SOUP

1 bunch of celery
2 medium potatoes
2 medium onions, diced
2 teaspoons vegetable stock powder
Salt and pepper
6 cups (1500ml) water

Wash and roughly chop the celery, including the leaves.  Peel and chop the potatoes.  Lightly saute the onions.  Add the remaining ingredients.  Bring to the boil then simmer until soft – at least 1 hour.  Allow to cool a little then blend until smooth.  Add more water if required to achieve desired consistency.  Adjust seasoning if necessary.

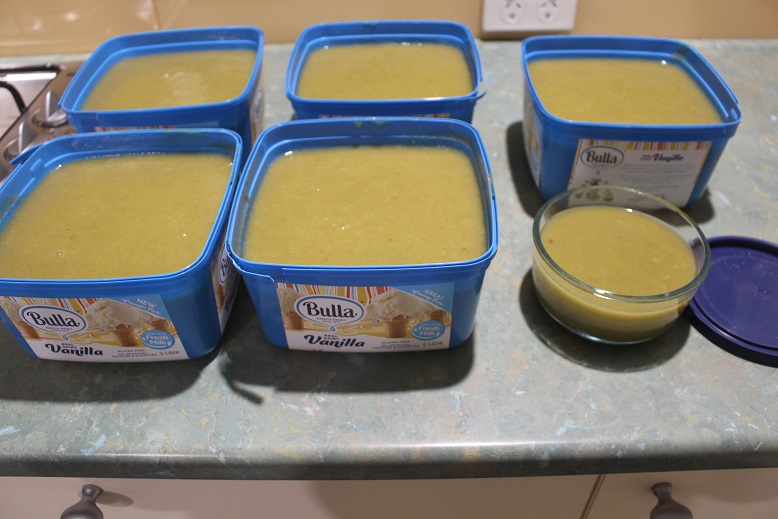
Here it is divided up and ready to freeze.

2020-03-31 02

This is a cheap and hearty meal when served with crusty bread or cheese scones.

2020-03-31 03

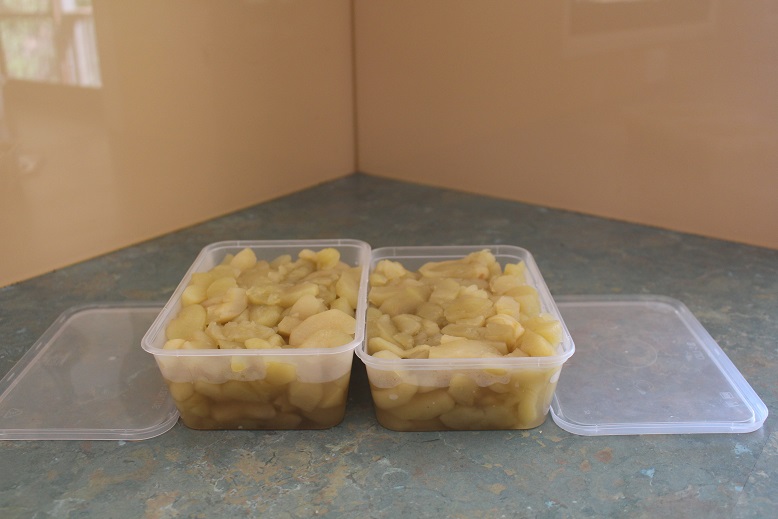
Then it was time to deal with the apples.  I peeled, cored and stewed them.  They are now packed away in the freezer for future use.

2020-03-31 04

I set the peels and cores aside for another project but more about that tomorrow.


All About Ants

2 Comments

We had mushroom risotto for dinner but this post is not about a recipe.  As I was beginning to prepare the meal, I went to the pantry for arborio rice and stock powder and discovered…………..ants!  They seemed to be everywhere on one particular shelf and I quickly traced the source to a sticky patch near the jar of honey.  Thankfully, there were no ants in the honey.

Cleaning out and re-arranging the pantry was on my mental ‘to do’ list but it was hastened by the events of this evening.  While the risotto was simmering I set to work.  Since the pantry is relatively modern with melamine shelves, I just needed a cloth and plenty of hot water.  In order to speed up the drying process I used a hair dryer.

Naturally, a bit of rearranging was required and I completed the 2 affected shelves plus the floor of the pantry.

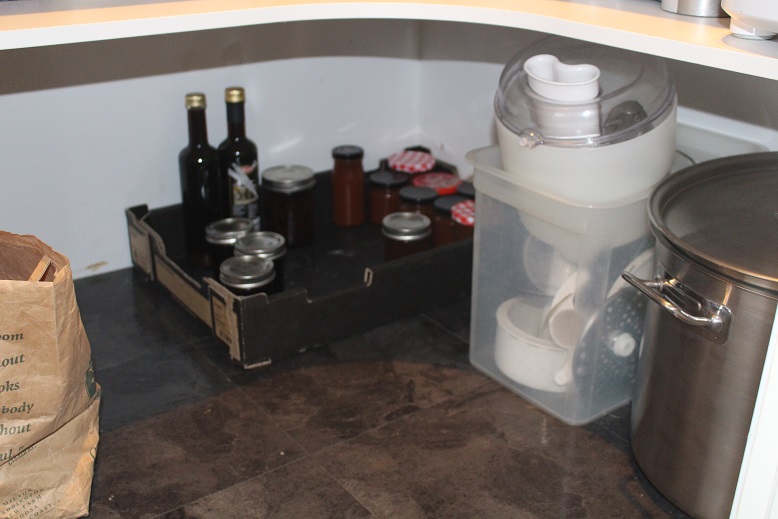
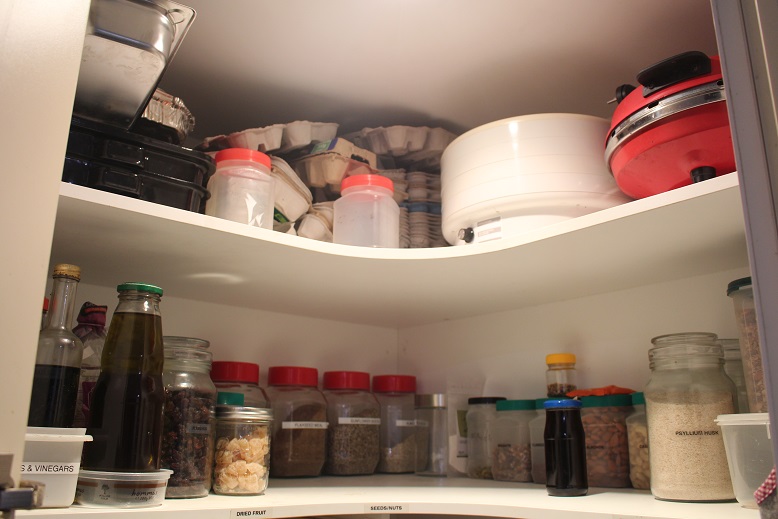
Here is the result – 2 shelves done.  I still need to tidy and sort the 2 undershelf drawers.  The top one contains herbs and spices and the lower one is various seasonings and other small containers.

2020-03-20 01

2020-03-20 02

On the floor is a paper bag for storing potatoes, a box of the excess of homemade tomato sauce, marmalade, jam, chutney and worcestershire sauce, the attachments for the food processor (stored on the shelf above) and a large stockpot.

The are 2 higher shelves which the ants had not invaded so I have saved them for tomorrow as well.

Here is a before photo.

2020-03-20 03

Coincidentally, as I sat down to write this post I decided to check my blog reader and there was a post from my dear friend, Julia, on the other side of the world.  Her post was more appropriately titled, Spring Cleaning the Cupboards and contains some great information about ‘Best Before’ dates.

As we are choosing to curtail our social interactions during the COVID-19 outbreak there will be plenty more posts on jobs I catch up on around the house.


Mending a Mop

1 Comment

I have a squeezy mop with a foam head which I have owned for a number of years.  I use it relatively infrequently as sometimes I find that getting down on my hands and knees and washing the floor is the best option.  Nevertheless, the foam head really needed replacing but of course the matching size did not appear to be available.  This would have entailed buying an entire new mop which I find objectionable – both for the unnecessary cost and waste.

So, I bought a jumbo sponge for the princely sum of $1.90 and set about replacing the sponge.  The first step was to remove the plastic backing pieces from the existing head.  These are used to attach it to the mop.  I scraped most of the glue off it.

2020-02-25 01

The new sponge was quite thick so I sliced it in half to have enough for 2 replacement sponge heads.  Then I used the old sponge as template to trim the sponge to the correct size.

This is the glue which I chose to use to attach the plastic backing plates to the new sponge.  I have not used it before but it was easy to handle and worked well.

2020-02-25 02

I marked the position of the the backing plate, applied the glue and gently clamped it for a couple of hours.

2020-02-25 03

After 24 hours I checked the position for the second backing plate and repeated the procedure.

Once the glue was thoroughly set I replaced it on the mop and put it to use.

2020-02-25 04

The new mop head is working successfully.