In the Kitchen

Leave a comment

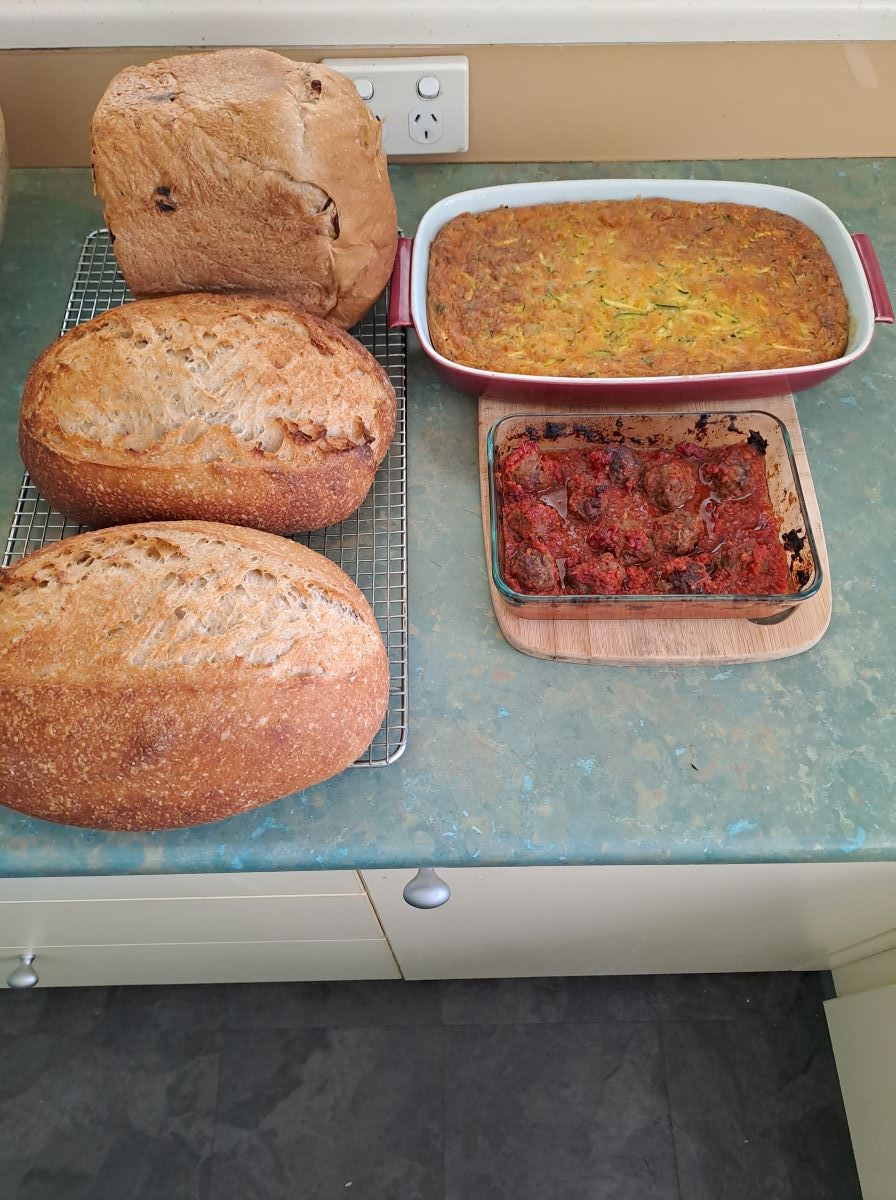
While our granddaughters were visiting us my kitchen activities were limited to just getting the next meal on the table but yesterday I managed to do a bit of forward planning and preparation.

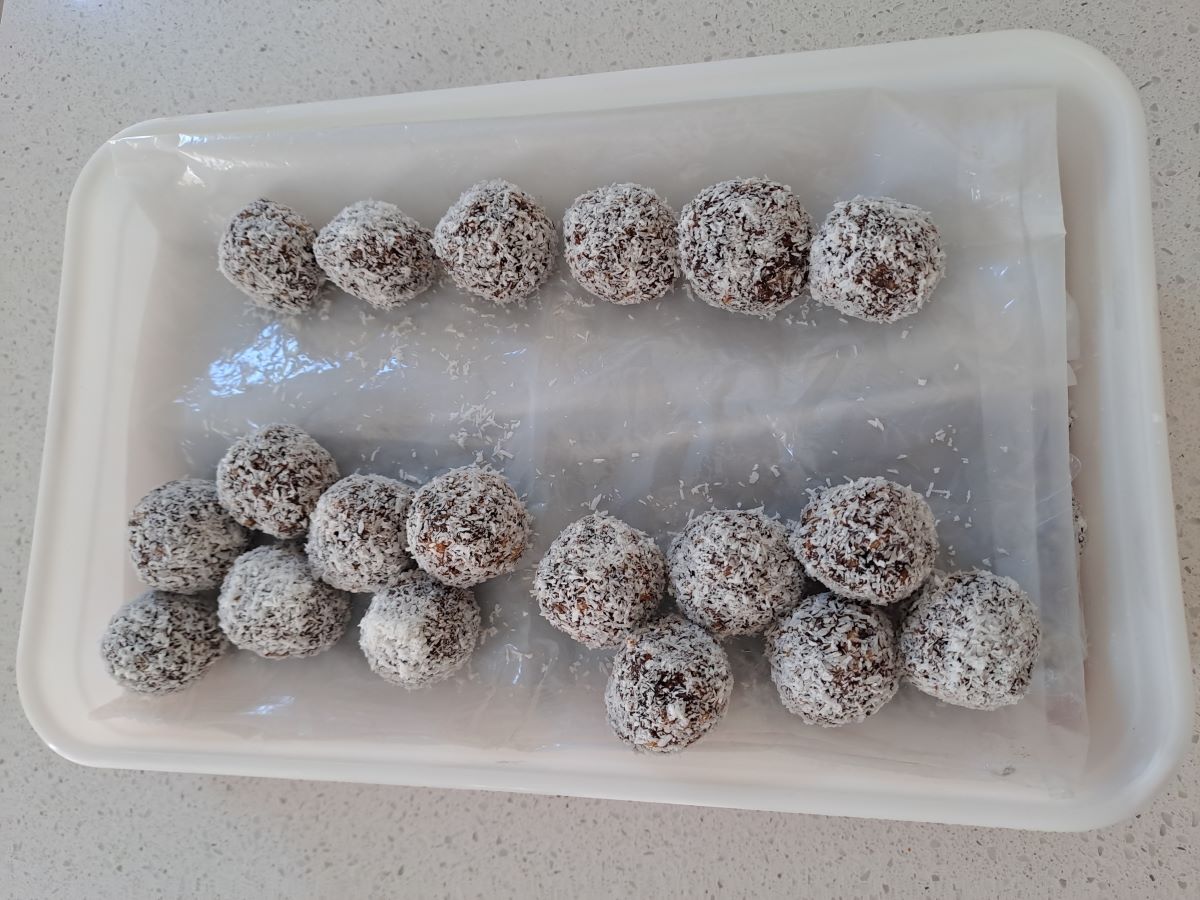
The first thing was to make some Choc Fruit and Nut Balls. These are perfect for Christmas gatherings (or any other time of the year) when you are asked to contribute a plate. They are always well-received and are super-easy to make (no cooking required). They freeze really well and it is easy to pull some out at a moment’s notice.

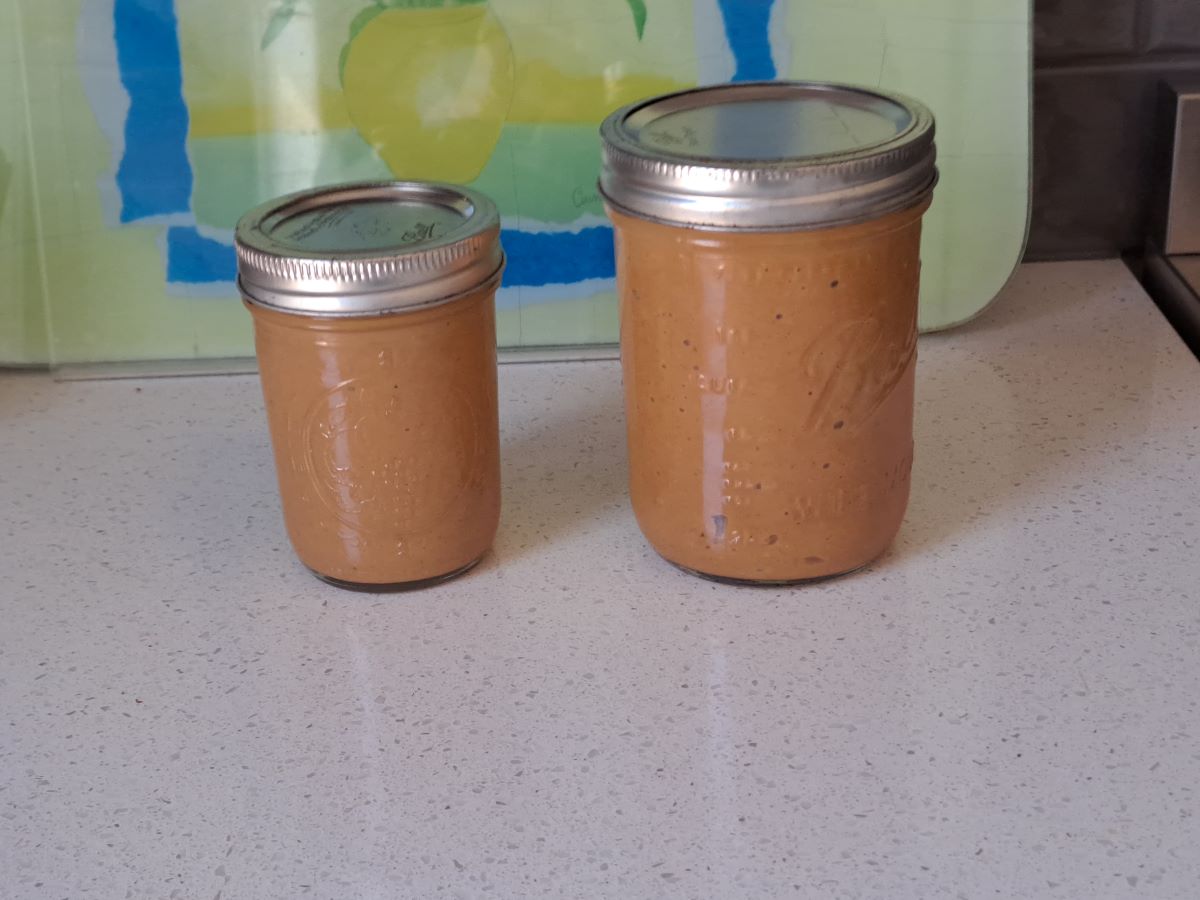
My next job was to make some more peanut paste. I buy raw, unsalted peanuts and lightly dry roast them before putting them in the high-speed blender. I have previously roasted them on a baking tray in the oven but this time I decided to try them in the airfryer. This worked perfectly. I did 2 batches in a round cake tin for 10 minutes at 170C.

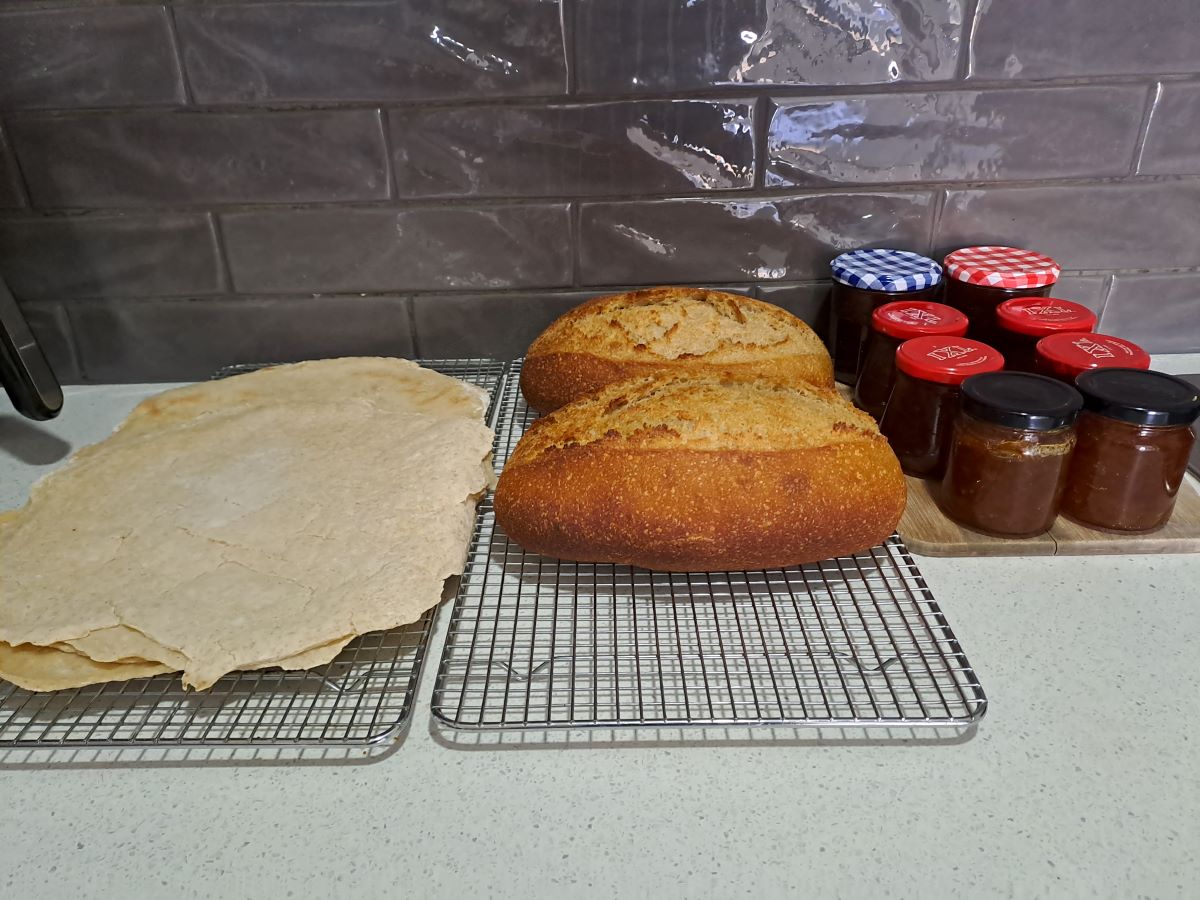
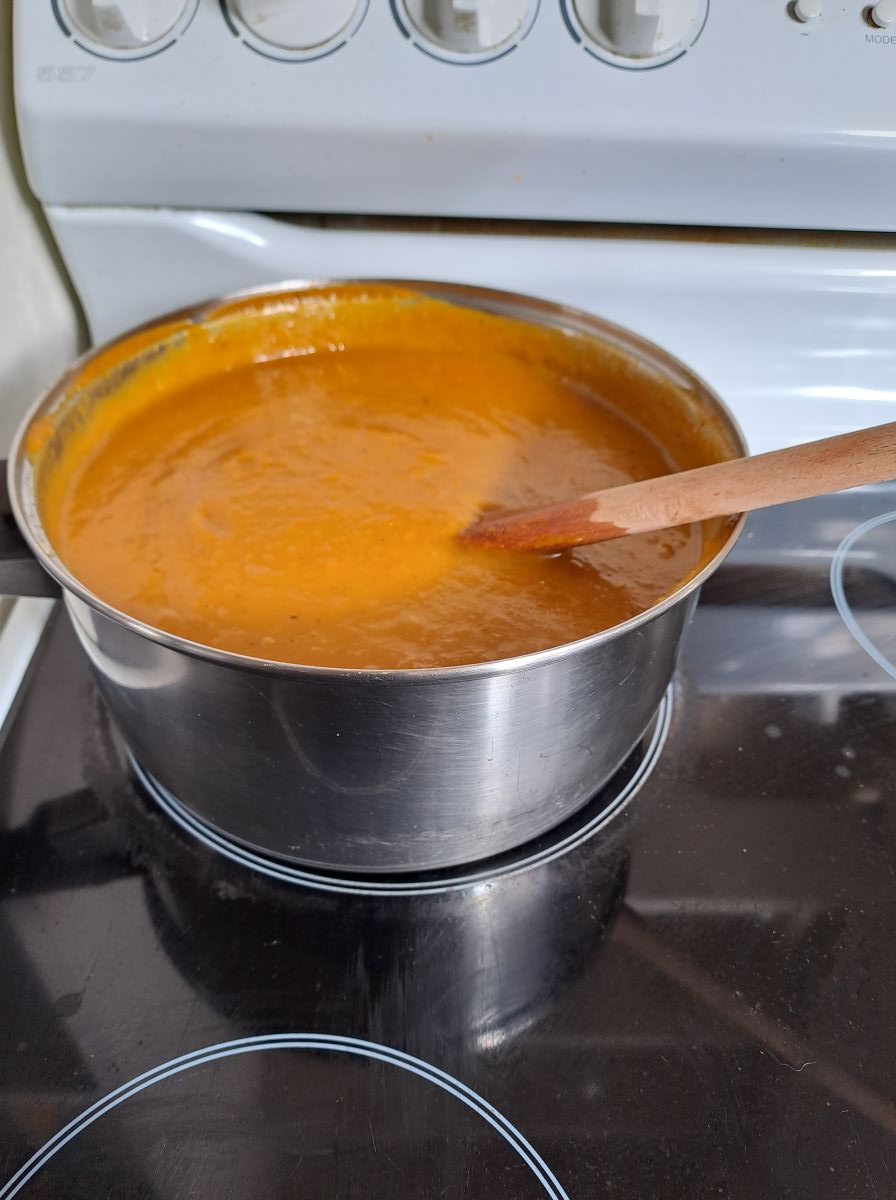
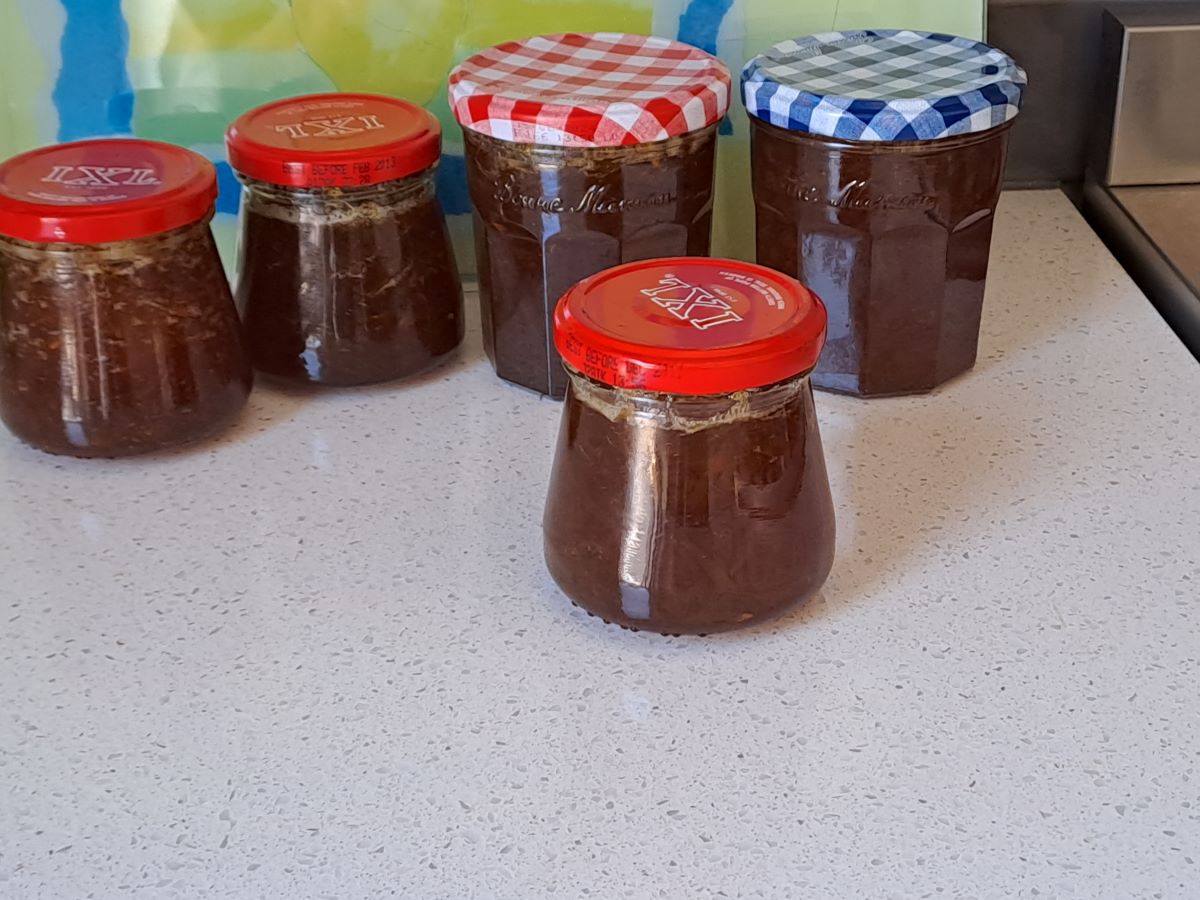
Meanwhile, I had a batch of grapefruit marmalade simmering on the stove. I never thought I would be making marmalade in December as citrus usually ripen here in late autumn/early winter and it is now officially summer. However, GMan took the car to have some work done on it the other day and was at a loose end for about 4 hours. So, he went walking in Bendigo while he waited and happened upon some free grapefruit in a box on the footpath. He collected 8 grapefruit in his backpack and they are now marmalade.

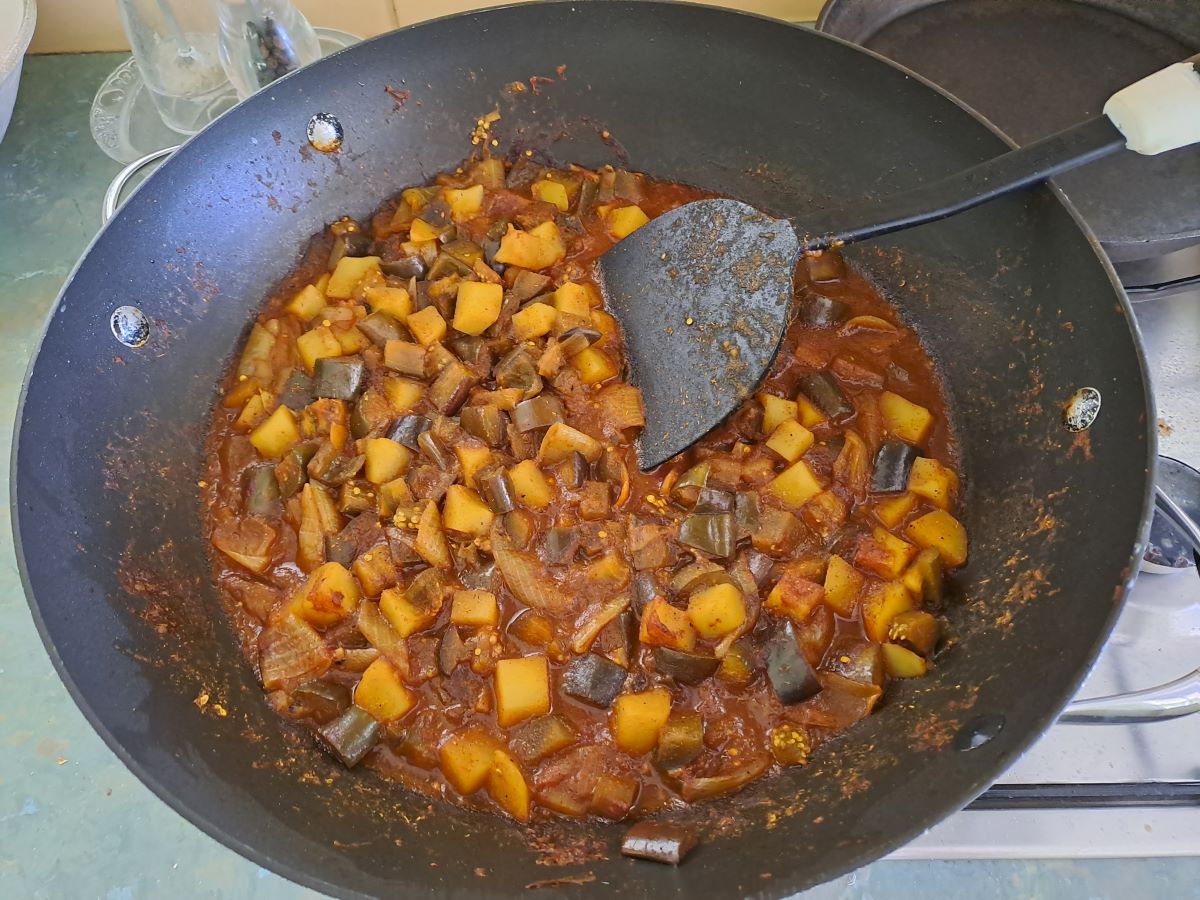
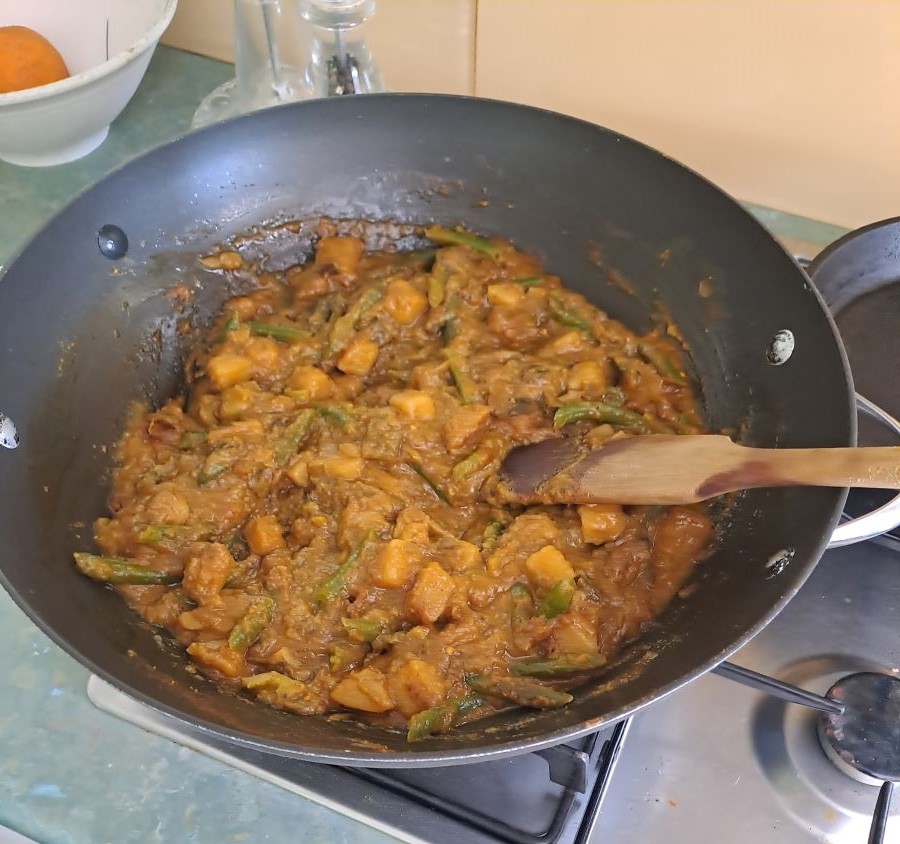
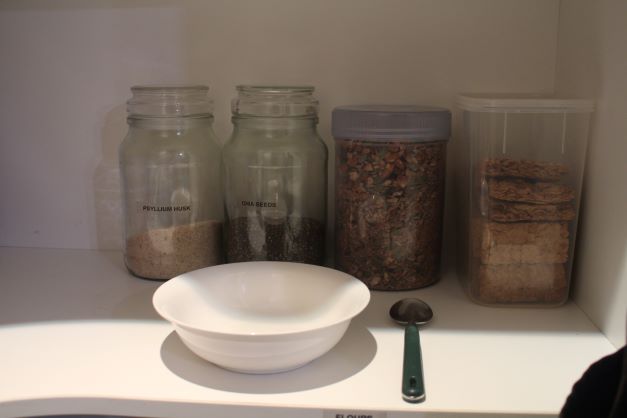
Also, in the spirit of not wasting anything I had these remnants to deal with. The last of the peanut paste is notoriously difficult to remove from the jug of the blender so I chose to leave about a tablespoonful of the mixture and then used that to make satay sauce. I set the excess coconut from rolling the choc fruit balls aside and then used it in making another batch of gluten-free muesli.

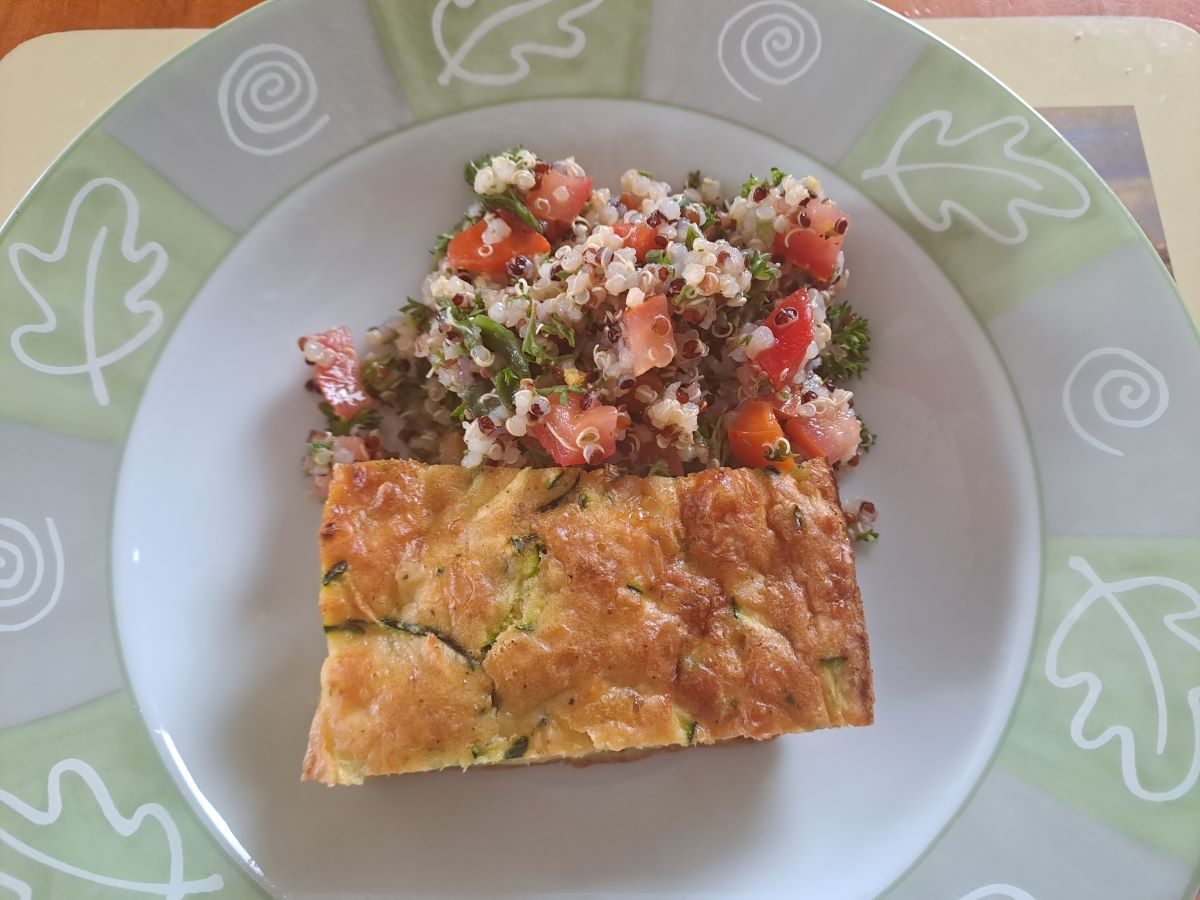
Here is our dinner of satay chicken with rice and green salad.

All of the recipes mentioned are elsewhere on the blog as they are regular favourites here. Here is the link to the recipe index which can be found on one of the tabs at the top of the front page of the blog. I refer to it frequently because a lot of what I write is as much for me as it is for my readers. Please feel free to use the index as your own.

The link for the Choc Fruit and Nut Balls is somewhat different to the ones I make now – there have been multiple modifications and I will add the updated version later today.

Quinoa Tabouleh

Leave a comment

Today I am adding a new ‘recipe’ to the blog. It is tabouleh with a twist – made with quinoa rather than the traditional cracked wheat which makes it gluten free. The fresh, clean feel to this dish makes it perfect for summer meals. Unlike many salads, it can also be made a day ahead. In fact, I think making it beforehand allows the flavours to develop even more.

This is a rather loose interpretation of a recipe as the quantities are variable and can be adjusted according to taste.

The photo shows the tabouleh served with a piece a zucchini quiche for lunch.

QUINOA TABOULEH

Ingredients

1/2 cup tri-colour quinoa
2 cups water
1 teaspoon vegetable stock powder
I cup curly leaf parsley, finely chopped
3 spring onions, finely chopped
1/2 tomato, diced
1/2 small cucumber, diced
1/4 red capsicum, finely diced

1 tablespoon olive oil
2 tablespoons lemon or lime juice
1 tablespoon rice wine vinegar
Ground black pepper
Salt

Method

Cook the quinoa in boiling water with stock powder added. Watch carefully and stir as required. Aim to absorb all of the liquid and not overcook the quinoa. Spread cooked quinoa on a tray, fluff with a fork and allow to cool thoroughly before adding the remaining ingredients and dressing.

Another Recipe

Leave a comment

As promised in my last post, here is the recipe for the Eggplant Rolls which I made recently.

I have not included quantities as it depends on how many you want to make and personal taste.

EGGPLANT ROLLS

Ingredients

1 large eggplant
Ricotta cheese or drained plain yoghurt
Leafy greens, finely chopped – silverbeet, spinach, kale or similar
Seasoning of choice – salt, pepper, mixed herbs, smoky paprika
Can of tomatoes, diced
Flaxseed meal
Almond meal
Cheddar cheese, grated

Method

Thinly slice the eggplant. Lightly cook the slices in a pan or in airfryer.

Combine the ricotta, greens and seasoning.

Spread mixture onto eggplant slices.

Roll up eggplant and place in an ovenproof dish.

Top with tomatoes.

Combine almond meal, flaxseed meal and grated cheese. Sprinkle on top of the dish and then cook until thoroughly heated and crispy.

IMPORTANT NOTES:

If you look carefully at the photos you will note that I neglected to follow my own instructions and did not pre-cook the eggplant slices. The meal was still quite edible but it is definitely much better if they are pre-cooked.

For the final cooking I generally cook until hot in the microwave then finish off in the airfryer. You could also bake these in the oven.

The almond/flaxseed meal topping is so that this dish is gluten-free. If that is not an issue you may simply choose to use breadcrumbs.

I served this meal with steamed rice, carrots and peas.

Daily Stuff

Leave a comment

After writing this blog for over 12 years I sometimes wonder whether it has become a little stale or repetitive. However, I am reminded that there are new people popping in all the time so I will continue to share my activities here.

Since it is winter and I am struggling with a cold it is not a great time to be outdoors. There is plenty to do inside the house and most of it can be distilled down to cooking and sewing.

Cooking is essential for feeding ourselves and I try to build up a bit of a supply of meals as well as condiments. In the past few days I have made grapefruit marmalade (recipe here) from fruit which was in a giveaway box in the next block, a new batch of gluten-free pizza bases (recipe here), sourdough bread (GMan’s handiwork) as well as Eggplant Rolls and Pumpkin, Eggplant and Chickpea Curry. You can check our my vegetable curry recipe here.

The next blog post will be the full recipe for the Eggplant Rolls.

On the sewing front, I have completed a couple of mending jobs.

New elastic (salvaged from worn-out undies) to replace the elastic and drawstring in this pair of pyjama bottoms which were originally purchased 2 years ago from the $1 rack at the op shop.

This jacket is 11 years old and still in excellent condition but the zip had broken so I bought a new zip and replaced it.

I think that is the mending out of the way for the moment so I do need to set my mind to making a dress to wear to a family wedding in 7 weeks time. Watch this space as the saying goes.

Pumpkin Soup

Leave a comment

I cannot believe that despite writing this blog for over 12 years, growing pumpkins and there being several references to making pumpkin soup that I have never actually written an entire post about making it. Nor have I added a recipe to the index.

Well, I am about to remedy that oversight.

We are still living in temporary accommodation but that has not stopped me preparing meals. The weather is cold and a bowl of piping hot soup is a welcome addition to the menu. I made cauliflower soup a few days ago and now it is time for some pumpkin soup. I bought a whole pumpkin from a nearby roadside stall for $7.

Whilst this may sound expensive it works out to less than 50c for a generous serve and is one of the best flavoured pumpkins I have had in a long time.

There is only one saucepan in our current accommodation so I only used half of the pumpkin.

The following recipe and method are my preference, however, you can adjust and modify according to your own tastes and circumstances.

The quantities are what I used but they are quite variable according to taste.

PUMPKIN SOUP

Ingredients

Half a large pumpkin
2 teaspoons oil
2 teaspoons balsamic syrup
2 medium onions, finely diced
Salt
Pepper
3 teaspoons vegetable stock powder
1/2 teaspoon smoky paprika
750ml water

Peel pumpkin, remove seeds and cut into large wedges. Place pumpkin in a large bowl. Combine a couple of teaspoons of oil and balsamic syrup and pour over the pumpkin. Toss until it is all coated with the mixture. There shouldn’t really be any excess – just enough to coat the pumpkin.

Place the pumpkin wedges in a single layer in the air-fryer and cook for 30 minutes at 190C. You may need to do several batches depending on the size of the air-fryer.

Finely dice 2 medium onions. Add a small amount of oil to a large saucepan or stockpot and saute the onions until soft. Add the pre-cooked pumpkin, water and seasoning. Simmer for 10 minutes then puree and adjust seasoning/liquid as required.

I use a stick blender to puree the soup, however, you could use a blender or food processor.

**WARNING** Whatever method you use to blend the soup you need to be very careful to avoids burns or scalding.

NOTE: The recipe for balsamic syrup is here.

Feeding Us

Leave a comment

We are home again after our short trip away. It was not so much a holiday as a reconnaissance mission to our preferred relocation destination. After about 6 months of searching we may have found the ideal property. More about that in the next week or so.

In the meantime, I have packed a few more boxes – I think the count is up to about 22. I have a description and number on each box and a small notebook where I have recorded the number of each box with a more detailed description of exactly what is in it. I am hoping that this will make it easy when we come to unpack at our destination.

There is also the everyday jobs to ensure that we remain fed and clothed. Yesterday I caught up on the washing and ironing after having been away and this morning I am cooking.

We are by no means self-sufficient but we do grow some food and also prepare most of our meals from scratch.

In the interest of energy efficiency we try to cook multiple dishes in the oven when it is turned on. GMan was ready to bake sourdough bread this morning so I made a Zucchini Quiche and some baked meatballs. The bread at the rear of the photo is fruit loaf made in the breadmaker.

I picked the last of the eggplant before I pull the bushes out and clear out that garden bed. So, I am making a big batch of Eggplant and Green Bean Curry which will make at least 4 – 5 meals for us so most will go in the freezer. These will be handy for days when I don’t have the time or inclination to cook.

I had some nectarines which were not great for eating fresh so I stewed them and will use this fruit on my breakfast cereal in coming days.

I have also made a batch of coleslaw and hard-boiled 6 eggs ready for lunches, prepared the mashed potato and cut up green beans to go with the meatballs for dinner tonight. My final project for this morning is to make some more hummus.

Use It Up

Leave a comment

Food is one of the less obvious things you need to consider when planning to move house. This is not a major issue if you are moving down the road or even across town but it is definitely a consideration when moving further afield.

We are moving to a different state and while jars of dry goods can be packed in boxes as with other household items the contents of the refrigerator and freezer are a different story.

It is still about 7 weeks until we depart but it is never too soon to consider how best to use the contents of the refrigerator and freezer. I am fairly aware of what I have available and will be working towards using this up. Of course, I will still be buying fresh fruit and vegetables.

Yesterday I made a big batch of Eggplant & Bean Curry. This vegan and gluten-free dish is definitely one of our favourites.

EGGPLANT & BEAN CURRY

Ingredients

1 tablespoon coconut oil
1 large onion, cut into wedges
1 tablespoon Massaman curry paste
1 teaspoon vegetable stock powder
1 teaspoon turmeric
1 teaspoon cumin
1/2 teaspoon chilli powder
500ml water
1 can light coconut cream
2 large potatoes, diced into 1cm pieces and cooked until tender
600g eggplant, diced into 1cm pieces
300g green beans, prepared and cut into 2cm lengths

METHOD

Prepare the vegetables as per the ingredient list. Heat the oil, add onion wedges, curry paste and spices, toss until well combined and the onion is softened. Add the diced eggplant, combine and cook for another 2 minutes. Add the water and stock powder. Simmer until volume is reduced slightly. Add the potatoes, cover and simmer for 30 minutes. Add more water if required. Stir in the coconut cream and simmer to reduce slightly if required. Finally, add the beans and cook for about 5 minutes.

I serve this with a small quantity of brown rice. You do not need to add too many carbs as there is already potato in the curry.

NOTE: The quantities are based on what I had available and the desired level of spiciness. You can adjust according to your own tastes. I use this basic curry sauce for of curry dishes. It is particularly good with a dish based on cauliflower, too.

This made a total of 8 serves (4 meals) for GMan and I. We had one for dinner and the remainder was portioned up and went into the freezer. That is 3 more meals I will not have to prepare in the next 7 weeks.

More Tomatoes

Leave a comment

Our garden is completely overrun with self-sown cherry tomatoes. Even after making a large batch of tomato sauce (read about it here) there are still literally hundreds of fruit ripening every day.

I now have several bags of whole tomatoes in the freezer. I simply wash and destalk the tomatoes then bag them up for the freezer. These provide a great alternative to tinned tomatoes for adding to casseroles and other dishes.

Another method that can be used is to puree the tomatoes in a blender (after washing and destalking them). This creates quite a watery mixture so I simmer it until reduced by at least half. You can also finish the process in the oven which seems to add some richness to the flavour, however, this is not an essential step. This is my version of tomato paste.

I spread the mixture into ice-cube trays to freeze.

Once they are frozen the cubes can be bagged up. This is 1.75kg of cubes which came from about 5kg of cherry tomatoes.

It is an easy matter to toss a cube or two when cooking for some intense tomato flavour without adding a lot of liquid.

I also use the tomato puree to make the tomato base for my homemade pizzas. I cook it to reduce even further and add some dark jam (Davidson Plum is my preferred jam but any plum or berry jam will do) and Tabasco sauce. This creates a rich, spicy sauce which we love on pizzas.

NOTE: I will write a separate post in the future with an exact recipe for the pizza sauce as I do not have the final quantities yet.

Soup for Supper

2 Comments

Today I have made leek and potato soup. It is winter here in Australia and although we live in a relatively mild climate there is something appealing about a pot of homemade soup on a damp, grey day.

There are plenty of recipes on the internet for leek and potato soup but this is my version.

LEEK & POTATO SOUP

Ingredients

1 medium/large leek
3 medium/large potatoes
1 tablespoon oil
1 tablespoon vegetable stock powder
1 teaspoon dried celery leaves
1 teaspoon rosemary salt
1/2 teaspoon cracked black pepper
1.5 litres water

Method

Wash and thinly slice the leek. Heat oil in a large pot and saute the leek. Stir constantly to avoid it browning. When the leek is soft, add 1 litre of water and the stock powder and other seasonings. Simmer gently.

Meanwhile, peel and dice the potato. Microwave until tender. Reserve about 1/3 of the potato cubes and add the rest to the soup and continue simmering for about 20 minutes. Remove from heat and blend until smooth. I use a handheld blender for this. Roughly mash the remaining potato and stir into the soup. Add more water to create desired consistency. Check and adjust seasoning as required.

NOTES:

Be extremely careful when blending hot soup.

You may choose more, less or different seasoning to what I have used.

I make the rosemary salt by stripping the leaves from the stems, dehydrating them and then grinding to a powder which I mix 50/50 with a good quality salt.

Soup simmering.

The end result.

Breakfast Bar

Leave a comment

Almost every day I eat cereal for breakfast. It is always the same. 3 spoonsful of home-made gluten-free muesli and one spoonful each of chia seeds and psyllium husk. This is topped with sliced banana and orange juice.

Yesterday I realised that it was a lot of double-handling to remove the containers from the pantry, place them on the bench, spoon out what I needed and return them to the pantry. Could there be a better way?

It is quite a while since I tidied the pantry and the shelves definitely need wiping down.

Tonight I tackled just these two sections.

I swapped the various jars of flours to the higher shelf and relocated the cereal ingredients to the one at waist height. I also altered a couple of the containers. This now leaves enough room to have a workspace in front of the containers where I can access the cereal directly. The bowl and spoon are indicative of how it will be used.

It is a small change but one that I think will make the process of preparing breakfast simpler and easier.